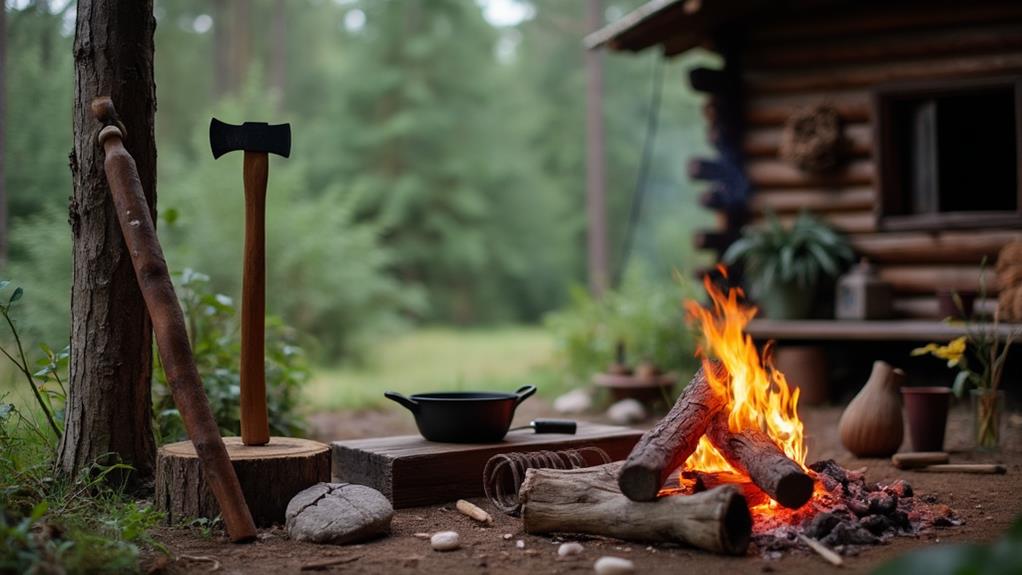
Using an Axe to Build Primitive Shelters

When you find yourself in the wilderness, knowing how to use an axe to build primitive shelters can be a game-changer. It's not just about chopping wood; it's about choosing the right location, selecting suitable materials, and employing precise techniques. Assess your shelter site carefully, ensuring it's both safe and practical.
But what happens when you face unexpected challenges, like uncooperative weather or limited resources? Understanding the nuances of shelter construction with an axe can make all the difference in your survival strategy.
Ready to explore the next crucial steps?
Choosing the Right Location
When selecting a location for your primitive shelter, prioritize safety and practicality. Begin by choosing a spot with stable, upright trees. Shelters built near leaning or rotting trees are at risk of collapse, compromising your structure's integrity. Flat ground provides a secure base and facilitates easier construction.
Check for minimal overhead hazards like dead branches, which can fall and cause injury. Assess the availability of dead wood nearby; it's a valuable resource for firewood, essential for warmth and cooking. Observe wildlife activity, such as squirrel tracks, which can indicate a livable environment with abundant resources.
Avoid damp, dense bush areas, as they complicate construction and reduce comfort and insulation. Building in a dry, open area not only enhances comfort but also ensures structural stability.
Assessing Shelter Site
When evaluating your shelter site, prioritize stable trees and flat ground, and avoid leaning or rotting wood. Look for wildlife tracks and dead wood, which can signal a resource-rich and safe environment. Balance proximity to water sources with avoiding overly wet areas to ensure your shelter's durability and comfort.
Ideal Shelter Location
Scouting for the perfect shelter site requires attention to several key factors to ensure safety and comfort. First, identify stable, healthy trees that are neither leaning nor rotting, as these are essential for the structural integrity of your shelter. Choose flat, dry ground free from overhead hazards to facilitate safe and easy construction. Orient your shelter to utilize natural windbreaks and maximize sunlight exposure, aiding in warmth and protection.
Consider wildlife presence when selecting your site. While the presence of wildlife tracks, such as those of squirrels, can indicate a resource-rich environment, avoid areas with dense bushes and wet ground, which can complicate building and maintaining a dry, secure shelter. Resource availability is crucial; nearby dead wood provides essential firewood for warmth and cooking.
Use the following reference table to evaluate potential shelter locations:
| Factor | Good Indicators | Poor Indicators |
|---|---|---|
| Tree Stability | Stable, upright trees | Leaning or rotting trees |
| Ground Condition | Flat, dry ground | Wet or uneven ground |
| Wildlife Signs | Squirrel tracks | No visible wildlife tracks |
| Resource Supply | Abundant dead wood | Sparse or no dead wood |
| Shelter Orientation | Natural windbreaks, sun exposure | Exposed to wind, no sun exposure |
Environmental Considerations
Before constructing your primitive shelter, thoroughly assess the environmental conditions of your chosen site. Start with a terrain analysis to find flat ground, ensuring stability. Avoid areas with dense vegetation or wet ground, as these conditions complicate construction and pose safety risks.
Next, check for stable trees. Avoid leaning or rotting trees, which are hazardous. Instead, look for strong, healthy trees that can support your shelter. Ensure there are no overhead dangers like dead branches that could fall and cause injury.
Identifying wildlife signs is crucial. Look for tracks or other indications of animal activity, which suggest the area is livable and may indicate nearby food sources—beneficial for survival.
Lastly, assess the availability of dead wood, essential for firewood needed for warmth and cooking. By considering these environmental factors, you'll ensure a safer, more sustainable location for your primitive shelter.
Designing the Structure
To design a sturdy primitive shelter, start with a reliable ridgepole structure. This design principle ensures stability by intertwining limbs to form a robust framework. Prioritize structural integrity as you build; a well-constructed ridgepole can support the weight of additional materials, providing a durable foundation.
For the roof design, layer spruce and balsam limbs in a shingle-like pattern. This technique facilitates effective water runoff, minimizing the risk of leaks. Additionally, ensure you leave an opening for smoke to escape, which is crucial for maintaining air quality and safety inside the shelter.
Design Elements Table
| Element | Importance | Tips |
|---|---|---|
| Ridgepole | Ensures stability | Intertwine limbs |
| Roof Design | Minimizes leaks | Layer spruce and balsam |
| Smoke Escape | Maintains air quality | Leave an opening |
| Door Placement | Facilitates access | Avoid fire obstruction |
Regularly inspect your structure for gaps and vulnerabilities. Addressing these issues promptly ensures your shelter remains wind-resistant and well-insulated. Proper door placement is also crucial—it should allow easy access for firewood collection without obstructing the fire, ensuring your shelter is both efficient and practical.
Essential Shelter Materials
Gathering essential shelter materials is crucial to ensure your primitive shelter is both durable and comfortable. Begin by sourcing strong, stable branches and limbs from trees such as spruce and balsam. These materials offer fundamental structural support and, when layered effectively, provide excellent waterproofing. Look for dead wood in the vicinity, as it indicates a thriving ecosystem and can also serve as additional firewood.
Birch bark is an invaluable resource due to its unique insulation and waterproofing properties. It creates a barrier against moisture and cold, significantly enhancing shelter durability. Ensure you collect enough birch bark to cover the shelter thoroughly, minimizing any gaps and vulnerabilities.
Consider using hemlock branches for their natural heat-reflective qualities. Placing hemlock around your fire setup can increase the warmth inside your shelter, making chilly nights more bearable. Continuously assess your gathered materials to confirm they meet the needs of your structure.
Here's what you need to gather:
- Spruce and Balsam Branches: For structural support and waterproofing.
- Birch Bark: For insulation and waterproofing.
- Hemlock Branches: For natural heat reflection.
Collecting Branches and Limbs

When collecting branches and limbs for your shelter, begin by identifying sturdy tree types such as oak and pine. Utilize efficient gathering techniques, including cutting only what you need and stacking materials neatly. Always transport branches safely to prevent injury and ensure the materials remain intact.
Identifying Suitable Tree Types
Finding the right trees for your primitive shelter is crucial for ensuring durability and protection. Start with tree identification tips aimed at spotting sturdy species like spruce and balsam. These trees have resilient and flexible limbs, making them ideal for creating waterproof roofs.
When you're in the forest, use these branch selection criteria to ensure safety and strength:
- Avoid leaning or rotting trees: These can compromise your shelter's structural integrity and safety.
- Observe squirrel activity: Areas with squirrel activity often indicate healthy trees nearby, which means strong branches for construction.
- Select thick but flexible limbs: They need to be robust enough to support your shelter yet flexible for weaving.
By following these tips, you aren't only building a reliable shelter but also practicing good forest resource management. Collecting dead wood from the forest floor can provide both construction material and firewood, maximizing the use of available resources without harming live trees.
Efficient Gathering Techniques
Choosing the right trees lays the groundwork for effective shelter building. Prioritize stable trees with minimal lean to ensure the branches you select offer structural integrity. Opt for branches that are at least 6-8 feet long for adequate support and coverage.
Incorporate dead wood in your branch selection strategy, as it can serve as both building material and firewood, reducing the impact on living trees. Gather branches of varying thicknesses: thicker limbs for strength and thinner ones for weaving and layering.
Before cutting, familiarize yourself with axe safety tips. Wear protective gear and maintain a firm grip on the axe. Use efficient cutting techniques by striking at a 45-degree angle to cut through branches with minimal effort and reduced risk of injury.
Evaluate the surrounding area for accessibility. Avoid dense bush that can hinder the collection process.
Transporting Materials Safely
Transporting branches and limbs safely is essential for constructing a durable primitive shelter. Start by selecting stable, healthy trees to avoid hazards from falling or rotting wood. Your transportation methods will greatly affect both your safety and the material's integrity.
Use a backpack or makeshift carrier for smaller branches, keeping your hands free to wield an axe if needed. This ensures you maintain control and reduces the risk of accidents.
For larger limbs, dragging them along the ground or using a sled can minimize strain and help you maintain balance. Always cut branches at a safe distance from your body to prevent injuries.
Here are three key safety precautions to keep in mind:
- Maintain Control: Always cut branches at a safe distance to avoid injuries.
- Use Proper Carriers: Utilize backpacks or makeshift carriers to transport smaller branches safely.
- Watch Your Step: Be vigilant of trip hazards like uneven ground or roots to ensure a safe pathway.
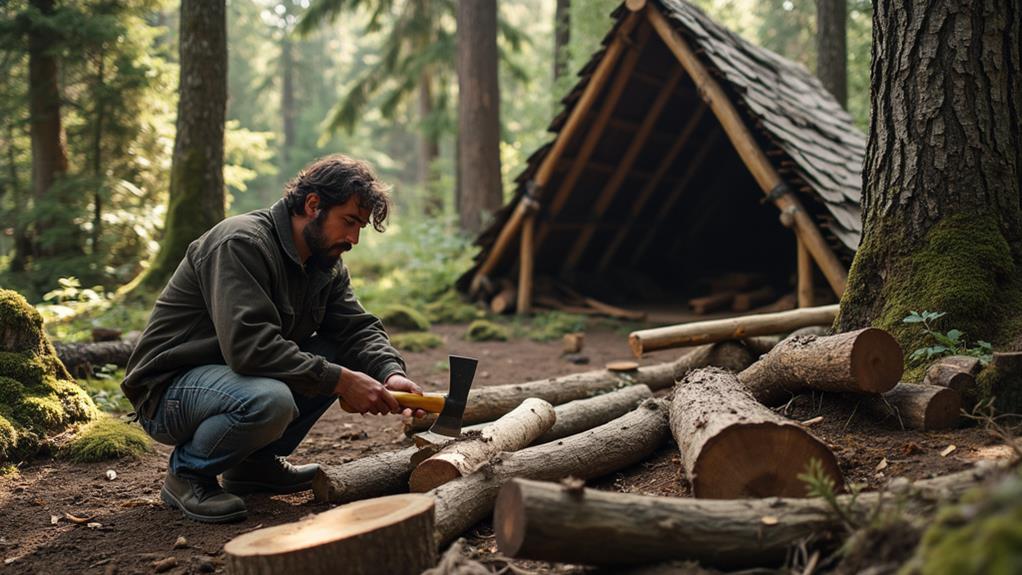
Preparing Building Materials
Preparing the right building materials is a crucial step in constructing a primitive shelter. Start by using your well-maintained axe to cut down and trim branches from stable trees, ensuring they're free of rot and not leaning. This ensures the branches provide ideal structural support, enhancing both the shelter's aesthetics and material longevity.
Gather a variety of limb sizes, focusing on flexible and sturdy types such as spruce and balsam. These materials are excellent for structural reinforcement and waterproofing. Weave thinner sticks tightly together to strengthen the shelter's framework, increasing its stability and providing a solid base for your structure.
Additionally, collect birch bark for waterproofing and insulation. Birch bark acts as an effective barrier against moisture, making your shelter more comfortable and durable.
Continuously assess the gathered materials for effectiveness and coverage, making adjustments to minimize gaps and vulnerabilities. This ensures your shelter can withstand the elements. By carefully preparing your building materials, you lay the foundation for a strong, reliable primitive shelter.
Advanced Construction Techniques

Once you've gathered your building materials, it's time to employ advanced construction techniques to enhance the durability and comfort of your primitive shelter.
Begin by using sophisticated joinery methods to create a robust framework. Carefully angle-cut and shape branches with your axe to ensure a snug fit, thereby improving the shelter's stability. A ridgepole design is essential; choose strong, straight limbs and securely intertwine them to withstand wind and rain.
Next, focus on structural reinforcement. Organize your materials systematically, working from the bottom up. Regularly inspect for gaps and vulnerabilities, trimming and adjusting with your axe to maintain a tight fit. This ensures your shelter remains sturdy and minimizes exposure to the elements.
Finally, employ effective camouflage strategies to blend your shelter into the environment. Use natural materials like spruce and balsam limbs to cover the structure, which not only provides additional insulation but also makes it less detectable in the wild.
Advanced Techniques Checklist:
- Sophisticated Joinery: Angle-cut branches for a tighter fit.
- Structural Reinforcement: Regularly inspect and adjust for gaps.
- Effective Camouflage: Use natural materials to blend in seamlessly.
Layering for Weatherproofing
When layering for weatherproofing, start by arranging spruce and balsam limbs in a shingle-like fashion to create a waterproof roof that channels rain away from your shelter. Make sure to intertwine the branches tightly and layer from bottom to top to prevent wind and rain from entering. Add birch bark for additional waterproofing and insulation, and regularly inspect for gaps to ensure the shelter remains warm and dry.
Effective Layering Techniques
Mastering effective layering techniques is essential for building a weatherproof primitive shelter. Begin by layering spruce and balsam limbs to create a shingle-like effect that promotes effective water runoff, minimizing leaks. This straightforward method ensures your shelter remains dry, which is a key benefit of proper layering.
Next, intertwine branches tightly at different levels to form multiple barriers against wind and rain. This improves waterproofing and increases the overall durability of your shelter, making it capable of withstanding stormy conditions.
Incorporate birch bark into your layering process for additional waterproofing and insulation. Birch bark acts as a natural moisture barrier, keeping the interior of your shelter dry and more comfortable during adverse weather.
Follow these three essential steps:
- Start from the bottom and work upwards: This prevents gaps that could allow moisture and drafts.
- Regularly check for vulnerabilities: Adjust the layering to improve resistance against snow and wind.
- Use birch bark strategically: It provides extra layers of waterproofing and insulation.
Natural Insulation Materials
To achieve ideal weatherproofing for your primitive shelter, utilizing natural insulation materials is essential. Spruce and balsam limbs are excellent choices due to their natural insulation benefits. When layered properly, they create a shingle-like effect that promotes effective water runoff and improves thermal insulation. This layering technique traps warm air, keeping your shelter comfortable even in cold conditions.
Among insulation materials, birch bark stands out for its waterproofing and insulation properties. Collecting and integrating birch bark into your shelter helps maintain warmth and adds an extra layer of protection against the elements.
When constructing your shelter, intertwining branches tightly is essential. This technique minimizes gaps and increases your shelter's resistance to wind and rain, ensuring a dry environment. Pay close attention to the construction process. Regular checks for vulnerabilities are critical. Identifying and addressing gaps early on guarantees optimal insulation and protection.
Spruce and balsam limbs offer excellent water runoff and thermal benefits, while birch bark improves waterproofing. By mastering these insulation construction techniques, you can build a shelter that's both weatherproof and warm.
Weatherproofing Best Practices
Building a weatherproof primitive shelter requires more than just stacking branches; it involves a precise layering technique. Begin by layering spruce and balsam limbs in a shingle-like pattern on the roof, which ensures effective water runoff and minimizes leaks during rain or snow. Tightly intertwine the branches to create multiple barriers against wind and rain, enhancing the shelter's overall durability.
To ensure your shelter remains weatherproof, follow these steps:
- Proper Drainage Techniques: Ensure water flows away from your shelter by creating a slight slope in the roof and digging small trenches around the base.
- Moisture Barrier Methods: Use birch bark as an additional layer for waterproofing and insulation. This reduces heat loss and keeps the interior dry.
- Seasonal Maintenance Tips: Regularly inspect your shelter for gaps and vulnerabilities. Fill any holes and add extra layers as needed to maintain insulation and waterproofing.
Employ a methodical approach by starting from the bottom and working upwards while layering materials. This guarantees stability and optimizes weatherproofing effectiveness. Consistent maintenance and proper techniques will keep your shelter secure and comfortable throughout the seasons.
Testing Shelter Durability

Testing the durability of your primitive shelter is essential to ensure it can withstand harsh weather conditions. Begin by inspecting for gaps or weak spots. Run your hand along the seams and joints to ensure no wind or rain can penetrate. This tactile approach helps identify areas needing reinforcement.
Next, evaluate insulation effectiveness by sitting inside the shelter for a while. Light a small fire and observe how well the structure retains heat. A well-insulated shelter should keep you warm and comfortable, even with minimal heat sources. If it doesn't, consider adding more insulating materials like leaves or moss.
For wind resistance, simulate windy conditions using a fan or wait for a breezy day. Observe how the structure holds up against the wind. A sturdy shelter should remain stable without significant movement. If you notice any instability, reinforce the framework with extra supports.
Lastly, check the roof's snow load durability by observing how it handles snow accumulation. Verify that the layered spruce and balsam limbs maintain their integrity under weight. After a rain or snow event, inspect for leaks or weaknesses and make necessary adjustments to improve stability and protection.
Final Adjustments and Comfort
Once your primitive shelter is initially constructed, focus on final adjustments to improve comfort and reliability. Start by checking for any cold drafts and seal gaps with natural materials like leaves or moss to enhance insulation. Ensure your fire setup provides warmth without excessive smoke, contributing to a cozy atmosphere.
Inspect the stability of your shelter, reinforcing any sagging or weak points to withstand wind and precipitation. Pay attention to the door's placement; it should offer easy access to firewood while blocking wind and rain, enhancing your shelter's functionality.
For waterproofing, simulate rain conditions to test the roof's effectiveness. Make necessary modifications to improve water runoff and prevent leaks. Simple adjustments like adding an extra layer of leaves can significantly improve water resistance.
To enhance comfort and aesthetics, consider the following final touches:
- Soft bedding: Use layers of dry leaves or grass for cushioning.
- Personal touches: Hang small items or decorations to make the space feel more personal.
- Warm lighting: Strategically place your fire for optimal light and warmth.
These improvements will transform your primitive structure into a comfortable and functional haven.
Conclusion
With the knowledge to build a sturdy primitive shelter using just an axe, you can create a reliable refuge in the wilderness. Start by selecting an appropriate location, then gather essential materials. Use effective construction techniques to ensure stability. Layer materials to weatherproof your shelter and test its durability. With a few final adjustments, you'll have a comfortable and secure spot to withstand the elements. Trust your skills, stay safe, and embrace the challenge—your survival depends on it.