How to Make a Firewood Stack Using Just an Axe
When stacking firewood using just an axe, the first step is choosing the right tool. A splitting axe, known for its efficiency and comfort, is essential. Seasoned hardwood logs, ideally 6-12 inches in diameter, work best. Prepare your chopping area and consider the angle at which to split the logs. These steps ensure your firewood stack is both effective and safe.
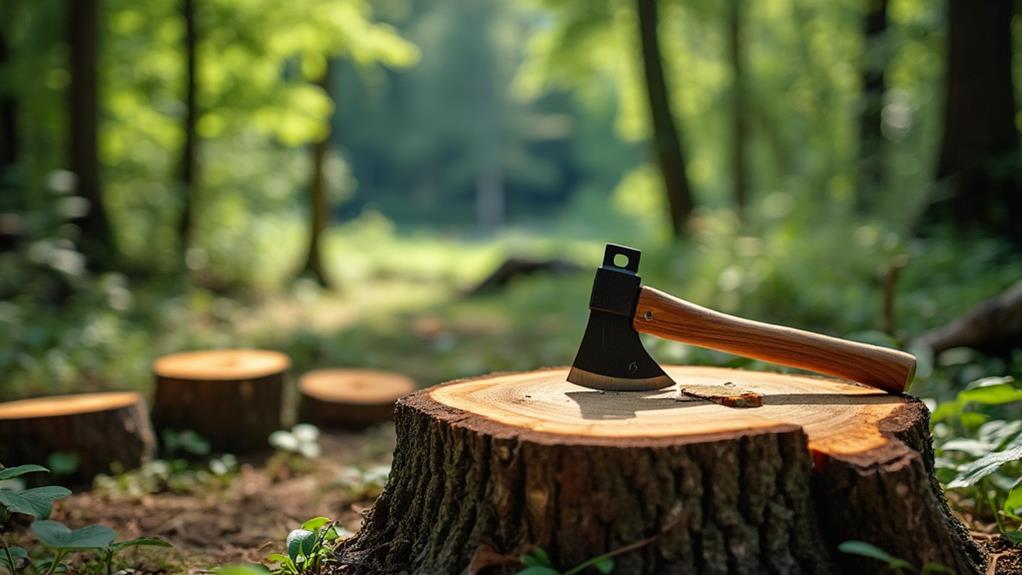
Selecting the Right Axe
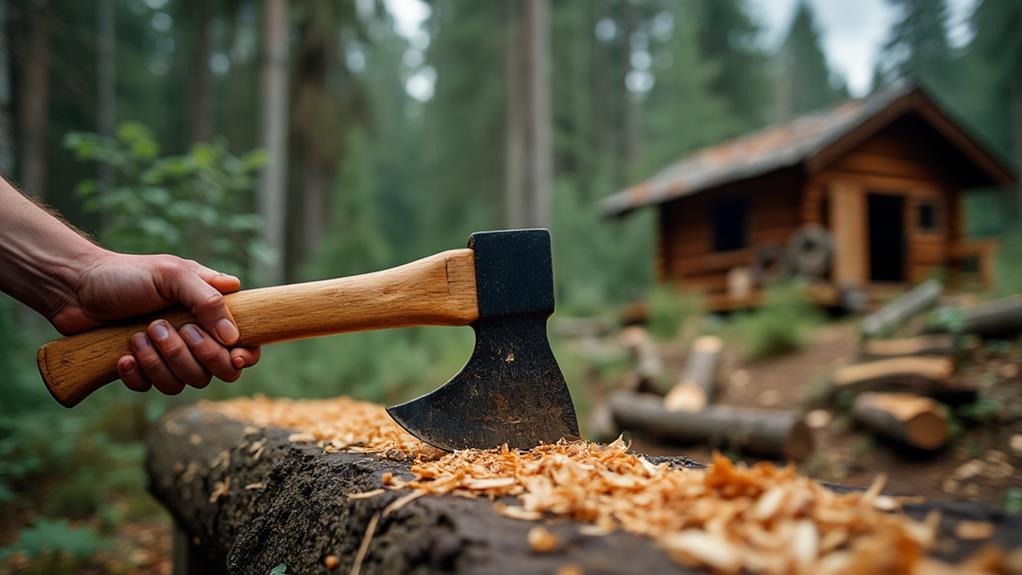
When preparing to stack firewood, choosing the right axe is crucial for an efficient process. A splitting axe is ideal for this task due to its wider blade and heavier head, designed to split logs into smaller, manageable pieces. This design, exemplified by models like the Fiskars splitting axe, simplifies cutting firewood significantly.
Consider the handle of the axe. A comfortable, shock-absorbing handle reduces fatigue during extended use, enhancing your chopping experience. Additionally, the steel hardness of the axe is important. Harder steel maintains its edge longer, ensuring the axe stays sharp and effective. However, balance is essential; overly hard steel can cause muscle strain.
A longer handle provides increased leverage, enabling you to generate more force with less effort when splitting larger logs, which conserves energy.
Choosing the Best Wood
Selecting the optimal wood for your firewood stack is essential for achieving an efficient and long-lasting fire. Prioritize hardwood species such as oak, hickory, or maple. These hardwoods burn hotter and longer compared to softwoods like pine or spruce, making them ideal for sustaining a consistent fire.
Ensure your wood is well-seasoned. Seasoned wood has been drying for at least six months to a year, which allows it to ignite more easily and produce less smoke and creosote. To identify well-seasoned wood, look for cracks in the ends of the logs and a lighter weight compared to freshly cut wood.
Key points to evaluate:
- Split wood: Choose logs that are 6-12 inches in diameter. These are easier to chop and split using an axe.
- Check for rot and insects: Use only solid, dry, and sound wood to ensure a clean burn.
- Mix sizes: Gather a variety of smaller branches and larger logs. This mix will improve airflow and make handling easier.
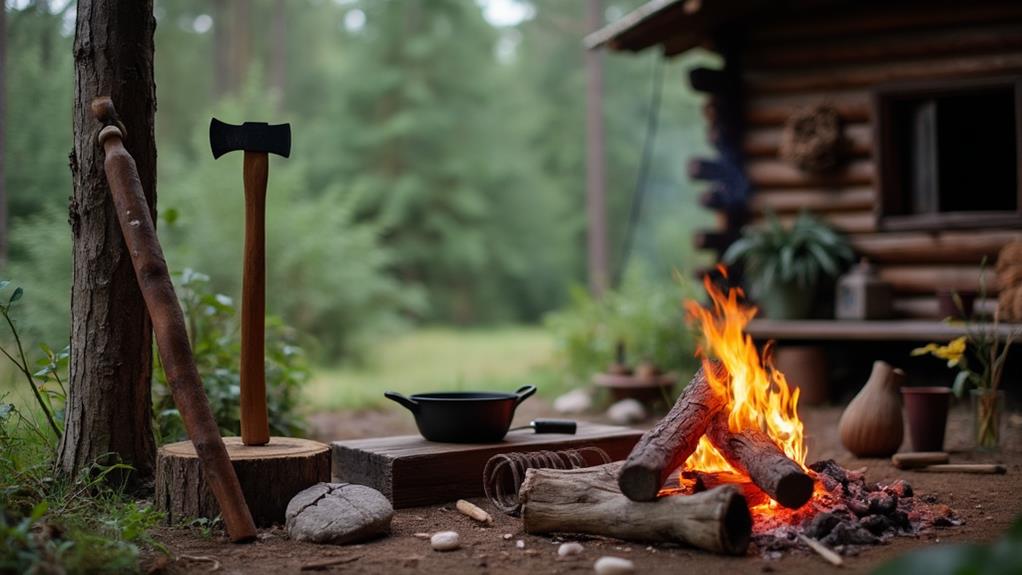
Preparing the Chopping Area
Establishing a proper chopping area is crucial for efficiency and safety. Start by choosing a level spot with good drainage and ample sunlight to keep your wood dry and accessible. Ensure the ground is free of debris and obstacles to prevent accidents and provide a stable working environment.
Next, set up a stable chopping platform. Use two hardwood logs, each about 6-7 feet long and 10-12 inches in diameter, placed side-by-side to form a sturdy trough for chopping. Elevate these logs off the ground with rot-resistant wood at each end to prevent moisture absorption and enhance durability.
For additional safety, consider installing a front kickback guard and a rear guard to protect against flying wood fragments. Marking the desired lengths directly on the platform can help maintain consistency and improve safety.
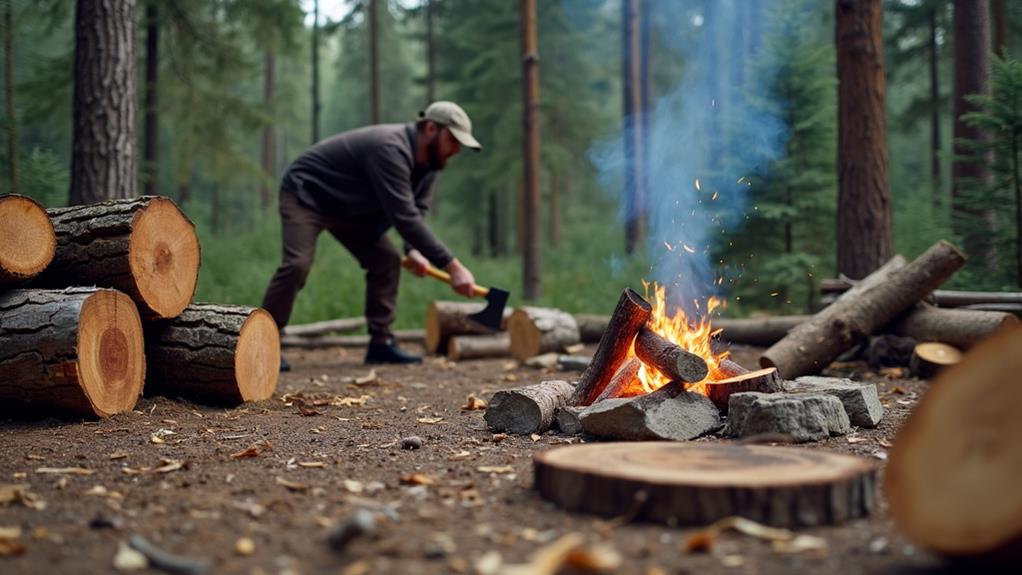
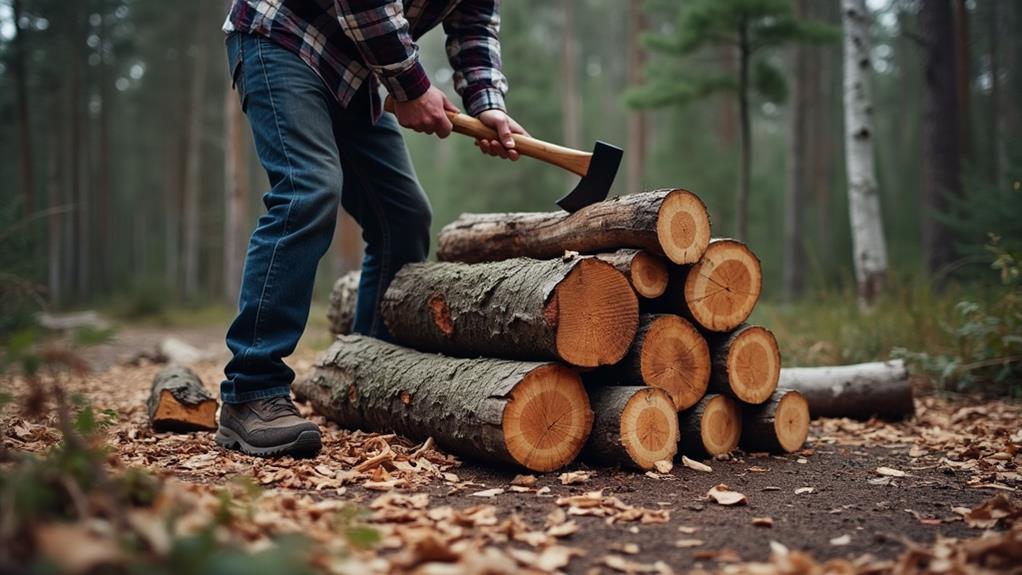
Splitting Logs Into Sections
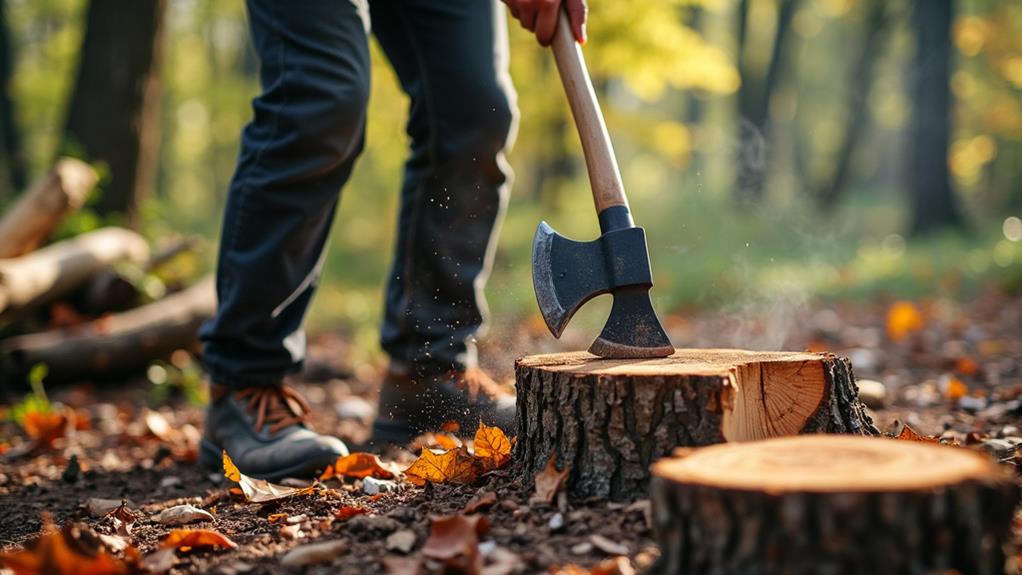
To split logs into sections, start by securely positioning your log on a chopping platform or against a sturdy backstop. Use the golf swing technique: raise your axe above shoulder height and deliver a powerful downward stroke at a 45-degree angle. For larger logs, use wedges in conjunction with a sharp axe to make the process more efficient.
Effective Swing Techniques
Mastering effective swing techniques is critical for efficiently splitting logs into sections. Aim for a 45-degree angle to the grain, as this enhances the effectiveness of your swing and results in cleaner splits. Using a golf swing technique can be particularly effective: start with the axe high above your head and bring it down in a controlled motion, ensuring your body weight shifts forward to add power to your swing.
Position the log securely against a stable surface or use a chopping block to prevent it from moving. This stability allows for more accurate and powerful swings, making your task easier and safer. Maintain a consistent rhythm while chopping and take breaks to keep your focus sharp and energy levels high, which helps prevent fatigue and reduces the risk of injury.
For added safety, ensure the area around you is clear of obstacles and wear protective gear like gloves and safety glasses. These precautions guard against potential kickbacks or missed swings, promoting a safer wood-splitting experience.
- Aim for a 45-degree angle to the grain.
- Use a golf swing technique.
- Maintain a consistent rhythm and take breaks.
Optimal Log Positioning
When splitting logs into sections, always position them securely against a stop stick to prevent rolling or shifting. This ensures the log stays stable, making it easier to split accurately. For optimal log positioning, aim to chop the wood at a 45-degree angle to the grain. This angle increases the likelihood of a clean split with less effort. Use the cross-laying technique, stacking shorter pieces on top of longer logs to enhance leverage and efficiency.
Keep the logs manageable, ideally no more than 12-16 inches in diameter. Larger logs can be more physically demanding to split with just an axe. Always work on a sturdy chopping platform and maintain a safe distance from the chopping area to minimize the risk of injury.
Here's a quick reference table to help:
| Log Size (Diameter) | Angle of Split | Technique |
|---|---|---|
| 12 inches | 45 degrees | Cross-laying |
| 14 inches | 45 degrees | Cross-laying |
| 16 inches | 45 degrees | Cross-laying |
| <12 inches | 45 degrees | Direct split |
| >16 inches | 45 degrees | Pre-splitting cuts |
This table provides guidance on the best techniques for different log sizes, ensuring efficient and safe splitting.
Utilizing Proper Tools
Splitting logs into sections is much easier and more efficient when you use the right tools. A Fiskars splitting axe is ideal for this task due to its efficiency and sharp axe head. Aim to split your logs into manageable sections, around 16 inches long, for easy handling and stacking.
When you're bucking logs, cut them into sections that fit your storage dimensions, typically 4 feet wide by 4 feet high by 8 feet long for a full cord. This ensures you can neatly split and stack the firewood.
Use a 45-degree angle when chopping across the grain to optimize effectiveness and minimize effort. This angle helps the axe head penetrate the wood more easily, making the splitting process smoother.
To keep the log stable while you're working, position it against a stop stick or a secure surface. This prevents the log from rolling or moving, enhancing your safety and efficiency. Furthermore, regularly sharpening your axe is vital. A sharp axe head requires less force, making your job easier and safer.
Key Tips:
- Use a Fiskars splitting axe for efficiency.
- Split logs into 16-inch sections for easy handling.
- Maintain a sharp axe head to reduce effort.
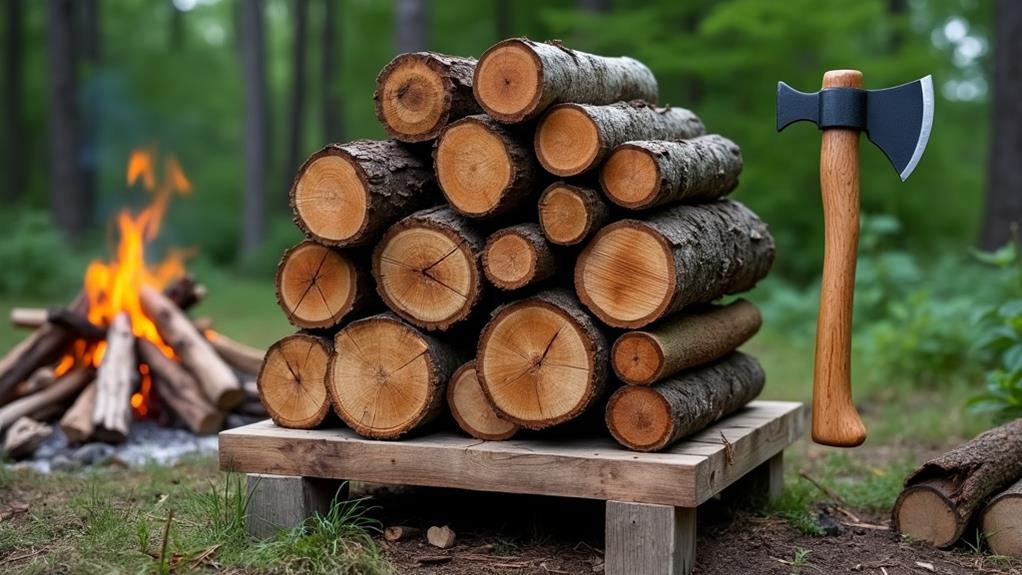
Creating a Stable Base
Elevate your firewood stack off the ground to prevent moisture absorption and decay, using materials such as sapling poles, flat rocks, or pressure-treated 2x4s. This step is crucial for maintaining the quality of your firewood. A "sacrificial layer" of logs on the ground can minimize moisture wicking, but be aware that these logs may eventually rot.
Elevating Materials and Their Purposes:
| Material | Purpose |
|---|---|
| Sapling Poles | Natural and easy to source |
| Flat Rocks | Durable and moisture-resistant |
| Pressure-Treated 2x4s | Long-lasting and stable |
For added stability and height, use double pallets, cinder blocks, or sturdy wooden supports. These materials provide a solid foundation, ensuring your stack remains upright and secure, even in adverse weather conditions. Stack the wood with the bark side facing up to help shed water and improve the seasoning process.
Maintaining air gaps between the stacks is essential for better circulation. However, avoid stacking too high to reduce the risk of collapse. Environmental factors like wind can exacerbate instability, so a well-thought-out base is your best defense against potential disasters.
Stacking for Airflow
Ensuring adequate airflow is essential for effectively seasoning firewood. To optimize airflow, start by stacking your firewood in a sunny, open area to maximize exposure to both sunlight and wind. Proper spacing of the logs is crucial to allow air to circulate around them, preventing moisture buildup and accelerating the seasoning process.
Tips for Optimal Airflow:
- Orientation: Stack the wood with the bark side up to facilitate water shedding and improve drying efficiency.
- Elevation: Use double pallets or cinder blocks as a base to elevate the stack. This enhances air circulation and prevents moisture absorption from the ground.
- Inspection: Regularly check your stacks for signs of mold or rot. Monitor moisture levels to ensure the firewood is drying properly.
Be mindful of the spacing between the logs. A tightly packed stack can trap moisture, hindering the seasoning process and potentially leading to mold or rot. Following these guidelines will create an environment conducive to efficiently seasoning your firewood, ensuring it's ready to burn when you need it.
Elevating the Firewood Stack
Elevating your firewood stack is essential to prevent ground moisture absorption and promote proper seasoning. Start by using materials like sapling poles, flat rocks, or pressure-treated 2x4s to lift your stack off the ground. This simple step helps keep your wood dry and improves seasoning, ensuring it burns efficiently when needed.
For added height and stability, consider using double pallets or cinder blocks. These materials not only elevate the firewood stack but also enhance airflow around the logs, accelerating the drying process.
When stacking, place the wood with the bark side up to help shed water and further improve drying efficiency. Cover the top of your stack with a tarp or other waterproof material to protect it from rain and snow. However, ensure the sides remain uncovered to allow adequate airflow and prevent mold growth.
Regularly monitor the moisture levels of your firewood to ensure proper drying. Raised stacks exposed to sunlight and wind will season more effectively, providing high-quality firewood when it's time to light a fire.
Maintaining Stack Stability
To maintain stack stability, start by using sapling poles, flat rocks, or pressure-treated 2x4s to elevate the wood off the ground. Stack the wood with the bark side up and interconnect piles with longer branches or logs for added support. Keep the height at a maximum of 4-5 feet, and regularly check for signs of instability or moisture issues.
Proper Wood Placement
Proper wood placement is essential for maintaining a stable and dry firewood stack. Start by stacking wood with the bark side up to facilitate water shedding and enhance seasoning, ensuring your firewood is dry and ready to burn.
Elevate your wood off the ground using sapling poles or flat rocks to prevent moisture absorption and reduce the risk of rot, keeping your firewood in good condition.
Maintaining air gaps between stacked wood is crucial as these gaps enable proper airflow, preventing moisture buildup and promoting even drying. Without these gaps, your firewood could become damp, leading to poor burning quality and potential mold growth.
When stacking, avoid going too high. A height of 4-5 feet is generally recommended to minimize the risk of collapse and ensure stability. Taller stacks are prone to tipping over, which could be dangerous and disrupt your storage.
For added stability, especially in windy conditions, interconnect stacks using longer branches or logs. This provides extra support and keeps your woodpile secure.
- Bark side up: Facilitates water shedding.
- Raise wood: Prevents moisture absorption.
- Air gaps: Ensures proper airflow and drying.
Stacking Techniques Overview
Maintaining stack stability is crucial for keeping your firewood safe and dry during storage. Start by elevating your wood stacks off the ground using sapling poles or cinder blocks to prevent moisture absorption and rot, which can weaken your fire logs.
When stacking, always place the wood with the bark side up. This orientation enhances water shedding and improves seasoning efficiency. Ensure there are air gaps between stacks to reduce the risk of leaning and tipping, significantly enhancing stability.
To further secure your stacks, interconnect them using longer branches or logs for additional support. However, avoid stacking too high, as overly tall stacks are prone to collapsing, posing safety risks and potentially damaging your firewood.
Regular monitoring is essential. Routinely inspect your stacked wood for signs of instability or moisture issues. If you detect any problems, adjust the stack to maintain optimal stability.
Seasoning Your Firewood
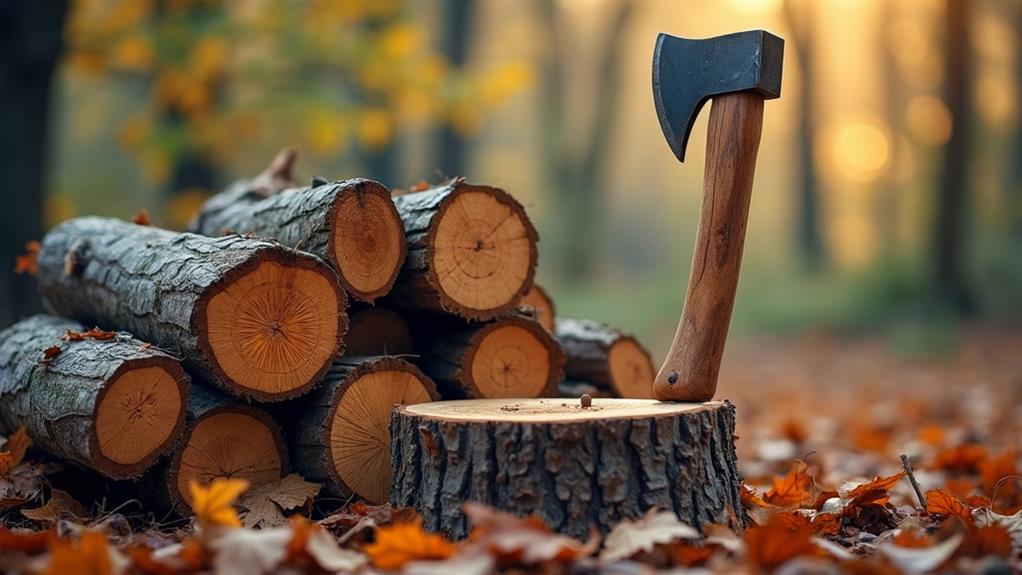
Seasoning your firewood is crucial for efficient burning and minimizing creosote buildup in your chimney. Begin by splitting your logs to increase surface area, which accelerates drying. Stack the wood to ensure good air circulation.
Key tips for effective firewood seasoning include:
- Elevate Your Stack: Use pallets or pressure-treated lumber to keep the wood off the ground, preventing moisture absorption from the soil.
- Stack with Bark Side Up: Position logs with the bark facing upward to shed water more effectively and enhance drying.
- Optimal Location: Place your stack in a sunny, well-ventilated area to speed up the seasoning process.
Proper seasoning typically takes six months to a year, depending on wood type and climate. Ensuring good airflow around your stack prevents mold and rot, helping the wood reach an ideal moisture content of around 20% or lower. Well-seasoned firewood not only burns more efficiently but also helps keep your chimney cleaner and safer.
Safety Tips and Best Practices
When stacking firewood, prioritize safety by wearing gloves, boots, and eye protection. Handle your axe carefully in a stable, clear area free from obstacles and bystanders. Regularly inspect your wood stack for stability and cover it during bad weather to keep it dry.
Proper Axe Handling Techniques
Gripping the axe handle firmly with both hands is essential for maintaining control and preventing slips, particularly when chopping at a 45-degree angle to the grain. This technique ensures accuracy and minimizes the risk of accidents.
Ensure your chopping area is free of obstacles and distractions. This allows you to focus fully on your swings, making each chop more effective and safe.
For efficient and safe axe use, adhere to the following best practices:
- Maintain the Axe: Regularly inspect and sharpen your axe blade. A sharp blade cuts more efficiently and reduces the risk of accidents associated with dull tools.
- Use Proper Body Mechanics: Engage your legs and core for power rather than relying solely on your arms. This technique reduces fatigue and helps prevent injuries.
- Grip and Stance: Hold the axe handle with both hands and maintain a balanced stance. This provides better control and stability, especially during powerful swings.
Protective Gear Essentials
Safety should always be your top priority when working with firewood, and wearing the right protective gear is essential. Start with cut-resistant gloves to protect your hands from sharp edges and splinters. Handling an axe and split wood can expose you to cuts and scrapes, making these gloves indispensable. Safety goggles are also crucial. They shield your eyes from flying debris and wood chips, common during chopping and stacking operations.
Don't overlook your feet. Steel-toed boots are vital for preventing crush injuries from heavy logs or falling wood. If you're working in an area with potential overhead hazards, such as falling branches, a hard hat provides necessary head protection. Additionally, hearing protection, like earplugs or earmuffs, is important to guard against noise exposure from chopping and any power tools you might use.
Each piece of protective gear plays a critical role in ensuring your safety while splitting and stacking firewood. By taking these precautions, you can confidently focus on the task at hand, knowing you're well-protected against common accidents and injuries.
Safe Chopping Environment
While wearing the right protective gear is essential, creating a safe chopping environment is equally important. Start by ensuring your chopping area is clear, level, and free from debris that could cause instability. This stable foundation helps prevent accidents while you split wood.
Next, establish a designated chopping platform that includes a front kickback guard and rear support. These features help contain wood pieces and minimize the risk of injury from logs that might fly or bounce unpredictably. A well-supported log is easier and safer to split.
Constant awareness of your surroundings is crucial. Be vigilant for potential hazards such as nearby individuals or wildlife to ensure you're not putting anyone at risk.
Here are some best practices to follow:
- Clear the area: Ensure there's a radius free of obstructions and people around your chopping zone.
- Use a stable platform: A sturdy chopping block with guards can prevent accidents.
- Take regular breaks: Fatigue can lead to decreased focus and increased risk.
Conclusion
By following these steps, you'll efficiently create a robust firewood stack using just an axe. Start with the right axe and seasoned wood, ensuring a stable chopping area and using proper splitting technique. Arrange the stack, spacing the logs to promote seasoning. Monitor moisture levels and stability. Prioritize safety throughout the process. Happy chopping, and may your firewood keep you warm all winter!