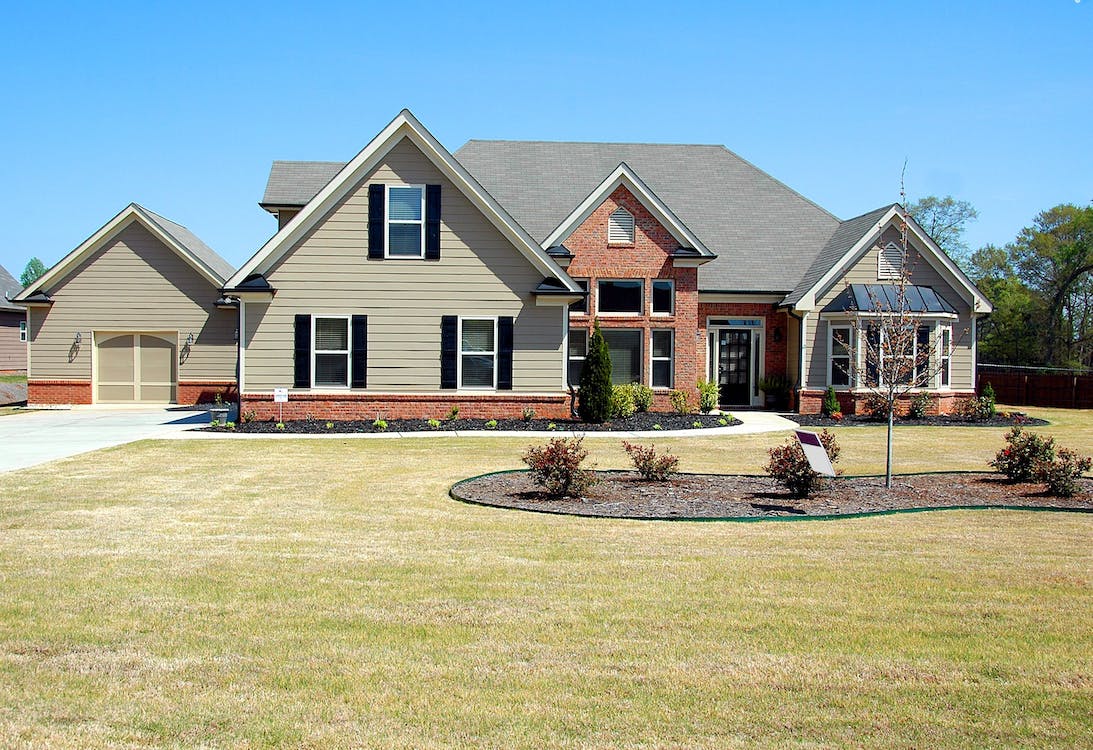
How to Create a Tiny Home for Crafting and DIY Projects
Creating a tiny home for your crafting and DIY projects involves more than just gathering materials like craft wood and polymer clay. You need to meticulously plan every detail, from the base structure to unique elements like roof designs and window shapes. Start by constructing a solid foundation, and then focus on incorporating distinct features. Pay attention to lighting and organization to ensure the space is both functional and visually appealing. Interested in how to integrate all these components seamlessly? Let's explore the steps to transform your creative vision into a personalized miniature home.
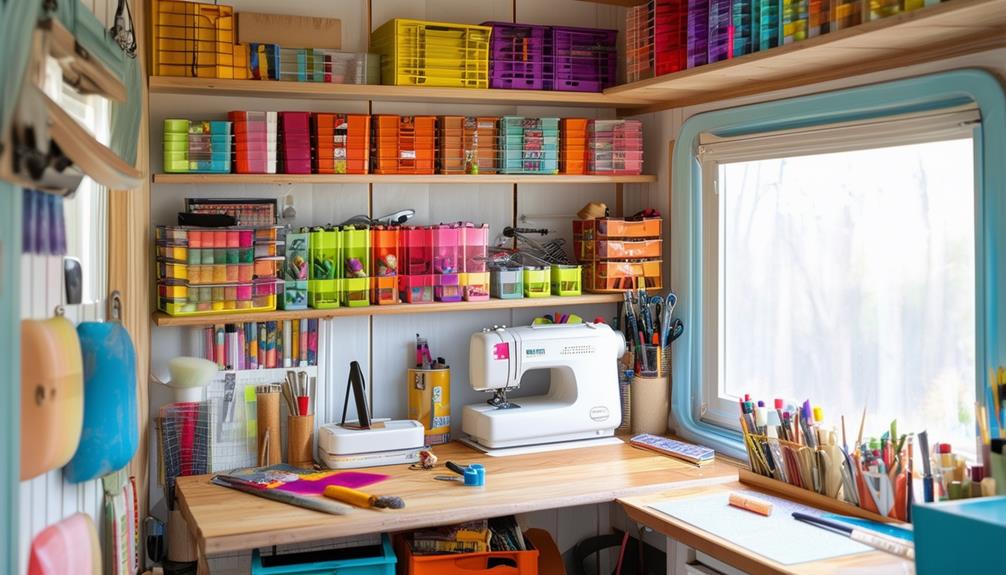
Gather Your Materials
To create your tiny home, you'll need to gather the following materials: craft wood (approximately 1mm thick), paper, a ruler, an X-Acto Knife, and super glue. The craft wood serves as the foundation of your tiny house, offering both durability and the ability to maintain its shape effectively.
First, use the ruler to outline the shape of your tiny house on the craft wood. Precise measurements are crucial to ensure that all the pieces fit together seamlessly. Use the ruler to draw straight lines and mark where you will make your cuts.
For cutting the craft wood, an X-Acto Knife is highly recommended. This tool allows you to achieve clean and sharp edges, giving your tiny house a professional finish. Handle the knife with care to prevent any accidents.
Plan Your Design
Start by sketching your design ideas, including the layout, furniture placement, and overall aesthetic of the tiny home. Visualizing your concepts on paper helps ensure you don't overlook any details.
Consider the specific dimensions to create a small yet functional space that will accommodate your crafting and DIY projects. Plan for adequate storage, work surfaces, and any special features you want to include. Your design should reflect your personal style and fulfill the practical needs of your projects.
As you plan, keep the following in mind:
- Materials: Identify the necessary materials for construction, such as wood, paper, glue, and miniature furniture.
- Customization: Consider any unique elements or custom features you wish to incorporate.
- Blueprint: Develop a detailed blueprint to guide your construction process.
- Space Optimization: Ensure the layout maximizes the available space efficiently.
Build the Base Structure
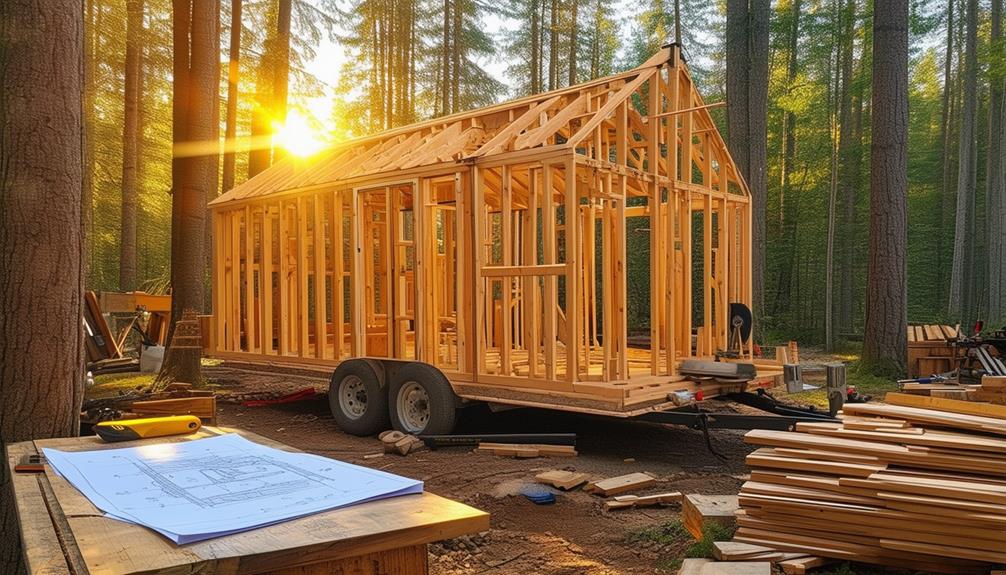
To begin building the base framework of your small dwelling, gather your essential materials and tools to ensure an efficient construction process. You'll need craft wood, a ruler, an X-Acto knife, and strong adhesive. Start by accurately outlining and cutting the shapes from the wood, ensuring neat and sharp edges for a precise structure.
Next, securely bond all pieces together using strong adhesive. For enhanced structural integrity, consider adding extra layers. Here are some building tips:
| Task | Tools/Materials Required |
|---|---|
| Outline and cut the shapes | Craft wood, Ruler, X-Acto Knife |
| Bond pieces together | Strong adhesive |
| Add extra layers for strength | Additional wood pieces, Strong adhesive |
Once the structure is assembled, focus on paint techniques and surface finishes to enhance its appearance. Ensure surfaces are smooth before applying any paint. For the interior layout, consider room organization. Creating furniture pieces using polymer clay adds a personalized touch. Bake them and arrange them inside your small dwelling.
Personalize your small dwelling by experimenting with furniture placement, paint colors, and unique surface finishes. This approach ensures each small dwelling reflects your creativity and style while maintaining structural integrity.
Construct Your First House
Begin constructing your first tiny home by outlining the main structure on craft wood and precisely cutting out each piece. Use a sharp craft knife or a small saw to achieve clean, sharp edges. Once all the pieces are ready, glue them together, adding extra layers for dimension and sturdiness.
Next, focus on the interior design. Create miniature furniture pieces using polymer clay, and bake them to ensure they are durable and long-lasting. Carefully plan the furniture arrangement within your tiny home, considering how the space will be used and ensuring it looks balanced and inviting.
Now, bring your tiny home to life with a coordinated color scheme. Choose a color palette that reflects your style, and paint the walls, furniture, and decorative items in complementary colors. This will create a cohesive and visually appealing interior.
To make your tiny home stand out, pay attention to the details. Customize your design with unique touches that reflect your personality. Here are some ideas to get you started:
- Add tiny framed artwork or photos
- Incorporate miniature plants
- Use patterned paper for wallpaper
- Create tiny rugs and cushions
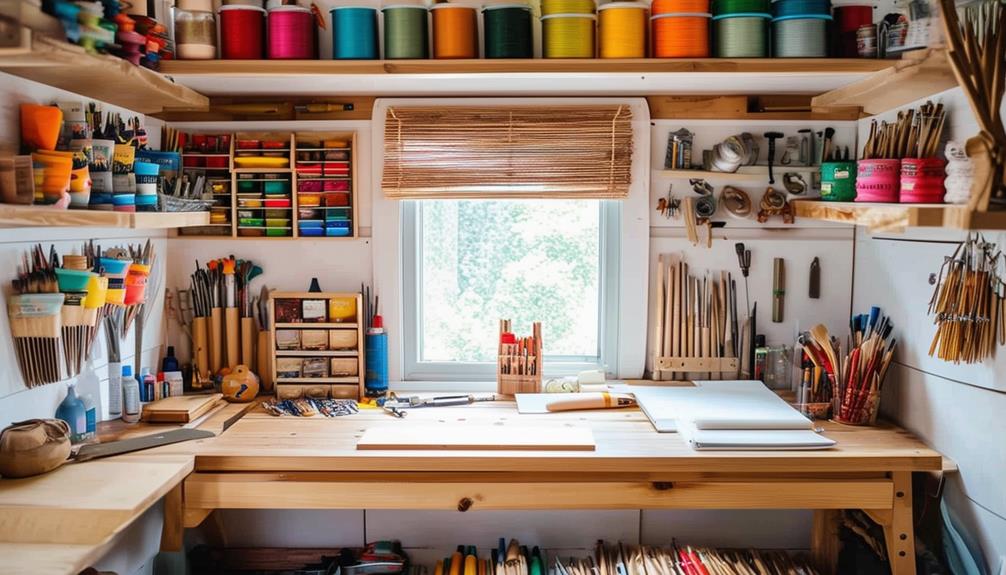
Improve Your Technique

To enhance your crafting skills, focus on refining precision and accuracy in every cut and measurement. Mastering these techniques is crucial for achieving high-quality results. Always use a sharp blade and a metal ruler for clean, straight cuts. Follow the principle of "measure twice, cut once" to avoid wasting materials and making errors.
Experimenting with different materials and textures can add variety and depth to your creations. Don't hesitate to try new materials; each has unique properties that can enrich your projects. For example, compare the sturdiness and finish of cardboard versus balsa wood for structural elements—they offer distinct advantages.
Here's a quick reference table to help you enhance your technique:
| Technique | Tips and Advantages |
|---|---|
| Cutting Techniques | Use sharp tools; cut slowly for clean edges. |
| Measuring Pointers | Double-check measurements to ensure accuracy. |
| Crafting Precision | Focus on small, detailed work. |
| Material Exploration | Experiment with different materials for unique textures. |
Add Variety and Details
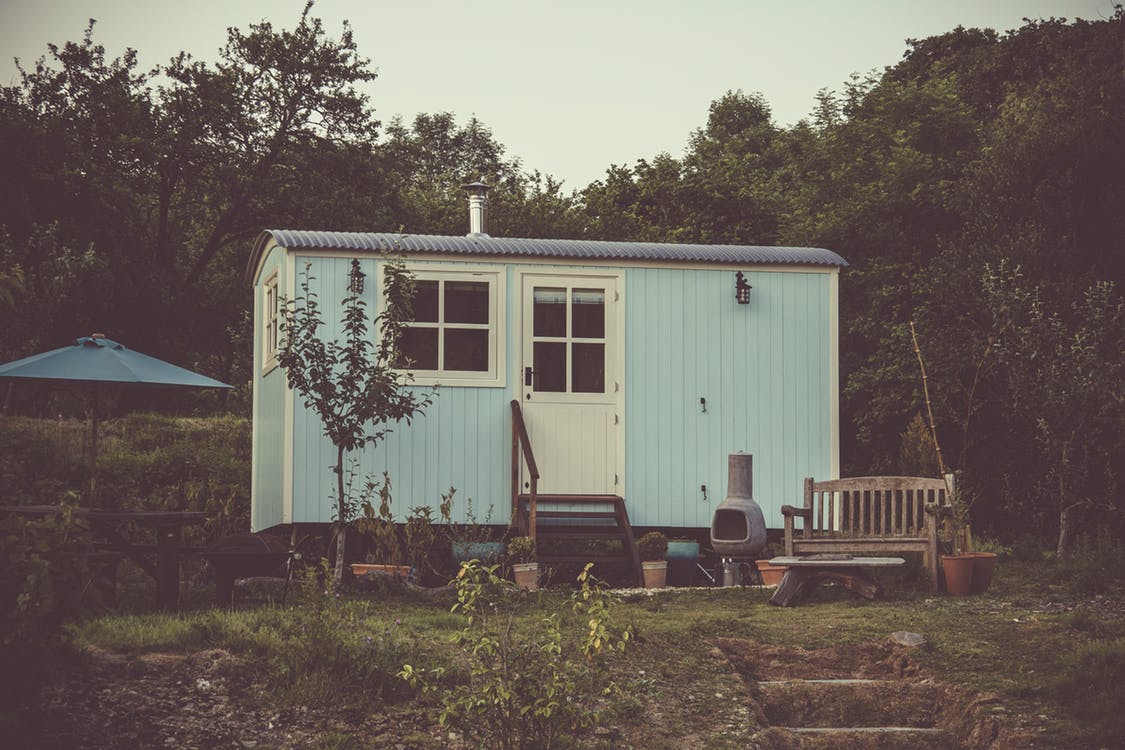
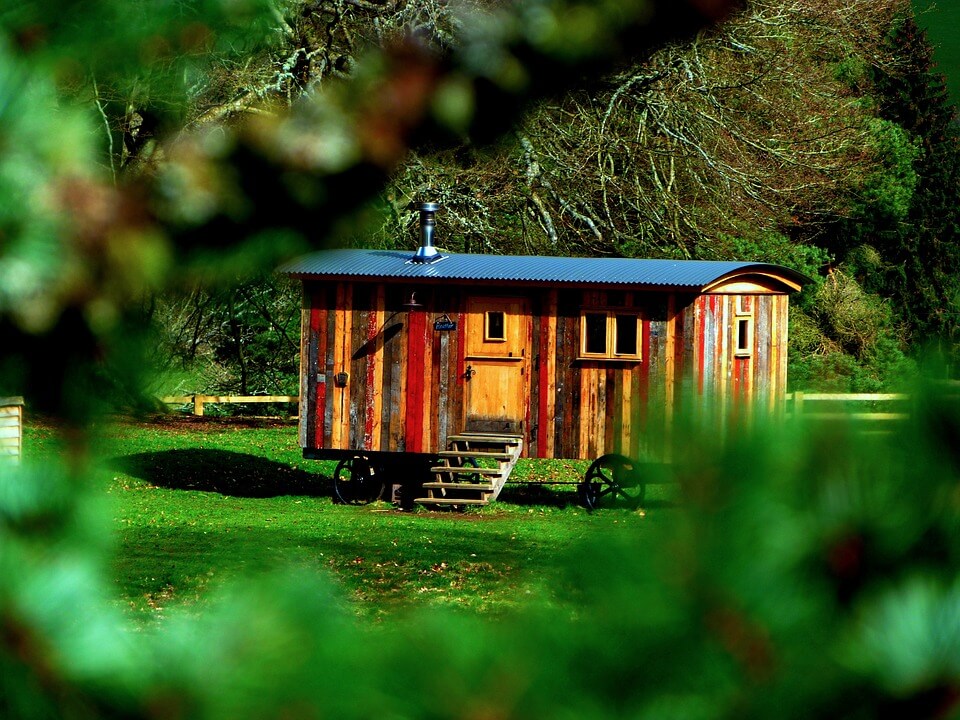
To truly make your tiny home unique, experiment with custom roof designs and unconventional window shapes. Don't hesitate to use vibrant exterior finishes to infuse each project with its own distinct personality. These thoughtful details will transform your miniature creations into charming and personalized masterpieces.
Custom Roof Designs
Explore various roof styles such as gable, gambrel, and shed to give your tiny home a unique appearance. The right roof design can significantly enhance the visual appeal of your tiny home while also offering practical benefits. When selecting roofing materials, consider innovative options like corrugated metal, reclaimed wood, or clay tiles. These materials can introduce distinct textures and colors, making your tiny home stand out.
Incorporating personalized touches into your roof can truly make your tiny home one-of-a-kind. Consider elements such as dormer windows, skylights, or chimneys to add both character and functionality. These additions not only improve aesthetics but also allow more natural light into your living space.
Here are some suggestions to help you get started:
- Blend materials: Combine different roofing materials to achieve a layered and textured look.
- Play with shades: Experiment with contrasting colors for a bold statement or mix subtle tones for a cohesive appearance.
- Incorporate architectural features: Add elements like dormers or chimneys for added charm and utility.
- Explore different shapes: Experiment with unconventional roof forms to diverge from traditional designs.
Unique Window Shapes
After perfecting your custom roof design, consider incorporating unique window shapes to add character and detail to your tiny home. Window design significantly influences the overall aesthetic of your space. Experiment with circular, triangular, or arched windows to create visual interest and evoke specific architectural styles. For instance, arched windows can provide a Gothic or Victorian feel, while triangular or circular designs might lend a more modern look.
When crafting these windows, use a sharp knife or scissors for precise cuts, ensuring a clean, professional finish. Don't stop at shapes alone; consider enhancing the ambiance with stained glass effects. Materials like colored acetate or translucent paper can simulate stained glass, adding beauty and complexity. Simply cut the material to fit your window design and adhere it carefully.
These unique window shapes and stained glass effects do more than beautify—they transform the entire aesthetic and ambiance of your tiny home. Choose your window shapes thoughtfully to match your desired architectural style and create a space that is both distinctive and inviting. Your tiny home will not only be a functional space but also a visual delight.
Colorful Exterior Finishes
A vibrant exterior finish can transform your compact home into a stunning visual masterpiece, reflecting your unique style and creativity. By experimenting with diverse color palettes, you can bring your home to life. Creative painting techniques like stenciling and decoupaging allow you to add intricate designs and patterns, making your exterior truly one-of-a-kind.
Texture experimentation adds depth and character. Mix and match materials such as imitation brickwork, shingles, or siding to enrich the visual appeal and add a tactile dimension. Small decals or stickers can further enhance detailed designs.
Here are some ideas to get you started:
- Stenciling: Use stencils to apply patterns or shapes with your selected color palette.
- Decoupaging: Apply decorative paper or fabric to sections of the exterior for a unique look.
- Imitation Brickwork: Use textured paint or imitation panels to mimic brick or stone.
- Miniature Decals: Add tiny stickers or decals for intricate detailing.
Create Custom Furniture
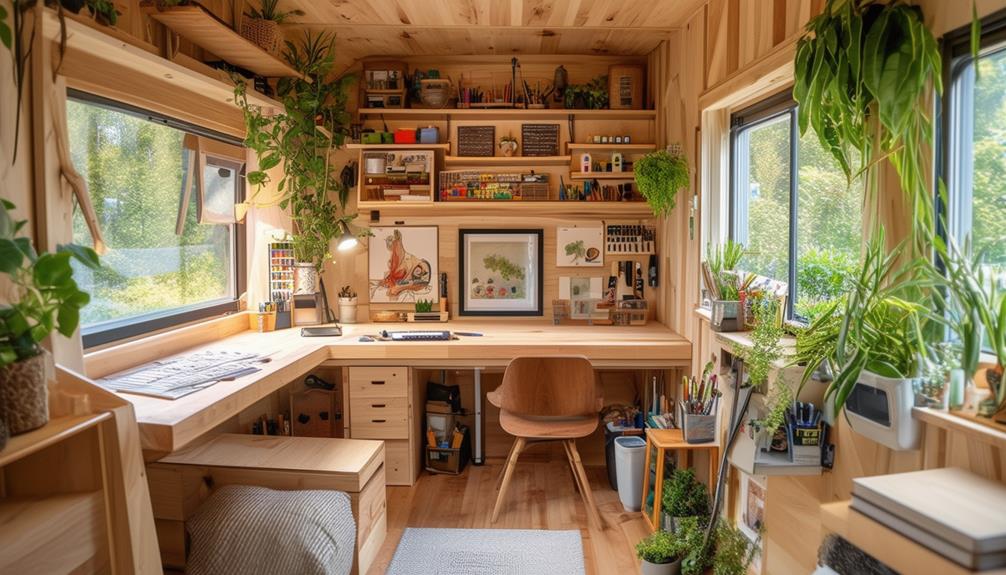
Crafting custom furniture for your tiny home can be an exciting way to personalize your DIY project. Embrace furniture customization by using creative techniques with polymer clay. This versatile material allows you to mold chairs, tables, and other pieces to fit your style and needs. Ensure scale accuracy to maintain proportionality with your tiny home's space, enhancing the overall interior design. Once you've shaped your furniture, bake the polymer clay at 250°F for 20 minutes to set the pieces.
Pay attention to functional details and stylish finishes to create a cohesive look. For instance, add tiny cushions to chairs or paint intricate designs on tables to make them pop. Arrange the furniture thoughtfully inside your tiny home, considering the flow and accessibility of the space. Secure each piece with super glue to ensure it stays in place.
Incorporate elements like plants, rugs, and bookshelves to complement the furniture and enhance the interior design. By focusing on both functionality and aesthetics, you'll create a tiny home that's not only beautiful but also practical for your DIY projects.
Decorate and Personalize
Now it's time to make your tiny home truly yours by selecting unique color schemes and arranging furniture thoughtfully. Combine colors, textures, and patterns to create a space that reflects your personality. Place custom furniture to optimize space and ensure a cozy, functional atmosphere.
Unique Color Schemes
Enhance your tiny home with unique character by exploring bold and vibrant color combinations. Understanding color psychology and design theory can guide you in choosing hues that not only look appealing but also boost your mood and spark creativity. For example, bright yellows paired with rich blues can create striking contrasts, adding visual impact to your space.
Alternatively, you can opt for pastel colors to achieve a soft and calming aesthetic, ideal for a relaxing environment. Pastels provide a gentle backdrop, making your tiny home feel more spacious and serene. Adding metallic accents like gold or silver can introduce a touch of elegance and luxury, making your space feel unique and sophisticated.
For a more minimalist approach, consider a monochromatic color scheme. This cohesive look can make your DIY project area feel organized and visually appealing. Mixing different textures and patterns in coordinating colors can also add visual interest and depth.
Here are some ideas to get you started:
- Bold and Bright: Pair vibrant yellows with deep blues for high contrast.
- Pastel Paradise: Use soft pinks and mint greens for a calming effect.
- Elegant Metallics: Integrate gold or silver accents for a touch of luxury.
- Monochrome Magic: Stick to shades of one color for a cohesive look.
Personalized Furniture Placement
Maximize both space and functionality in your small home by thoughtfully arranging your furniture. Start by evaluating the scale and proportion of each piece to ensure a balanced appearance. Opt for compact furniture that fits seamlessly within your dimensions without dominating the room.
Experiment with various layouts to find the most visually appealing and practical configuration. Personalize your furniture placement to reflect your style and preferences, making your home uniquely yours. Don't hesitate to rearrange until you achieve the perfect setup.
Creative storage solutions and multipurpose furniture are essential in a small home. Look for items that serve dual purposes, such as a sofa that transforms into a bed or a coffee table with hidden storage. Utilize vertical space by placing shelves and cabinets higher up, and consider storage ottomans with concealed compartments. These solutions not only save space but also keep your belongings organized and accessible.
Assemble and Display
Carefully trim and affix the craft wood pieces to assemble your miniature home. Once the basic structure is secure, focus on the interior. Pay close attention to furniture arrangement and interior design to ensure everything fits perfectly. Use super glue to secure the furniture pieces, making sure they are sturdy and well-placed.
Next, consider lighting options and display techniques to highlight your miniature home. Small LED lights can bring your creation to life, casting a warm glow over your tiny rooms. Position lights strategically to enhance visual appeal and create cozy atmospheres.
Creative customization is key to making your tiny home distinctively yours. Add DIY accessories like miniature plants, tiny rugs, and custom windows. These touches personalize your space and add layers of charm and realism.
Here are some tips to help you display your tiny home with pride:
- Utilize a transparent display case to protect and showcase your creation.
- Incorporate a mirrored background to make the space appear larger.
- Place your tiny home at eye level for ideal viewing.
- Ensure adequate lighting to highlight all the intricate details.
Handle your delicate miniature home with care, and enjoy the satisfaction of your beautifully crafted project.
Share and Engage
Celebrate your crafting adventure by sharing your miniature home on social media and connecting with fellow DIY enthusiasts. Post photos and videos of your setup, and invite others to share their own crafting projects. This interaction helps build a vibrant community where everyone can exchange ideas and inspiration.
Engage your audience by asking about their favorite crafting tools or techniques. This fosters conversation and helps you discover new tool recommendations. You can also create polls or host Q&A sessions for lively and meaningful engagement.
Take it further by hosting virtual crafting sessions or challenges. These events can unite like-minded crafters, enhancing community bonds. For example, challenge your followers to create something using specific materials and share the results. It's a fun way to showcase different interpretations and techniques.
Collaborate with other enthusiasts to exchange tips for organizing supplies and maximizing your crafting space. By fostering interaction and sharing DIY experiences, you'll create a supportive network that amplifies the joy of crafting in your tiny home.