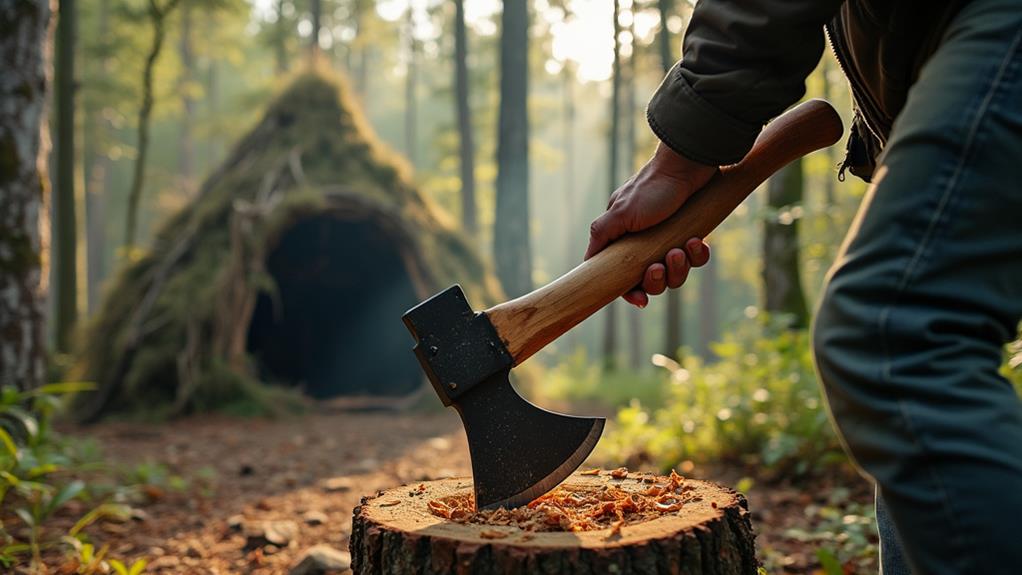
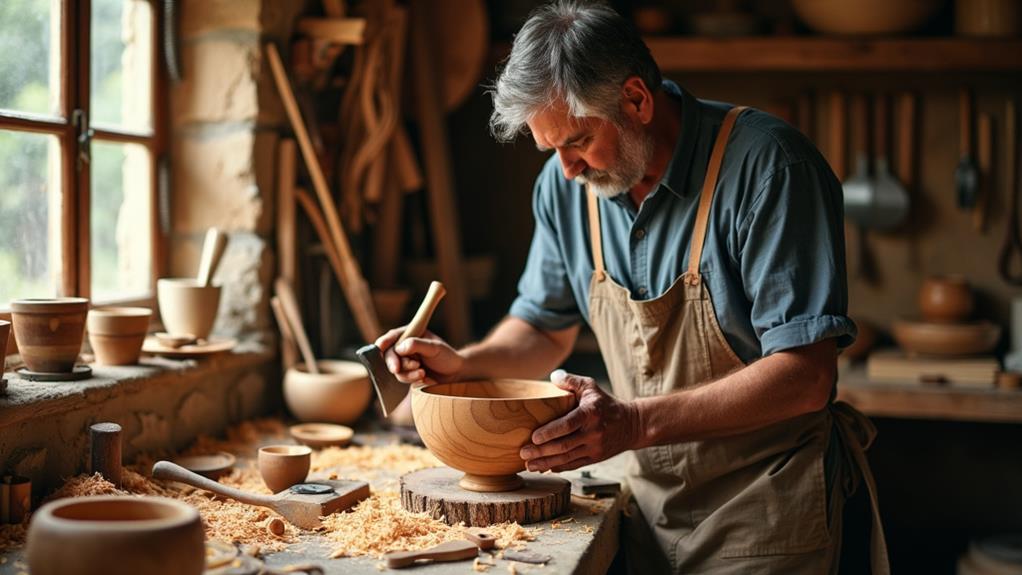
Using an Axe to Create Wooden Utensils and Tools

When crafting wooden utensils and tools with an axe, it's crucial to start with the right equipment and materials. Select an axe that matches your skill level and the specific tasks you aim to accomplish, whether it's the lightweight Gransfors Bruks Wildlife Hatchet for beginners or a heftier model for more experienced users.
Choosing the right type of wood, such as fresh green birch or cherry, can significantly ease the shaping process. Before you begin, familiarize yourself with the techniques and safety measures that ensure both precision and durability in your crafted items.
So, where do you start?
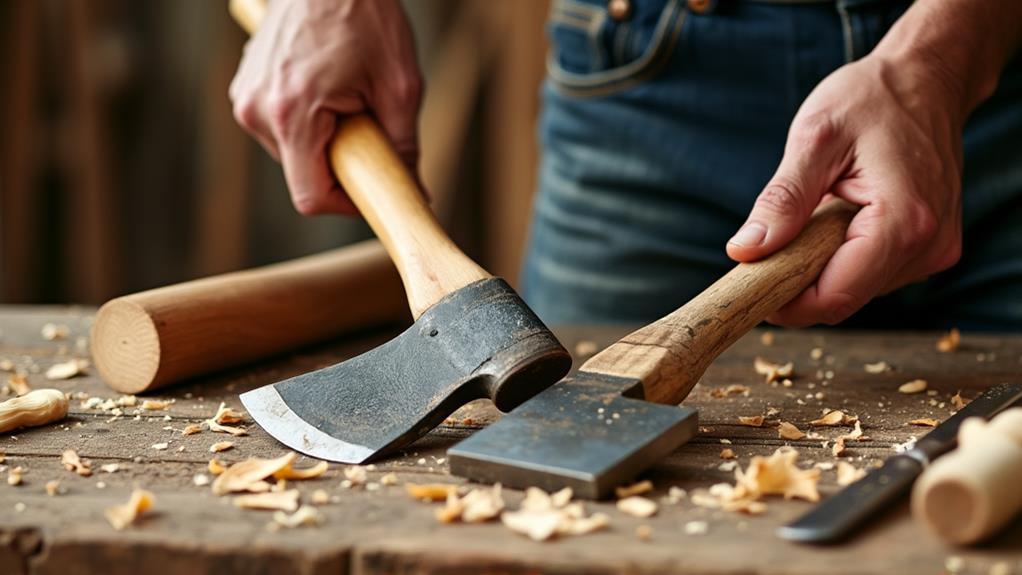
Selecting the Right Axe
When selecting an axe for carving wooden utensils, it's important to focus on several key factors to ensure you get the best tool for the job. For beginners, the Gransfors Bruks Wildlife Hatchet is ideal. Its lightweight design minimizes fatigue and offers greater control, making it excellent for those new to spoon carving.
For more experienced carvers seeking a heavier option, the Robin Wood axe excels in roughing out spoons. Its weight aids in quick material removal, and the blade retains its sharpness longer than lighter axes, ensuring efficiency.
For intricate and delicate work, consider a smaller carving axe like the Gränsfors Bruk Carving Axe. This tool is specifically designed for detailed tasks and is portable, allowing you to carve spoons almost to completion even while traveling.
Regardless of your skill level, always choose an axe with a well-balanced head and a comfortable handle. These features improve precision and safety, both critical aspects of spoon carving.
Choosing the Wood
Selecting the right wood for carving wooden utensils is essential for a successful project. Fresh green wood is highly recommended due to its softness and ease of shaping compared to seasoned wood, making the carving process much smoother.
Species like birch, cherry, and ash are commonly favored for spoon carving, each offering unique workability and finish qualities that enhance the final product.
When choosing your wood, aim for pieces with minimal knots and defects to ensure a smoother carving experience and reduce the risk of breakage during shaping. Knots can be particularly troublesome, so it's best to avoid them whenever possible.
For sourcing your materials, consider reaching out to local tree surgeons or conservation groups. They can provide suitable wood, often at a lower cost, promoting sustainability and supporting local businesses and environmental efforts.
Experimenting with different wood types enriches your carving experience and helps develop your skills. Each species behaves differently, so trying a variety of woods can make you a more versatile and skilled carver.
Preparing the Wood
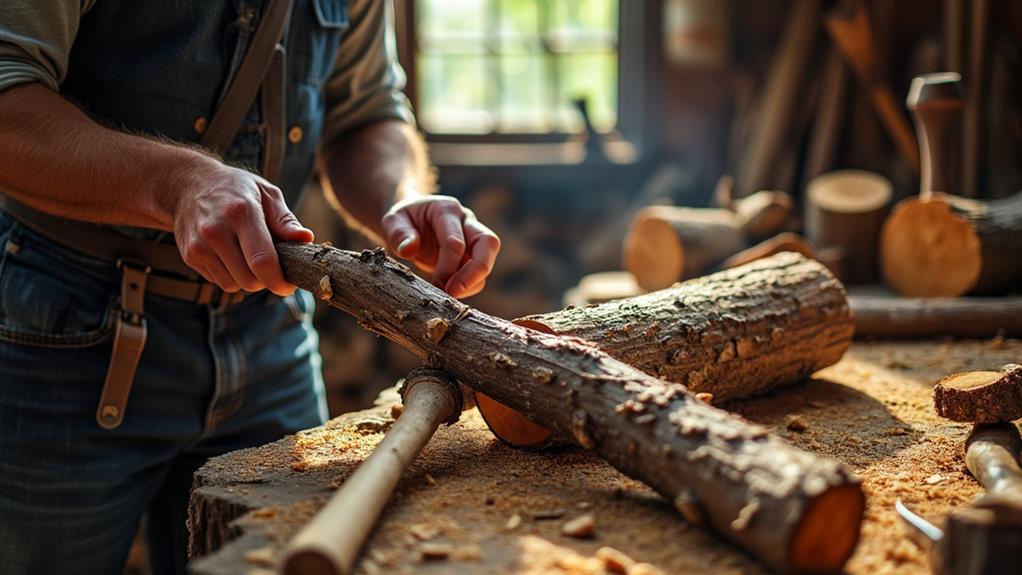
Successfully preparing the wood is crucial for creating durable and aesthetically pleasing wooden utensils. Start by selecting a hardwood log, such as cherry or ash, with a diameter of at least 200mm and a length of 300-400mm. These dimensions are ideal for carving and provide a solid base for your project. Ensure the wood is green and cleavable, as green wood is easier to work with and less likely to split during the shaping process.
Next, use a small axe, like the Gransfors Bruks Wildlife Hatchet, to split the wood. This tool offers greater control, making it perfect for creating a spoon blank. Carefully split the log, taking your time to ensure clean, controlled cuts.
Once you have a manageable piece, outline the design of your spoon directly on the wood surface. This will serve as a guide during the carving process and help you maintain the desired shape. For seasoned logs, utilize any radial cracks to your advantage. These natural lines can enhance both the functionality and aesthetics of your finished utensil.
Roughing the Shape
With your wood prepared, it's time to start roughing the shape of your wooden utensil. Begin by using a larger axe, such as the Gransfors Bruks Wildlife Hatchet, ideal for heavy shaping due to its lightweight design and optimized geometry. Start with small, controlled cuts to gradually reduce the wood's size. This method minimizes the risk of removing too much material at once, allowing for better refinement.
Use a series of strokes in varying directions to create a rough outline of your utensil. Follow the natural grain of the wood to prevent splits and breakage. Regularly check the symmetry and proportions of your utensil as you shape it, adjusting your cuts accordingly to maintain balance and aesthetic appeal.
Prioritize safety at all times. Keep your hands clear of the axe blade and use proper cutting techniques. Ensure that your workspace is stable and secure.
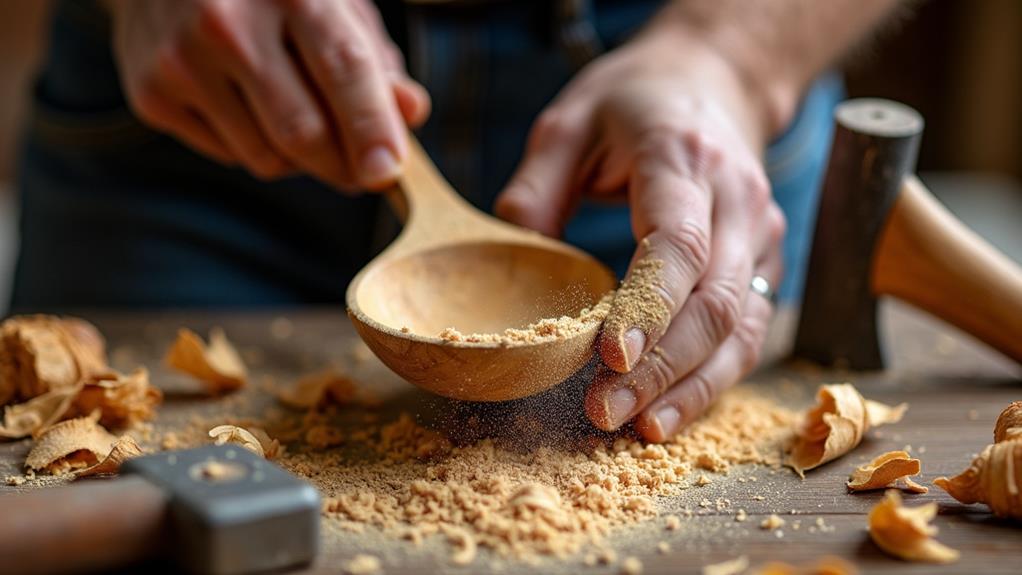
Carving the Bowl
To carve the bowl of your spoon, choose a hook knife with a curved blade for effective scooping and shaping. Secure the wood in a clamp or vice to keep it stable and safe. Use sweeping motions with the hook knife or gouge to create a smooth, rounded bowl shape.
Selecting Proper Hook Knife
Selecting the proper hook knife is crucial for carving the bowls of wooden utensils. A hook knife, characterized by its curved blade, is specifically designed for this task, especially for carving spoons. You'll want a blade approximately 2 to 4 inches in length, which offers a balance of maneuverability and precision for crafting a well-defined concave shape.
The handle is equally important. It should be ergonomic and comfortable, providing a secure grip to maintain control during intricate carving tasks. Opt for a blade made from high-quality steel to ensure it remains sharp longer and is easy to resharpen when necessary.
When using the hook knife, secure your wooden piece with a clamp or vice. This stabilizes the wood, allowing you to apply gentle pressure and make controlled, sweeping cuts. This technique prevents excessive material removal, ensuring a smooth finish.
Using the right hook knife not only simplifies your work but also results in a more polished final product.
Effective Bowl Carving Techniques
Carving the bowl of a wooden utensil requires skill and patience, but using the right techniques can make the process more efficient and enjoyable. Start with a hook knife with a curved blade, employing sweeping motions to shape the bowl. This method ensures precision and a smooth finish.
Stabilize your wood by securing it in a clamp or vice, which provides better control and keeps your hands safe. Alternatively, you can use a gouge, which offers various techniques and finishes, especially useful for different wood grains.
Begin with shallow cuts and gradually deepen them. This approach allows you to shape the bowl progressively and make adjustments as needed. For visual learners, watching instructional videos can be extremely helpful in mastering these techniques.
Here's a quick reference for your tools and techniques:
| Tool | Technique |
|---|---|
| Hook Knife | Sweeping motions |
| Clamp or Vice | Stabilize and secure wood |
| Gouge | Alternative carving method |
| Shallow Cuts | Gradual depth increase |
| Instructional Videos | Visual learning aid |
Securing Wood Safely
Securing wood firmly is imperative for a safe and effective bowl carving process. When fastening wood, using a clamp or vice is critical. This prevents the wood from shifting, allowing you to make controlled and precise cuts. A stable piece of wood ensures a smoother carving experience, especially when using hand tools like a hook knife. This tool is ideal for the sweeping motions needed to shape the bowl.
Maintaining a steady grip on the wood is also important. It helps avoid slippage, which can lead to accidents or uneven cuts. Position the wood at a comfortable height and angle to reduce strain on your body during the carving process. This stability guarantees safety and improves the quality of your work.
For versatility, consider using a gouge. This tool helps achieve the desired depth and contour of your bowl, offering another layer of precision. By securing wood properly and using hand tools effectively, you can carve a beautiful and functional bowl safely and efficiently.
Shaping the Handle
When shaping the handle, begin by using a larger axe to remove excess wood and establish the basic outline. Aim for an ergonomic design that fits comfortably in your hand, maintaining a consistent thickness of 25-30mm. Pay close attention to the wood grain to prevent splintering and ensure durability.
Optimal Handle Thickness
Achieving the ideal handle thickness for wooden utensils is crucial for both comfort and functionality. Generally, a handle thickness between 1 and 1.5 inches provides a comfortable grip while ensuring strength and stability during use.
A rounded handle profile fits naturally in the hand, offering better control. Aim for a gradual tapering towards the end of the handle to facilitate an ergonomic hold, reducing strain during prolonged use.
Throughout the carving process, periodically test the handle thickness by holding the utensil. This hands-on approach allows for necessary adjustments, ensuring the final product is comfortable and secure.
Ergonomic Handle Design
Crafting an ergonomic handle for wooden utensils begins with aiming for a rounded and chubby design that fits comfortably in the hand, promoting a secure grip during use. Ensure the handle length is proportional to the size of the tool, typically ranging from 5 to 8 inches, to provide proper leverage and control. The diameter should taper gently from the base to the end, generally around 25-35mm, to reduce hand fatigue and allow for an easy grip.
To shape the handle:
- Measure and mark: Ensure the proportions are correct for the intended use.
- Taper the diameter: Gradually narrow it from base to end for comfort.
- Smooth the surface: Use progressively finer sandpaper to avoid splinters.
After shaping, sanding the handle is vital. Use progressively finer sandpaper to achieve a smooth finish, enhancing comfort and preventing splinters.
Sanding Techniques
Sanding techniques are essential for transforming a roughly carved wooden utensil into a smooth, polished masterpiece. Begin with coarse-grit sandpaper (80-120 grit) to eliminate rough spots and imperfections. This initial sanding step helps create a uniform surface. Gradually progress to finer grits, such as 400 grit or higher, ensuring each stage is thorough before moving to the next to achieve a smooth finish.
Always sand in the direction of the wood grain to prevent scratches and enhance the natural beauty of your utensil. Utilize a sanding block or a flexible sanding tool to maintain even pressure and effectively reach into curves and contours, which is especially important for intricate spoon designs.
Here's a quick reference table for your sanding process:
| Grit Level | Purpose |
|---|---|
| 80-120 | Remove rough spots and imperfections |
| 150-180 | Smooth out initial sanding marks |
| 220-240 | Fine-tune the surface texture |
| 320-400 | Achieve a smooth, polished finish |
| 400+ | Ultra-fine finishing touches |
After sanding, ensure all dust is wiped off. The subsequent step involves applying a food-safe mineral oil and beeswax polish to protect and enhance your utensil, which will be covered in the next section.
Applying Finishes
Once you've completed sanding, it's time to apply a finish to your wooden utensil to enhance its natural beauty and provide a protective layer. Choosing a food-safe finish is crucial, especially for wooden spoons. A combination of mineral oil and beeswax is highly effective. Mineral oil, being non-toxic, ensures culinary safety, while beeswax adds a durable, water-resistant layer, protecting your spoon from moisture and stains.
Benefits of Applying a Finish:
- Enhanced Beauty: Watch the grain of your wooden spoon come alive, showcasing its unique patterns.
- Longevity: Protect your hard work from cracking or drying, ensuring your spoon lasts for years.
- Safety: Rest assured knowing your finish is non-toxic and safe for all cooking needs.
How to Apply the Finish:
- Warm the mineral oil slightly and rub it generously over the entire surface of your spoon.
- Allow the oil to soak in for a few hours or overnight.
- Melt a small amount of beeswax and apply a thin layer over the oiled wood.
- Buff the wax gently into the spoon, creating a smooth, protective coating.
Maintenance:
- Regularly reapply the finish every few months to maintain the wood's integrity and beauty.
- Avoid finishes containing solvents or chemicals to keep your spoon safe for food use.
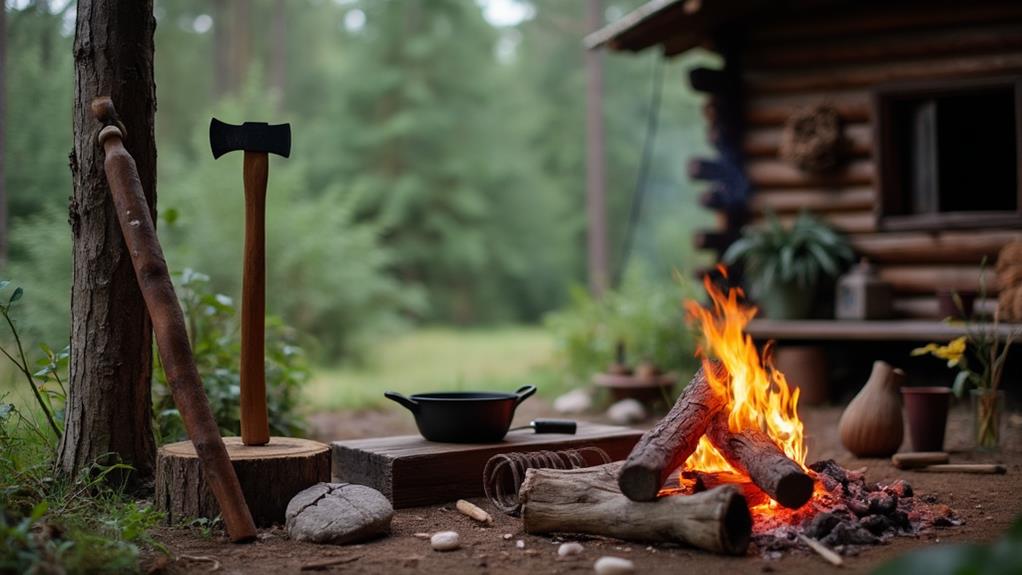
Maintaining Your Tools
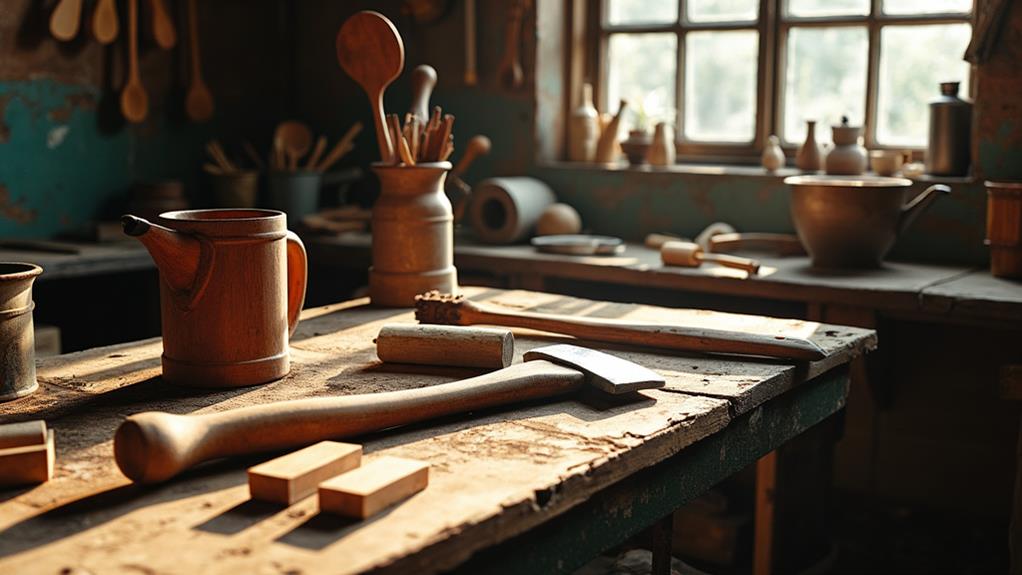
Proper tool maintenance is essential for ensuring safety and efficiency while carving wooden utensils. To keep your axe in prime condition, regularly sharpen it using a whetstone or a specialized sharpening tool. This maintains peak cutting performance and prolongs the blade's lifespan.
Clean the axe head with a wire brush and apply mineral oil to prevent rust and build-up, ensuring it remains in good working condition. Store your axe in a dry place and use a protective cover to shield the blade from damage and moisture when not in use.
Regularly inspect the axe handle for signs of wear, cracks, or loose fittings. Address any issues promptly by repairing or replacing the handle to prevent accidents. Maintaining your carving knife is equally important. Keep the blade sharp and clean, and store it properly to avoid damage.
Regular maintenance, including tightening any loose screws or bolts, ensures your tools remain safe and efficient. By following these steps, you'll be well-prepared for carving high-quality wooden utensils.
Safety Tips
When using an axe for woodworking, ensure your tools are sharp to prevent slips and accidents.
- Wear safety gear such as glasses, gloves, and sturdy shoes to protect yourself from flying debris and slips.
- Keep your work area clear of hazards and distractions.
- Practice proper axe handling by using both hands and always cutting away from your body.
Proper Tool Handling
Keeping your axe consistently sharp is crucial for both safety and efficiency. A dull axe requires more force to use, increasing the risk of slipping and potential injuries. A sharp axe not only cuts more effectively but also allows for better control.
When using your axe, always maintain a firm grip with both hands to ensure stability and reduce the chance of accidental slips. Keep your hands and body clear of the blade's path to avoid injuries. Be aware of your surroundings, ensuring that others are at a safe distance to prevent accidents. Focus on the task at hand and the space around you.
Here are three key safety tips to remember:
- Sharpness Matters: A sharp axe is safer and more efficient.
- Firm Grip: Use both hands and stay clear of the blade's path.
- Awareness: Ensure no one is in your immediate vicinity while you work.
Protective Gear Essentials
Proper tool handling necessitates the right protective gear. When using an axe to create wooden utensils and tools, personal protective equipment (PPE) is essential. Start with safety goggles to shield your eyes from wood chips and debris. Cut-resistant gloves will protect your hands from accidental nicks and cuts, while sturdy footwear guards against foot injuries. If you're working in wooded environments, a hard hat is a wise addition. It protects you from falling branches or debris, which can be a significant hazard.
Don't overlook the importance of a clear working area. Keeping your space free of obstacles reduces trip hazards and ensures tools are stored safely when not in use. This careful organization can prevent many accidents. Regularly inspect your axe for sharpness and signs of damage. A dull or damaged axe requires more effort to use and increases the risk of slips and accidents.
Always maintain a safe distance from others while working and communicate clearly, especially in group settings, to avoid unintentional injuries. Prioritizing these safety tips guarantees a safer and more efficient woodworking experience.
Conclusion
Crafting wooden utensils and tools with an axe is both rewarding and fulfilling. With the right axe, suitable wood, and proper techniques, you can create beautiful and functional items. Always prioritize safety, keep your tools sharp, and maintain them well. As you gain experience, your skills will improve, yielding even better results. Enjoy the process, be patient, and appreciate the craftsmanship in every piece you make. Happy carving!