How to Replace an Axe Handle With Minimal Tools
Replacing a broken axe handle with minimal tools might seem daunting, but a systematic approach can make it manageable. Begin by securing the axe head in a vise, then cut the old handle close to the head. Carefully remove the old wedges and clean the eye of the axe head. Choose a suitable wooden handle and ensure it fits snugly. Here's a detailed step-by-step guide to ensure the new handle fits perfectly and stays secure.
Tools You Will Need
To efficiently replace an axe handle, you'll need the following tools:
- Vise: Essential for securely holding the axe head, freeing up both hands and ensuring stability during the process.
- Hand Saw: Used to cut the old handle close to the axe head and trim the new handle to the appropriate length.
- Drill: Necessary for removing any wooden or metal wedges securing the old handle and for creating a kerf in the new handle for inserting a wedge later.
- Mallet: Important for tapping the new handle into the axe head without causing damage, ensuring a snug fit without using excessive force.
- Screwdriver: Useful for prying out stubborn wedges and assisting in the removal of the old handle.
These tools will help you complete the task with precision and care.
Removing the Old Handle
To remove the old handle, first secure the axe head in a vise. Use a hand saw to cut the handle close to the axe head. Drill out any wedges holding the handle in place and pry them out with a screwdriver or chisel.
Essential Tools Required
Taking on the task of replacing an axe handle begins with gathering the right tools for the job. To remove the old handle and prepare for the new one, you'll need a few crucial items. Initially, secure the axe head in a vise. This stabilizes it, making it safer and easier to work on. Next, use a hand saw to cut the old handle as close to the axe head as possible, being careful not to damage the axe head.
Once you've cut the handle, the next step is to remove any wooden or metal wedges inside the axe head's eye. A drill will help you remove these wedges by drilling out enough material to make extraction easier. After clearing out the wedges, drive out the remaining wood of the old handle in the same direction it was inserted. Ultimately, clean the axe head thoroughly to remove any debris or rust, guaranteeing a smooth fit for the new handle.
Here's a summary of the crucial tools you'll need:
| Tool | Purpose | Notes |
|---|---|---|
| Vise | Stabilize the axe head | Guarantees safety and stability |
| Hand Saw | Cut the old handle | Cut close to the axe head |
| Drill | Remove wedges and clear debris | Drill out material |
| Hammer | Drive out remaining wood | Use consistent force |
| Sandpaper | Clean the axe head | Remove debris and rust |
With these tools in hand, you're ready to move on to the next steps.
Cutting and Drilling
Secure the axe head firmly in a vise at an optimal angle. Using a hand saw, carefully cut the handle close to the axe head, ensuring precision to avoid any damage. Once the majority of the old handle is removed, focus on extracting any remaining pieces and wedges.
Inspect the axe head for metal or wood wedges that secured the old handle. These wedges can be particularly stubborn. Begin by drilling into the center of each wedge with a small drill bit, gradually increasing the size to progressively loosen the material. This technique minimizes the risk of damaging the axe head.
After drilling, use a screwdriver or cold chisel to pry out the loosened wedges. With the bulk of the old handle cut away and the wedges removed, the remaining fragments should come out easily. Ensure the axe head is clean and free of debris to facilitate a smooth replacement with the new handle. Cleanliness is crucial for the subsequent steps in your axe restoration project.
Removing Stubborn Wedges
Removing stubborn wedges can be a test of patience and precision. To start, secure the axe head in a vise to prevent any movement. This step is essential for safely removing the old handle and wedges.
If you encounter a wooden wedge, begin by drilling small holes around it to weaken its structure, making it easier to pry out without damaging the axe head. For metal wedges, gently tap them with a hammer to loosen them. Once they're loose, use a screwdriver or cold chisel to carefully pry them out. Apply steady pressure to avoid any unnecessary damage.
If the wooden wedge is glued, soaking it with water can help loosen the adhesive, making the extraction process smoother.
Here's a quick rundown to manage the process:
- Drill Holes Around Wooden Wedges: Weakens the wedge for easier removal.
- Tap Metal Wedges with a Hammer: Loosen them before prying out.
- Soak Glued Wooden Wedges: Use water to loosen the adhesive before extraction.
Preparing the Axe Head
Before fitting a new handle, it's crucial to prepare the axe head properly. Secure the axe head in a vise, ensuring it's angled for easy access to the handle attachment point. Protect the blade from any potential damage during this process. Use a hand saw to cut the old handle as close to the axe head as possible. Avoid generating excessive heat, as this can damage the axe head.
Next, remove any existing wedges, whether metal or wood. Carefully drill through them and pry them out without damaging the axe head. Clean the inside of the axe head's eye, removing all debris and remnants of old epoxy to ensure a proper fit for the new handle.
Inspect the axe head for signs of wear or damage, as any imperfections can affect the axe's performance. Ensuring the axe head is in good condition will make the rest of the process smoother and more effective.
Selecting a New Handle
Selecting the right handle is crucial for ensuring your axe performs optimally and has a long lifespan. Start by choosing high-quality, straight-grained wood such as hickory or ash. These woods are renowned for their durability and strength, making them ideal for axe handles. Ensure the handle meets these criteria for the best results.
Next, consider the handle length. For felling axes, a handle length of 32 to 36 inches is typically ideal. For smaller axes or hatchets, handles around 24 inches are more appropriate. The length of the handle directly affects your control and efficiency, so choose accordingly.
Here's a quick guide to help you make the best choice:
- Material: Opt for hickory or ash for their strength and durability.
- Length: Match the handle length to your axe type—longer for felling axes, shorter for hatchets.
- Inspection: Ensure the handle is free from knots or pinholes to avoid weaknesses.
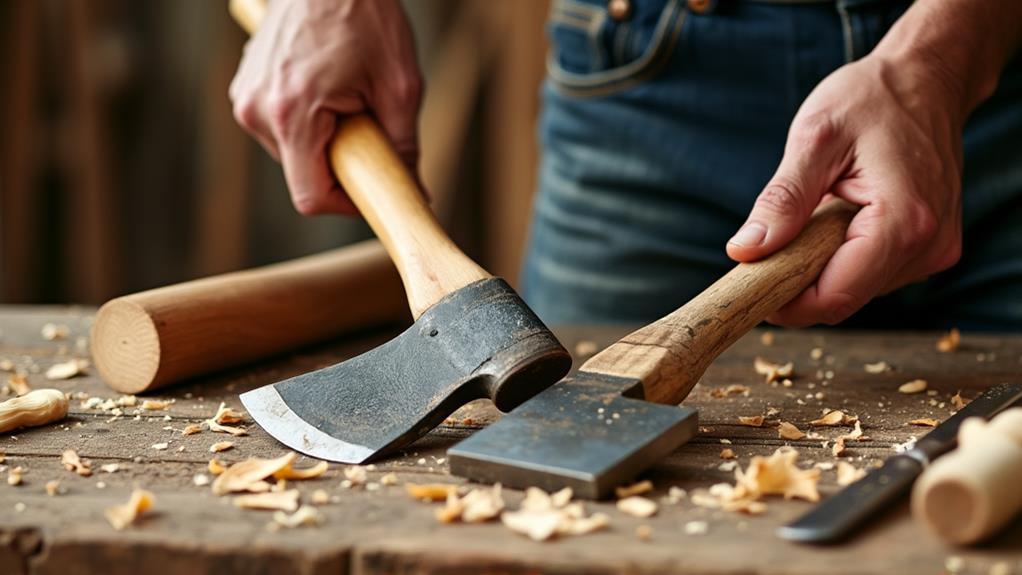
Fitting the New Handle
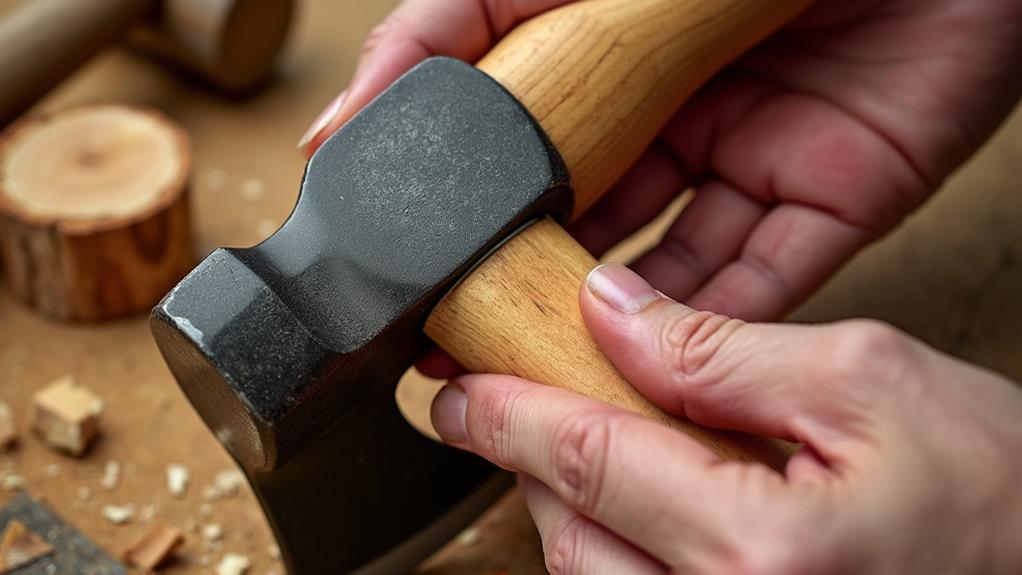
Begin by testing the fit of the new handle by inserting it into the axe head; it should be slightly larger than the axe eye. Use thick paper to outline the axe eye, which will serve as a guide for adjustments.
Gradually remove material from the handle using a draw knife or rasp, aiming for a snug fit. The axe head should sit just below the fitting line before you cut the kerf for the wedge.
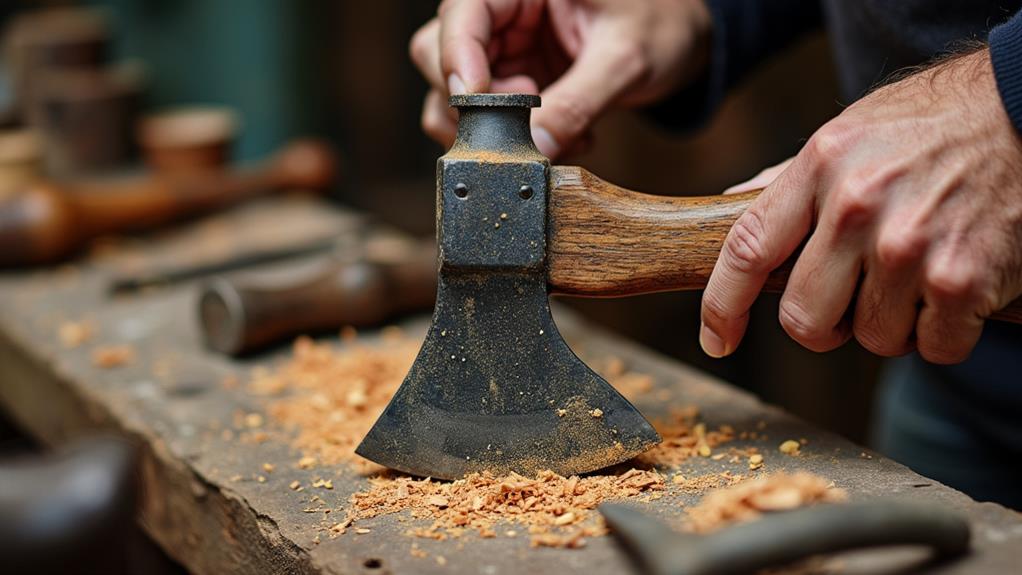
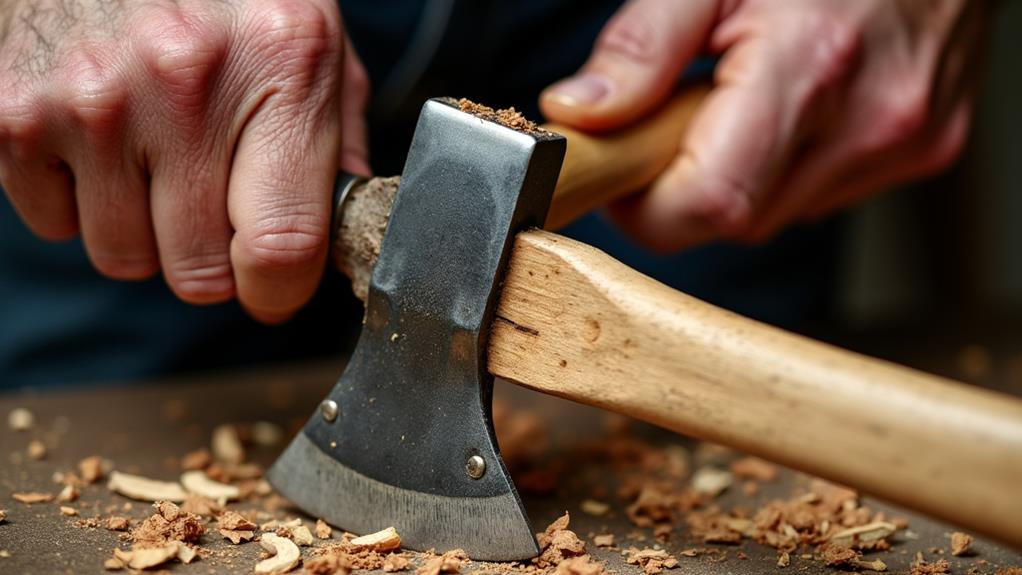
Proper Handle Insertion Techniques
When fitting a new handle, ensure it's slightly larger than the axe eye for a snug and secure fit, as this is crucial for both safety and performance.
Follow these steps to replace an axe handle properly:
- Tap the Handle: Use a mallet to gently tap the end of the handle while holding the axe upside down. This helps seat the handle securely into the axe head.
- Inspect for Rub Marks: Look for dark rub marks on the wood, which indicate contact points that might need trimming for better alignment.
- Check the Axe Eye: If the head doesn't seat properly, remove the handle and inspect the eye for rough or rusty areas. Smooth these areas for a better fit.
Ensure the axe head sits just below the desired fitting line to allow space for wedge installation, which will secure the handle in place. Proper handle insertion techniques guarantee the axe head is firmly attached and ready for use. A well-fitted handle not only improves performance but also enhances safety, reducing the risk of accidents.
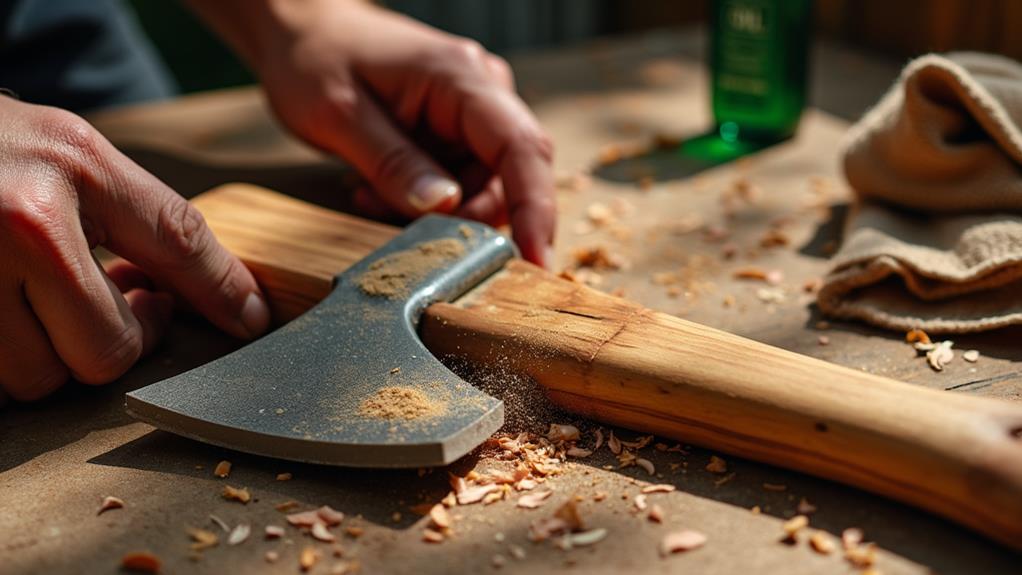
Ensuring a Snug Fit
Guaranteeing a snug fit for your new axe handle is essential for both performance and safety. Begin by selecting a handle slightly larger than the axe head's eye. This allows you to gradually remove material with a rasp or draw knife until the handle fits securely.
Regularly test the fit by inserting the handle into the eye and checking for dark spots on the wood, which indicate where the handle is rubbing against the axe eye. Remove material from below these spots to ensure a proper fit. Next, cut a kerf, or slit, into the end of the handle to accommodate the wedge. The kerf should be about a quarter of the depth of the axe eye, allowing the wedge to expand the handle securely when driven in.
Ensure the axe head sits just below the desired fitting line, with the handle protruding enough above the axe head to provide space for the wedge. Use a mallet to seat the axe head onto the handle, ensuring all contact areas are clean and free of rust or debris. This process guarantees a snug fit, securing both the handle and the axe head properly.
Installing the Wedge
Installing the wedge is vital for securing the axe head to the handle. Follow these steps for a proper installation:
1. Size the Wedge: Ensure the wooden wedge is appropriately sized to fit snugly in the eye of the axe. This fit is crucial for stability.
2. Drive the Wedge: Insert the wedge into the kerf at the top of the handle. Hammer it in gently but firmly, listening for a dull sound, which indicates the wedge is expanding within the axe eye and securing the head. Avoid using excessive force to prevent cracking the wood.
3. Trim Excess: Once the wedge is fully inserted, trim any excess material so it sits flush with the handle, providing a clean and professional finish.
4. Reinforce with a Metal Wedge: For enhanced durability, drive a metal wedge perpendicularly across the wooden wedge. This step further secures the connection between the axe head and handle.
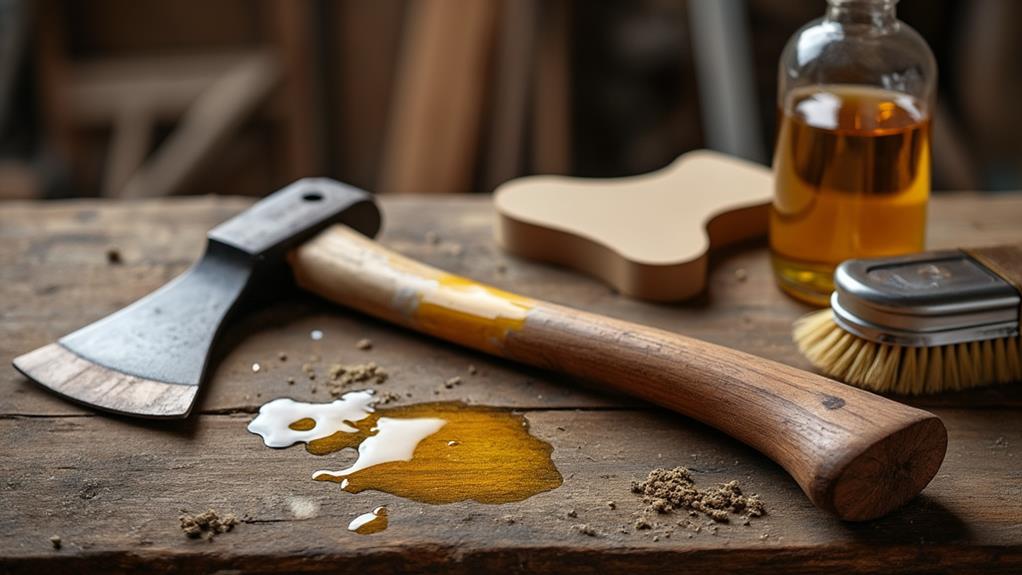
Sanding and Oiling
Sanding and oiling your new axe handle are essential steps to enhance its longevity and performance.
- Begin with 120 grit sandpaper to achieve a smooth surface, which will facilitate better oil absorption and provide a more comfortable grip, reducing the likelihood of blisters.
- Next, apply boiled linseed oil (BLO), an economical and effective option for protecting wooden axe handles.
- To apply, wear disposable latex gloves to avoid direct skin contact. Pour a small amount of BLO onto a clean cloth and rub it evenly over the entire handle.
- Ensure you wipe off any excess oil to prevent a sticky residue and achieve a clean finish.
- Follow this oiling schedule: apply daily for the first week, then weekly for a month, and finally, monthly for a year.
This routine will help maintain the handle's durability and appearance, ensuring your axe stays in top condition for years to come.
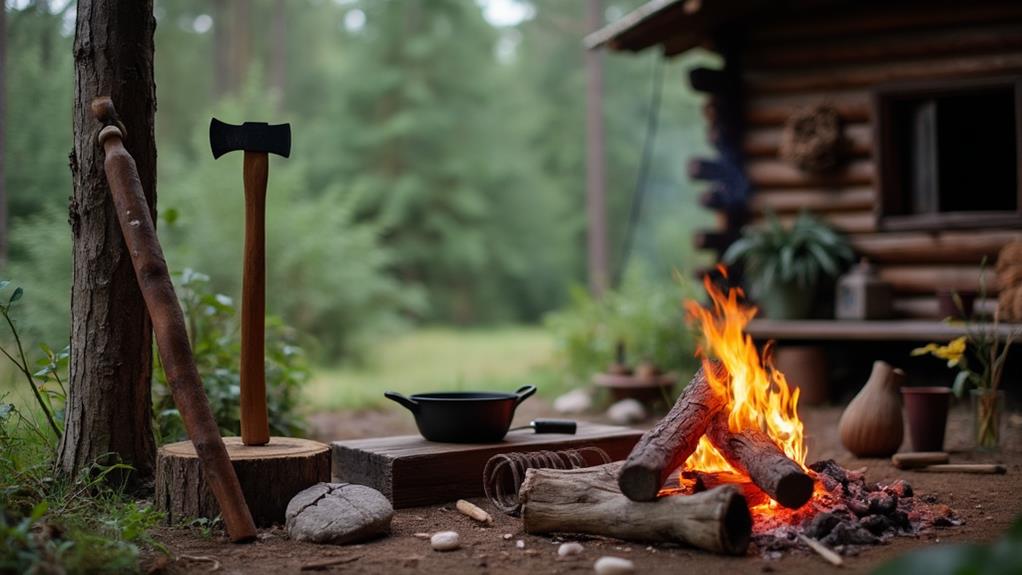
Maintenance Tips
A well-maintained axe can serve you for years, while neglect can quickly lead to deterioration. Regular maintenance is essential to keep your axe in top condition and safe to use. Here are some key maintenance tips to ensure your axe remains in excellent shape:
1. Clean Regularly: After each use, wipe the axe head and handle with a damp cloth to remove dirt and sap, which can cause deterioration. Ensure it's thoroughly dried to prevent rust and moisture damage.
2. Oil the Handle: Every few months, apply boiled linseed oil to the handle. This maintains its flexibility and prevents cracking. A well-oiled handle is less likely to split, reducing the need for frequent replacements.
3. Inspect Frequently: Regularly check the axe handle for signs of wear, such as cracks or splinters. If you notice any damage, replace the handle immediately to ensure safety. Avoid using the axe head as a hammer, as this can loosen the handle and lead to potential accidents.
Lastly, store your axe in a dry, warm environment to prevent moisture damage and warping of the handle. Consistent maintenance ensures your axe remains a reliable tool for years to come.
Conclusion
You've successfully replaced your axe handle using minimal tools! By carefully removing the old handle, prepping the axe head, and fitting the new handle, you've ensured a snug and secure fit. Installing the wedges, sanding, and applying boiled linseed oil completes the job, protecting your axe for future use. Regular maintenance is key to keeping your axe in top shape. Enjoy the satisfaction of a job well done and a tool ready for action!