Axe Forging: How Are Axes Made?
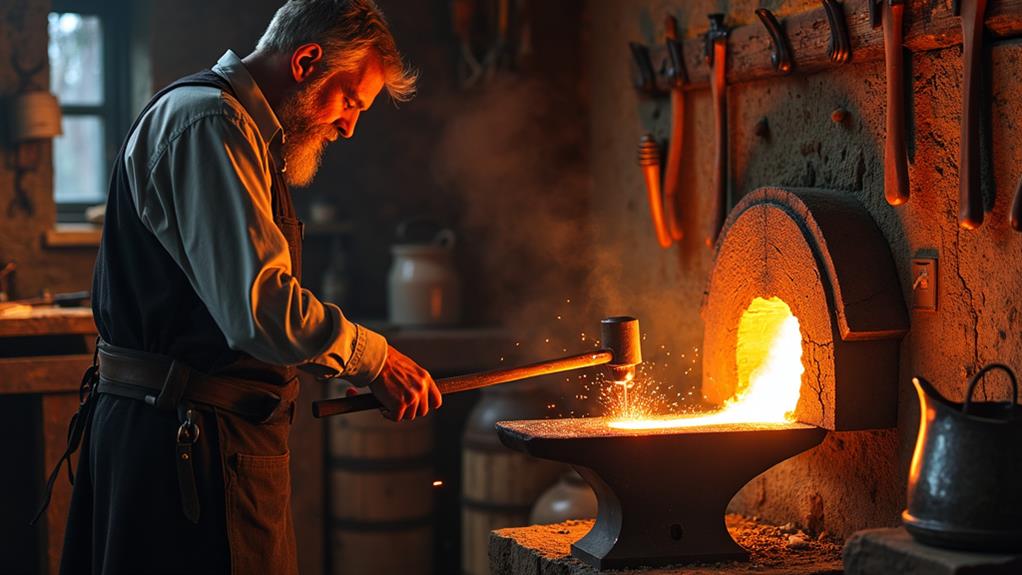
When you think about axe forging, you might picture a blacksmith hammering away at a glowing piece of metal, but there's much more to it.
The process begins with selecting high-carbon steel, which is heated to extreme temperatures to facilitate shaping. The metal is then formed under the force of a hydraulic press and anvils, with techniques such as fullering and welding employed to ensure precision.
After shaping the axe head, craftsmen focus on achieving the perfect balance and sharpness. Join us as we explore each meticulous step that transforms raw materials into a reliable axe.
Choosing an Axe
Selecting the right axe begins with identifying your specific needs. Different tasks require specific axe designs to maximize performance and efficiency. The weight of the axe head is crucial; it should feel comfortable when lifted with one hand. If it feels too heavy, it may not be suitable for prolonged use or tasks requiring precision.
Consider the handle length next. A longer handle provides more leverage, making it ideal for heavy chopping, while a shorter handle offers better control, suitable for detailed work. The handle material is also important. Hickory is often preferred for its shock-absorbing qualities, reducing strain on hands and arms. Fiberglass handles are durable and weather-resistant but may not offer the same comfort in grip.
Regular maintenance is essential for keeping your axe in optimal condition. Periodic sharpening of the axe head ensures it remains effective, and proper storage prevents rust and damage.
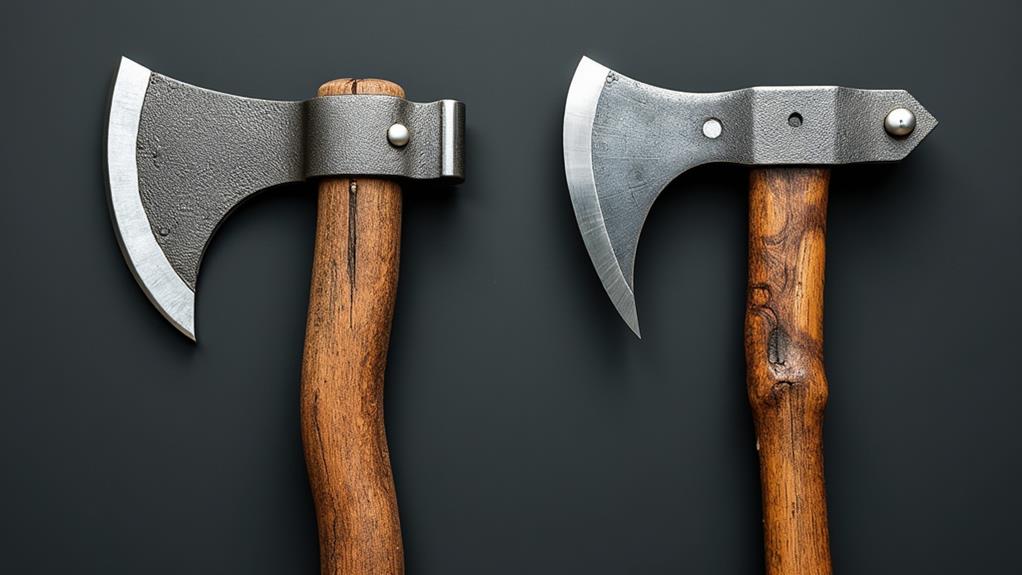
Axe Vs. Hatchet
When choosing between an axe and a hatchet, it's essential to understand their distinct functions. Axes, with their larger blade size and weight, are designed for substantial tasks like felling trees and splitting wood. Brands like OCHSENKOPF are renowned for their efficiency in these heavy-duty applications.
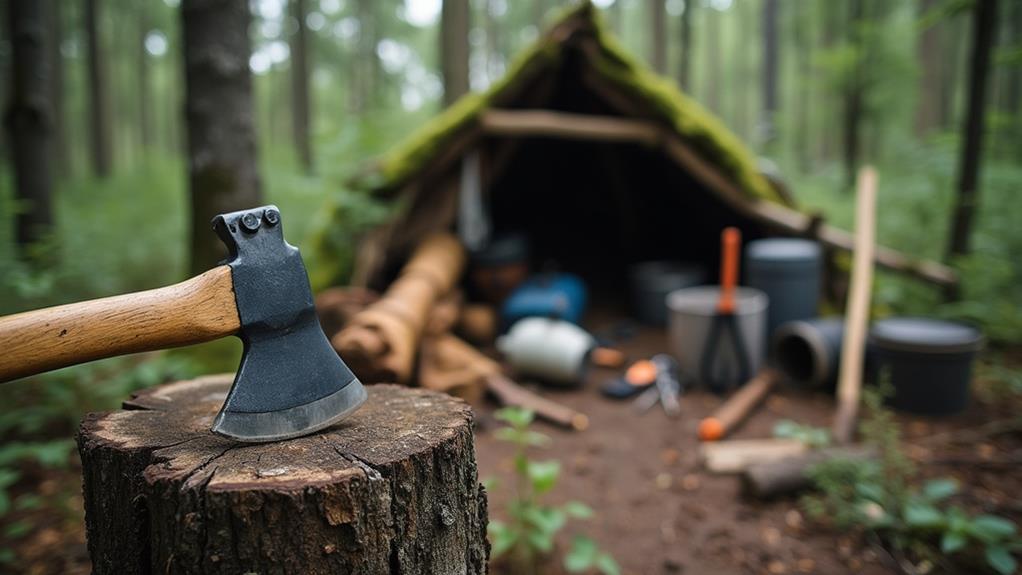
Conversely, hatchets are ideal for smaller, detailed work such as carving and light chopping. Their portability makes them perfect for camping and outdoor activities where ease of use is crucial. Selecting the appropriate tool should be based on the specific task. For large projects like splitting logs, an axe is the optimal choice due to its heft and size, which enhance performance and reduce effort.
In contrast, tasks requiring precision and maneuverability are better suited to a hatchet. Its lighter weight and compact design improve control and reduce fatigue. Choosing the right tool not only boosts productivity but also enhances safety. Using the wrong tool can lead to inefficiency and increase the risk of injury.
Therefore, always carefully assess your needs to make the right choice between an axe and a hatchet.
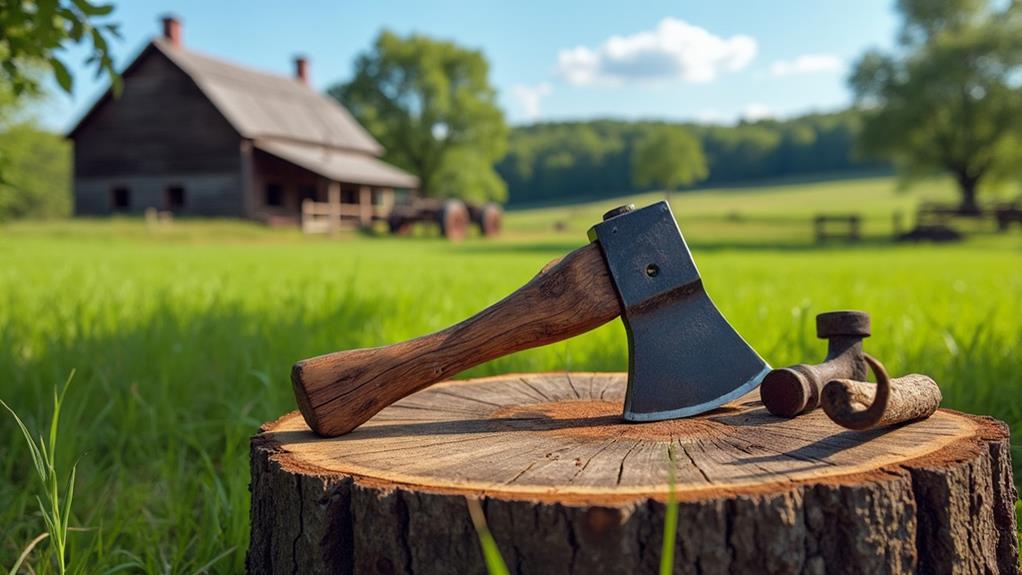
Axe Maintenance
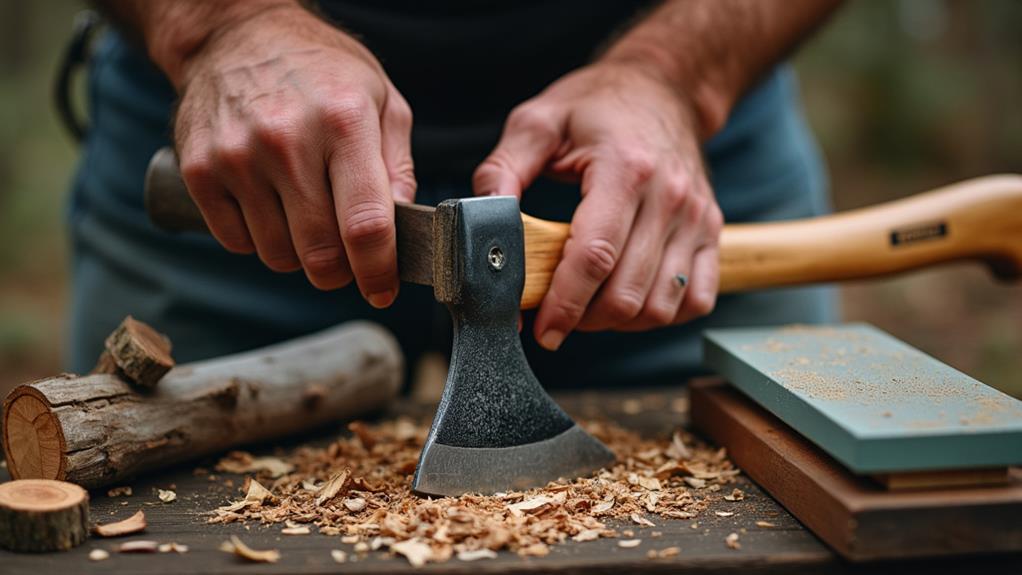
Proper maintenance of your axe is essential for ensuring its longevity and optimal performance. Regularly sharpening the axe head is key to maintaining its effectiveness and efficiency. A sharp blade facilitates smoother cuts, reducing the effort required for each swing.
Equally important are proper storage techniques. Always keep your axe dry and store it in a protective sheath to prevent rust and damage to both the blade and handle. Moisture can quickly render a rusty axe head useless.
Regular inspections for wear and tear are also crucial. Examine both the handle and axe head for any signs of cracking or loosening. Address any issues immediately to prevent accidents and ensure your axe remains safe to use. Applying linseed oil to the handle and axe head can significantly extend the life of your tool. Linseed oil forms a protective barrier against moisture and corrosion, maintaining your axe in top condition.
Whether you're a professional or a hobbyist, these maintenance tips will help keep your axe a reliable tool for all your tasks.
Safety Practices
When forging an axe, always wear protective gear such as safety goggles, gloves, and steel-toed boots to minimize injury risks. Stand with your feet shoulder-width apart and maintain a firm grip on your tools for better stability. Ensure that no one is within your designated safety zone while you work.
Essential Protective Gear
To ensure your safety while forging and using axes, essential protective gear is crucial. Steel-toed boots are necessary to protect your feet from heavy falling objects or accidental axe drops, preventing serious injury.
Safety goggles shield your eyes from flying sparks and debris during forging, allowing you to work uninterrupted. Sturdy gloves protect your hands from cuts, burns, and impacts, while also providing a better grip on tools and materials.
In environments where falling objects are a concern, such as forestry or logging operations, a hard hat is indispensable for preventing head injuries. Additionally, if you're working with power tools or in noisy surroundings, hearing protection is essential to avoid long-term hearing damage.
Regular safety training is also vital. Being aware of your surroundings, understanding proper grip techniques, and consistently practicing safety measures significantly reduce the risk of accidents. Always ensure you're well-prepared with the appropriate gear before starting any axe-related task.
Proper Stance Techniques
Finding the right stance is vital for both safety and efficiency when using an axe. Start by positioning your feet shoulder-width apart to improve your balance and control. Place your non-dominant foot slightly forward for extra stability, reducing the risk of losing your footing while chopping or splitting.
Bend your knees slightly and lower your center of gravity to enhance your posture, allowing for better weight distribution and power transfer during your axe swings. Grip the axe handle firmly with both hands: your dominant hand should be near the end of the handle for maximum leverage, while your non-dominant hand should be closer to the axe head for better control.
Maintaining this stance and grip combination will help you execute powerful and controlled swings. Proper technique increases efficiency and significantly reduces the chance of accidents. Always ensure no one is in your line of swing. By following these proper stance techniques, you'll ensure that your axe tasks are both safe and effective.
Surroundings Awareness Tips
Ensuring your surroundings are safe is crucial when using an axe. Start by maintaining a clear line of sight to your target and verifying that no obstructions, people, or animals are within a safe distance. Regularly inspect your surroundings for hazards like uneven ground, loose debris, or overhead branches that could interfere with your swing or cause injury.
To maintain a safe work area:
- Establish a designated work area: Ensure it's free from distractions and bystanders, minimizing the risk of accidents.
- Communicate with others nearby: Inform them of your intentions to use an axe so they can adjust their positions and stay safe.
- Be mindful of weather conditions: Poor visibility and unstable ground can make axe use dangerous. Stop working if conditions become unsafe.
- Regularly assess your surroundings: Identify and remove potential hazards to maintain a safe working environment.
Tool Innovations
Innovations in axe forging have revolutionized forestry tasks. The introduction of the ROTBAND-PLUS system significantly enhances the head-handle connection, reducing the risk of separation during use. This advancement ensures greater confidence and safety, making your tool more dependable.
Specialized head shapes, crafted from high-quality tool steel, optimize performance for specific tasks, whether felling trees or splitting logs. Tool steel's durability and strength make it ideal for demanding applications. Material choices for wedges are crucial for effective energy transfer during each strike, increasing efficiency and reducing physical strain.
Continuous innovations also include ergonomic designs and lightweight materials, improving user experience by reducing fatigue and allowing longer work periods without strain. These advances in tool design prioritize both functionality and safety, ensuring modern axes meet the needs of contemporary users.
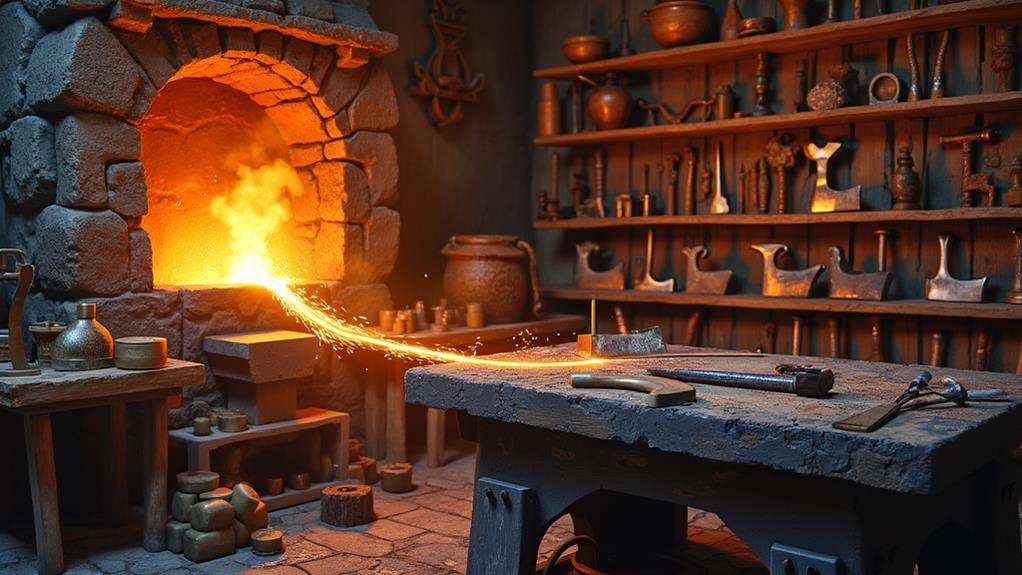
Forging Techniques
To forge an axe, begin by heating high-carbon steel to approximately 1200°C for optimal malleability. Use a large press delivering 80 strikes per minute to shape the steel. Handle the material precisely to ensure seamless welds and symmetry. Refine the axe head with anvils and dies, and perform squaring, punching, and rough forging to achieve the exact dimensions.
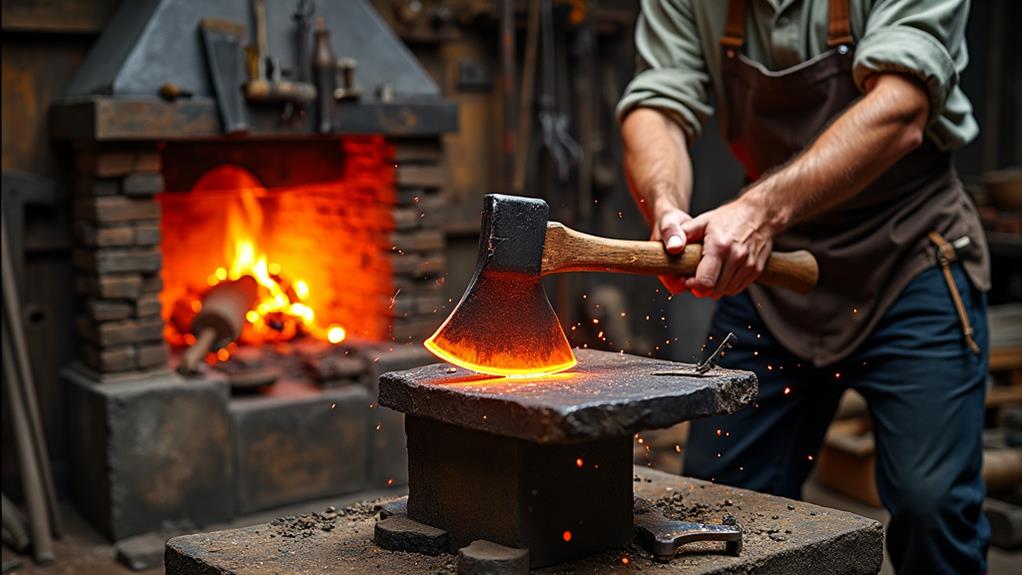
Heat and Pressure Application
During the axe forging process, heating high-carbon steel to approximately 1200°C is essential for making it malleable enough to shape accurately. This high temperature ensures that the steel retains its properties during forging.
Once heated, a hydraulic press is used to apply immense pressure, transforming the steel into the desired axe head shape. A large press operates at 80 strikes per minute and applies 180 tons of force.
To achieve optimal results, follow these steps:
- Consistent Heating: Maintain a uniform temperature to prevent defects such as cold shuts.
- Swift Handling: Quickly transfer the steel between the forge and press to ensure it remains malleable.
- Precise Pressure Application: Skillfully use the hydraulic press to avoid overworking the steel.
- Normalization: Perform this process at least twice to strengthen welds and enhance the axe's integrity.
The smith's adept handling is crucial during this phase. Swift handling and consistent heating are key to preserving the steel's properties, ensuring a seamless weld joint during forge welding, and resulting in a robust and reliable axe head.
Shaping With Anvils
In the intricate process of shaping metal with anvils, you'll manipulate hot metal using various hammering techniques to achieve precise dimensions and features. One significant aspect is forming the axe eye and blade geometry. To achieve the correct thickness and width for the axe eye, you'll use fullering on alternate sides of the heated shank. This technique ensures symmetry and structural integrity.
Next, you'll carefully bevel the shank end to prepare for weld-scarf formation. This step is crucial to prevent cold shuts during cross-fullering, which could compromise the axe's durability. The edges of the inner shoulders are then upset, ensuring a seamless closure of the eye joint. This detailed process is essential for the overall strength of the axe.
During finish-forging, you'll employ a mandrel, a shield-shaped tool, to shape the axe eye. Handling the mandrel delicately is critical; too much force could cause a weld rupture, while insufficient support might lead to an uneven eye.
The balance between finesse and strength here is key to producing a high-quality axe. By mastering these techniques, you'll be well on your way to forging a durable and effective tool.
Welding and Assembly
After shaping the axe eye and blade, the next crucial step in axe forging is welding and assembly. Begin by upsetting the edges of the inner shoulders of the axe heads to ensure a seamless joint during welding. When closing the eye over the horn of the anvil, use balanced, light blows to maintain symmetry and prevent creases.
For effective welding, follow these steps:
- Heat the axe body: Use a clean fire to bring the metal to the correct temperature.
- Apply flux: This promotes effective welding at high temperatures by cleaning the joint area.
- Prepare the axe body for bit welding: Ensure a clean forge environment to remove slag and fines.
- Perform bit welding: Alternate sides in approximately six passes, normalizing at least twice to strengthen the welds.
Forge welding requires heating and joining the axe heads for maximum strength. Maintain a clean forge to remove slag and fines, ensuring solid welds. Precision in the bit welding process is critical for the axe's durability, requiring careful attention to maintain balance and integrity.
Heat Treatment and Sharpening
Heat treatment and sharpening are crucial steps in axe forging that significantly influence the tool's performance and durability. Initially, the axe blade is heated to a precise temperature of 1525 degrees Fahrenheit to achieve optimal hardness. Following this, the blade is quenched in Casco Bay salt water, which enhances its strength while mitigating brittleness.
Subsequently, the annealing process is employed to relieve any internal stress in the steel. This involves heating the axe heads to 195 degrees Celsius for 60 minutes, ensuring a balanced combination of hardness and flexibility. The carbon content in the steel and the specific temperatures used during hardening and annealing directly affect the edge's hardness.
After heat treatment, coarse grinding is conducted to sharpen the axe edge while maintaining the integrity of the head. This results in a final edge angle of about 22 degrees, ideal for sharpness. The final steps include sharpening and polishing, ensuring each axe head adheres to strict performance standards, with thorough quality checks to verify its integrity and sharpness.
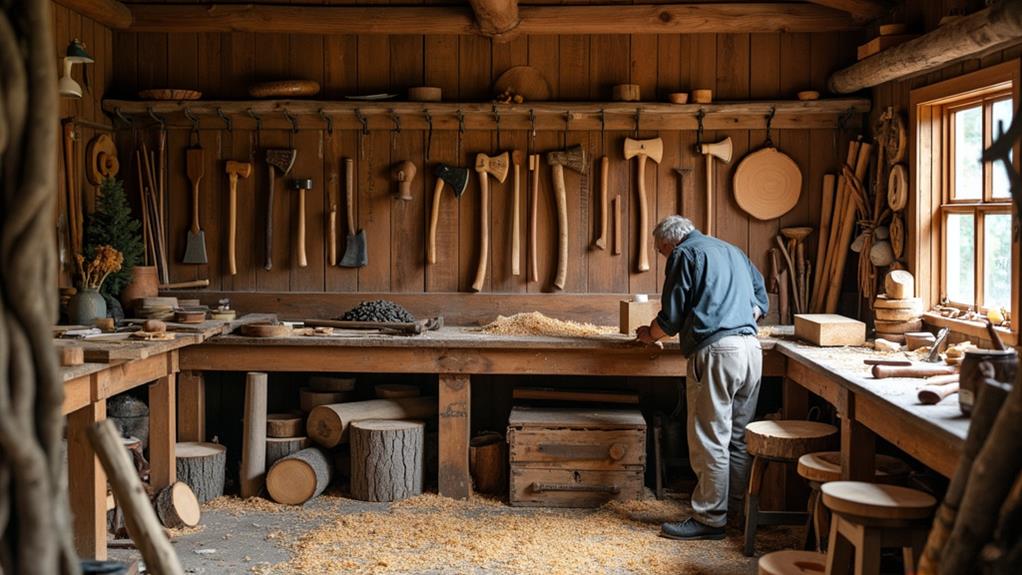
Handle Making
Once the heat treatment and sharpening process are complete, the focus shifts to crafting the handle, which is just as vital to the axe's functionality. The handle is typically made from knot-free, kiln-dried Red Elm wood, chosen for its strength and durability.
Aligning the wood grain parallel to the axe eye is essential to ensure the handle's peak performance and longevity. The process starts with initial shaping using a bandsaw to outline the rough contour of the handle. Next, a drawknife is used for fine-tuning to achieve the desired contour, which is crucial for comfort and usability.
Final sanding is conducted to ensure a secure fit between the handle and the axe eye, which helps to prevent the handle from loosening over time.
Here's a quick rundown of the handle-making steps:
- Initial Shaping: Use a bandsaw to outline the handle.
- Fine-Tuning: Employ a drawknife for precise shaping.
- Fit and Sanding: Sand the handle for a snug fit with the axe eye.
- Securing: Insert wooden and steel wedges, then treat with Tung oil to preserve the wood and enhance its durability.
Axe Sheath Production
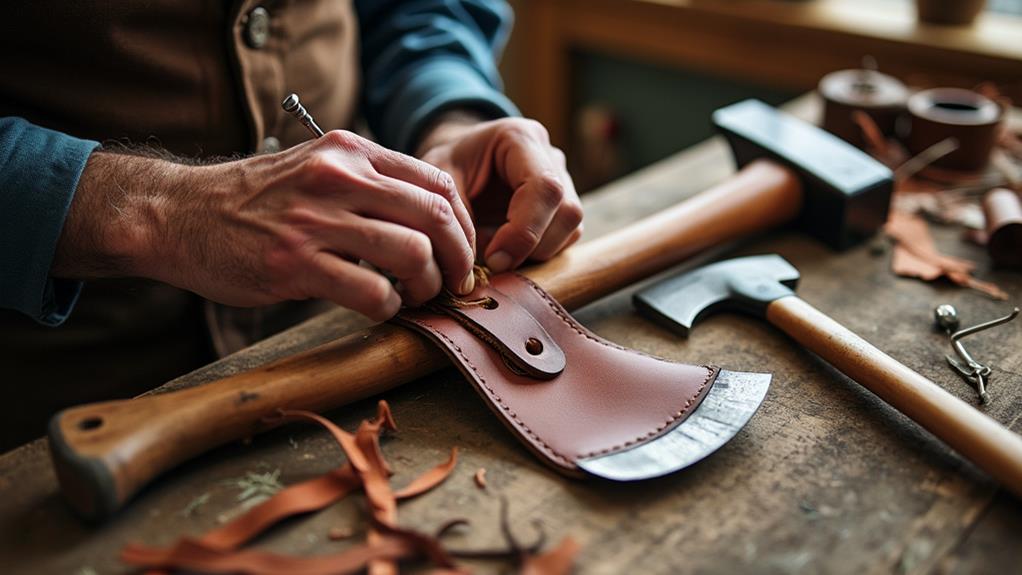
Crafting an axe sheath begins with selecting 4mm thick cowhide from local tanneries, ensuring a durable and protective cover for your axe blade. Once the high-quality leather is chosen, it's dyed using Fiebings professional oil dye. This dye not only imparts a rich, appealing color but also enhances the leather's visual charm and longevity.
The leather is then treated with a blend of palm leaf wax and heated beeswax, creating a moisture-resistant barrier that protects both the sheath and your axe from the elements. This treatment is crucial for maintaining the sheath's durability and functionality over time.
To achieve a classic, vintage look while providing extra protection, the leather is finished with Fiebings Acrylic Resoline. This finish adds an additional layer of durability, ensuring the axe sheath can withstand the test of time.
The entire process reflects traditional craftsmanship techniques preserved for over a century. This dedication to heritage and quality ensures each axe sheath is made with care and precision, perfectly complementing your axe.
When you invest in a well-crafted axe, a durable and aesthetically pleasing sheath is indispensable.
Conclusion
You've delved into the intricate world of axe forging, from selecting high-carbon steel to crafting a durable handle. By understanding the differences between an axe and a hatchet, maintaining your tool, and following safety practices, you're well-prepared to tackle any task. Embrace the advanced techniques and ensure proper heat treatment and sharpening for optimal performance. With a sturdy sheath, your axe is now ready for action, embodying centuries of craftsmanship in your capable hands.