The Art of Axe Restoration: Bringing Old Tools Back to Life
Embarking on the journey of axe restoration goes beyond merely removing rust and polishing the blade. This meticulous process requires a keen eye for detail and a deep appreciation for craftsmanship.
From selecting the appropriate tools and materials to shaping the handle for optimal comfort and performance, every step is crucial. Precisely fitting the axe head and applying protective finishes are integral components of the restoration.
But what truly revitalizes an old axe? Join us as we delve into the essential steps and hidden techniques that make this transformation a fulfilling and rewarding endeavor.
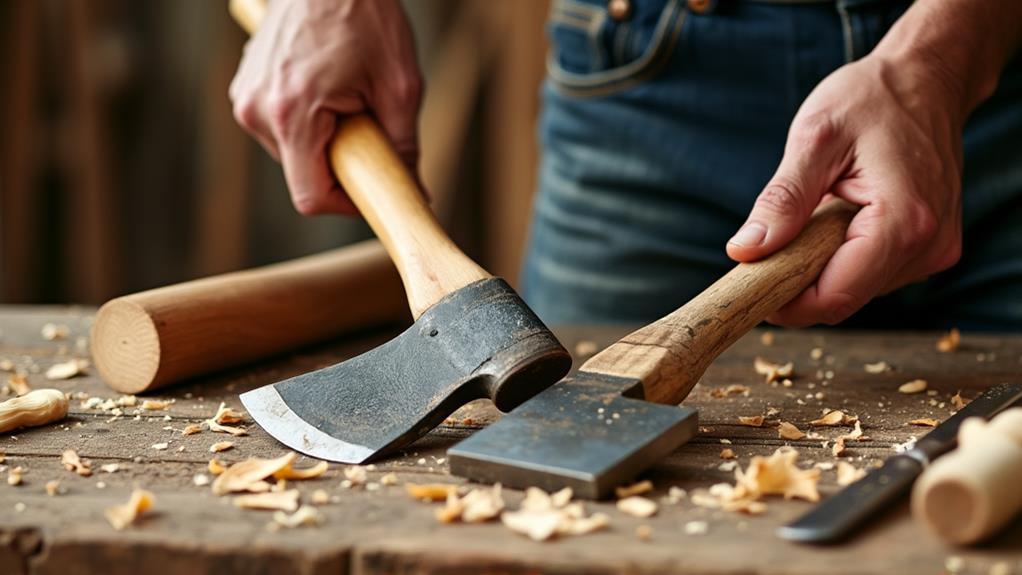
Tools and Materials
Having the right tools and materials is crucial for successful axe restoration. To revive old axes, you'll need specific equipment. Essential tools include a rasp, belt and orbital sanders, an angle grinder, flap discs, and a hacksaw. These tools assist in reshaping the axe head if needed. A double-cut mill bastard file is key for sharpening, with sizes varying based on the axe type.
For sanding, use sandpaper in three grades: coarse (80), medium (220), and fine (400). This ensures a thorough sanding process, refining the axe head's surface. When replacing the axe handle, exterior polyurethane glue and Bondcrete are crucial for securely assembling laminated handles, ensuring durability. A steel wedge is often used to secure the handle in place.
To protect your restored axe, apply lubricants like Inox or linseed oil to the metal and wood. This not only prevents rust but also enhances the axe's longevity. For further cleaning, a vinegar bath can effectively remove grime and old residue, contributing to a successful restoration project.
Rust Removal
To remove rust from an axe head, begin by soaking it in vinegar for 6-8 hours to loosen the rust flakes. After the soak, put on disposable gloves to protect your hands from any harmful residues. Use steel wool to scrub the axe head and reveal a cleaner surface. If there are stubborn rust spots, soak the axe head in vinegar for an additional 1-2 hours to facilitate easier removal.
Once scrubbing is complete, dry the axe head thoroughly to prevent flash rusting. Immediately apply a lubricant such as Inox or linseed oil to seal the metal and prevent future rust.
For both aesthetics and performance, use grit sandpaper. Start with coarse grit to remove any remaining imperfections, then progress to finer grits for a smooth finish. This process is essential to restore your axe to its optimal condition.
Handle Shaping
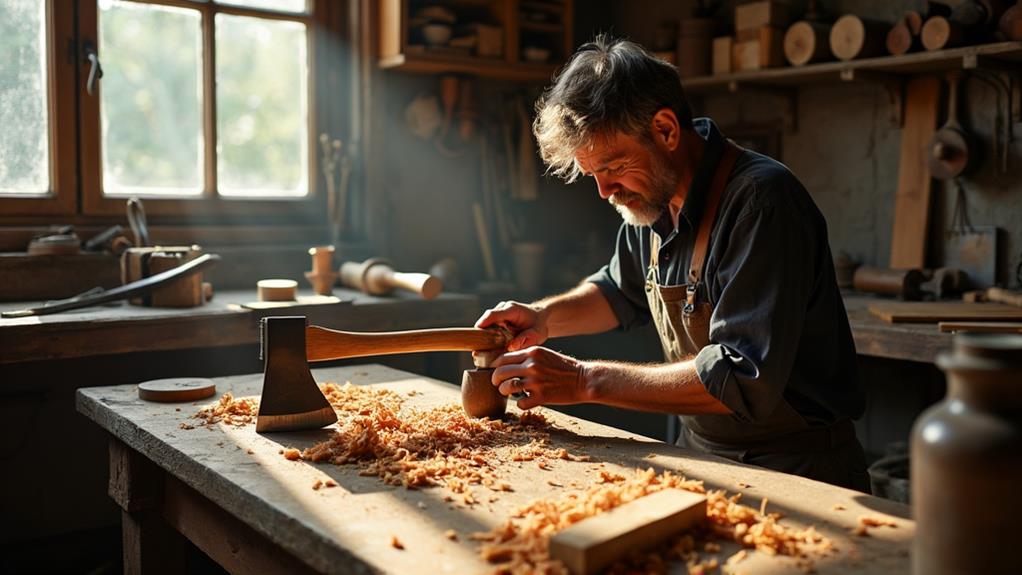
Shaping the handle of your axe is essential for achieving both comfort and functionality. Begin by removing any remnants of the old handle from the axe head. Use a drill with an angled bit and a sharp drill bit to prevent breakage.
Once the old handle is removed, trace a template from a preferred handle onto a suitable piece of wood. This template will guide your shaping process and allow for adjustments depending on whether the axe will be used for splitting or felling.
Start shaping the handle by sanding it into a diamond shape for ergonomic comfort. Progress to an oval shape for the final design, ensuring it meets both aesthetic and functional requirements. A coarse rasp is crucial for shaping the tang of the handle to ensure a snug fit within the axe head.
It's important to use wood with low moisture content for a secure bond during restoration. For added stability, position the steel wedge at a 45-degree angle when inserting it into the axe head. This ensures long-lasting performance and a tight fit.
With careful shaping, your restored axe handle will be both comfortable and durable, ready for any task.
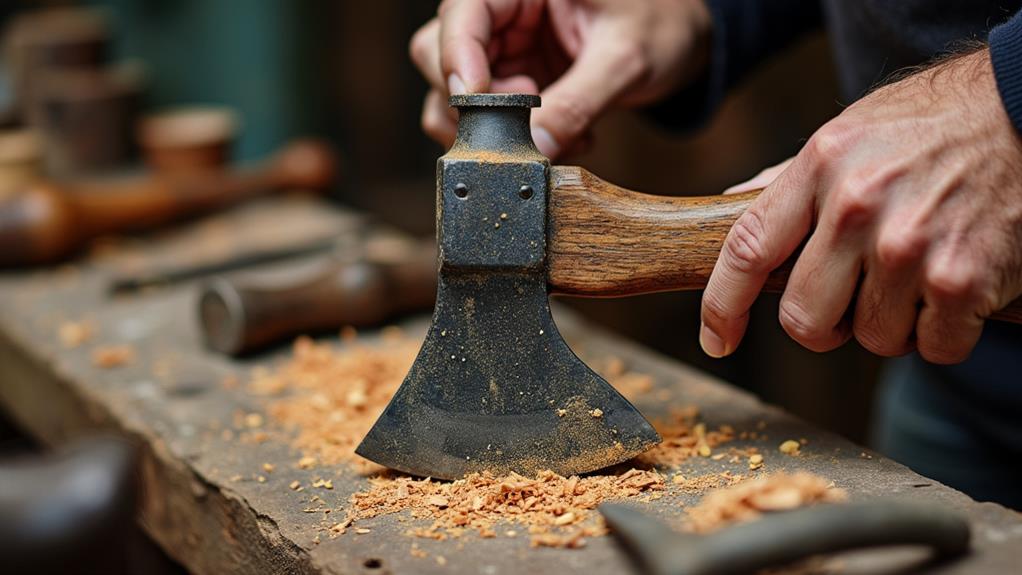
Axe Head Fitting
Fitting the axe head onto your newly shaped handle is essential for the tool's effectiveness and longevity. Begin by ensuring your handle is sanded for a snug fit in the axe head's eye, which prevents future looseness. Use a coarse rasp to shape the tang of the handle, allowing for a secure fit. Ensure the timber has low moisture content for optimal stability.
Once the handle is prepared, drive it into the axe head, using the weight of the head to seat it firmly. Place the wedge at a 45-degree angle within the axe head to enhance the assembly's strength and durability.
Apply a strong adhesive like Bondcrete to ensure a robust bond between the handle and the axe head. After inserting the wedge, trim any excess tang with a scroll saw for a precise finish, ensuring both durability and a professional appearance.
Final Touches
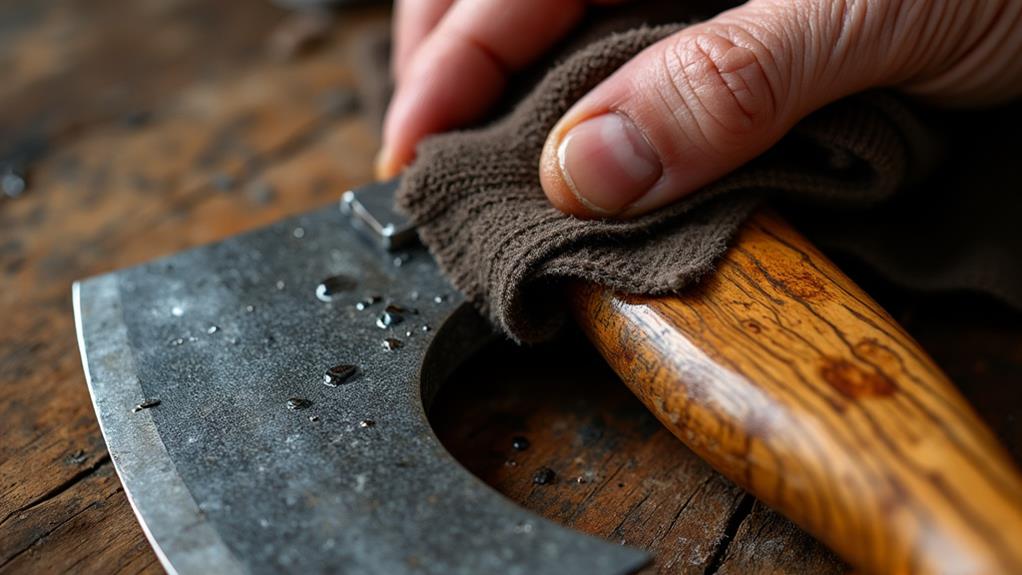
With the axe head securely fitted, it's time to focus on the final touches to perfect your restoration project. Begin by thoroughly inspecting the axe head for any missed areas after the linseed oil soak. Ensuring complete coverage will prevent rust and extend the tool's life. Next, install a wooden wedge followed by a stainless steel wedge to firmly secure the handle. This step is crucial for the axe's stability and performance.
When sanding the top of the handle, aim for a smooth finish. This not only enhances the axe's appearance but also improves its usability. Sharpen the cutting edge using the draw filing technique to ensure precision without over-sanding the sides, which could weaken the axe.
These final touches breathe new life into the axe, making it both functional and aesthetically pleasing. Regular maintenance, including routine inspections and sharpening, will keep your restored tool in optimal condition for years to come.
| Step | Emotion | Impact |
|---|---|---|
| Inspect for missed spots | Diligence | Prevents rust |
| Install wedges | Satisfaction | Ensures stability |
| Sand handle top | Pride | Enhances aesthetics |
| Sharpen cutting edge | Precision | Boosts performance |
Conclusion
Restoring an axe is not merely about reviving a tool; it is about preserving a piece of history. With the proper tools and techniques, you can transform a rusty relic into a functional masterpiece. Every step matters, from rust removal and handle shaping to fitting the axe head and applying the final touches. Your dedication ensures the axe's longevity and usability, honoring the craftsmanship of the past and creating a legacy for the future.