How to Restore a Rusty Axe to Its Former Glory

Restoring a rusty axe to its former glory requires a systematic approach to ensure quality results. Start by carefully removing the axe head and soaking it in penetrating oil to loosen the rust.
Next, clean and de-rust the axe head using appropriate solutions. Selecting the right handle and fitting it correctly is crucial for the project's success. Ensure the handle fits snugly, and sharpen the blade to a razor edge.
Here are the detailed steps to transform your rusty relic into a functional tool once again.
Remove the Axe Head
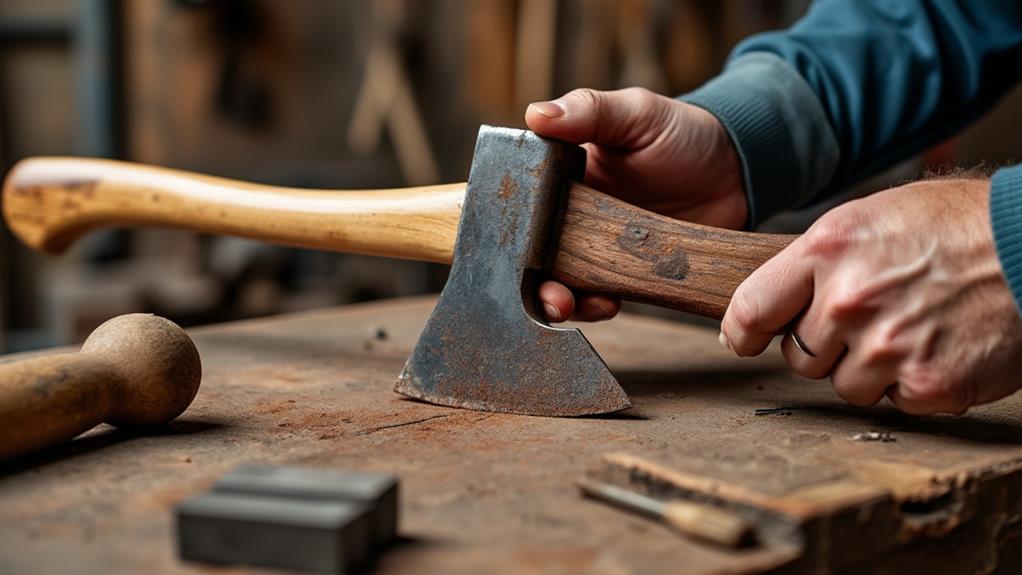
Removing the axe head from the handle is the first step in restoring your rusty axe. Start by assessing the condition of both the axe head and the handle to anticipate any potential challenges. If the axe head is heavily rusted or stuck, soak it in penetrating oil for several hours to ease the removal process.
Ensure your safety by wearing gloves and eye protection. Begin by cutting just below the axe head to remove any material holding it in place. If there's a stubborn metal wedge, drill it out to facilitate the extraction.
Use a hammer and a nail set to gently tap out the axe head. Be cautious not to damage the handle during this process, as a solid handle is crucial for the axe's restoration. Following these steps will help you safely and effectively remove the old axe head. This careful approach ensures your safety and sets the stage for the next steps in restoring your axe to its former glory.
Clean the Axe Head
Begin by removing the axe head from the handle to ensure a thorough cleaning and to avoid damaging the wood. Once detached, fill a basin with hot, soapy water. Submerge the axe head and use an abrasive pad to scrub away surface rust, dirt, and grime, paying special attention to any pitted areas where rust might've settled deeply.
After scrubbing, soak the axe head in a solution of one tablespoon of citric acid mixed with warm water for about 30 minutes. The citric acid will react with the rust, creating a bubbling effect that helps lift the rust off the metal.
Once the soaking period is complete, remove the axe head and rinse it thoroughly with clean water to ensure all citric acid and loosened rust particles are washed away. Inspect the cleaned axe head carefully for any remaining imperfections or damage. This inspection prepares you for the next steps in the restoration process, such as sharpening and fitting the handle.
Remove Rust With Citric Acid
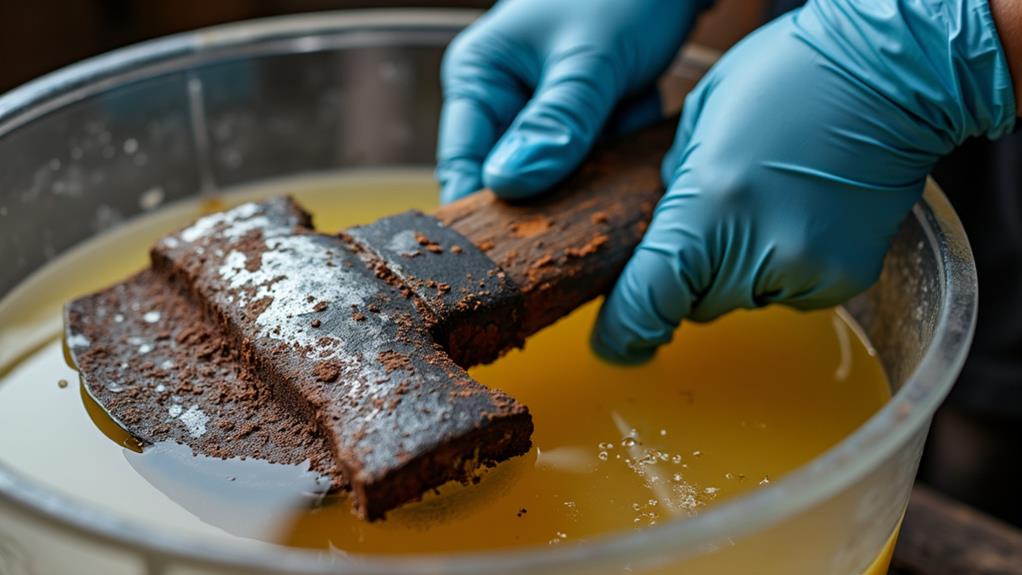
To remove rust with citric acid, mix one tablespoon of citric acid with warm water to create your solution. Soak the axe head in this mixture for about 30 minutes, monitoring the process and noting any bubbling as the acid reacts with the rust. After soaking, rinse the axe head thoroughly to remove any remaining solution and rust particles.
Citric Acid Preparation
Citric acid is an effective rust remover for a rusty axe. To prepare the rust removal solution, mix one tablespoon of citric acid with warm water in a container large enough to submerge the axe head completely. The warm water aids in dissolving the citric acid, enhancing its rust-removing capabilities.
Submerge the axe head in the solution, and you'll observe bubbling, indicating that the citric acid is reacting with the rust and breaking it down. Allow the axe head to soak for approximately 30 minutes, periodically checking to ensure the rust is being effectively removed. After soaking, thoroughly rinse the axe head with water to remove any remaining citric acid and rust particles.
Once rinsed, dry the axe head completely. To prevent future rust, apply a protective oil to the metal surface, which forms a barrier against moisture and significantly reduces the likelihood of rust reformation.
Rust Removal Process
After preparing your citric acid solution, proceed with the rust removal process. Mix one tablespoon of citric acid with warm water to create an effective soaking solution that interacts with rust. Submerge the rusty axe head in this solution and let it soak for about 30 minutes. The citric acid will react with the rust, evidenced by bubbling, indicating that the rust is breaking down.
Monitor the soaking process, as the required time may vary based on the extent of the rust. Heavier rust might need a longer soak, while lighter rust could be removed more quickly. Once soaking is complete, thoroughly rinse the axe head with water to remove any residual citric acid and loosened rust particles.
Next, restore the axe by filing and sanding the axe head. This step smooths out rough spots and prepares the surface for further restoration. The goal is to achieve a sharp edge and a polished finish, making the axe both functional and visually appealing again.
Select and Shape Handle Wood
Why settle for less when selecting wood for your axe handle? Choose a durable hardwood like hickory or oak, known for their strength and shock absorption. Ensure the wood grain runs continuously along the handle for optimal stability, reducing the risk of weak points that could compromise your tool.
Create a detailed pattern for the handle to guide your cuts. Use a bandsaw or jigsaw to shape the initial form, aiming for even material removal to ensure a comfortable grip. Regularly check the fit of the handle against the axe head, adjusting any high points for a snug and secure fit.
Here's a concise checklist to guide you:
- Select a durable hardwood like hickory or oak.
- Ensure the wood grain runs continuously for added stability.
- Shape the handle using a bandsaw or jigsaw.
Fit the Handle
After shaping the handle to your desired form, it's time to fit it into the axe head. Choose a hardwood handle, such as oak or hickory, ensuring the grain runs continuously along its length. This continuity is crucial for the handle's strength and longevity.
Carefully shape the handle to fit snugly into the axe head. Regularly check the fit and adjust any high points to eliminate gaps. A secure fit is essential to prevent the axe head from wobbling or coming loose during use.
Take your time with this step; a precise fit ensures both stability and safety. Once the handle fits perfectly into the axe head, ensure there are no gaps between them. This snug fit will form the foundation for the final securing process.
Secure Handle With Wedge
Securing the handle with a wedge is essential to ensure your restored axe is safe and reliable. Begin by carving a small hardwood wedge that fits snugly between the axe head and the handle. This ensures a stable connection and prevents the handle from loosening during use.
To properly secure the wedge, follow these steps:
- Insert the wedge: Position the wedge into the kerf slot of the handle.
- Hammer it in: Use a hammer to drive the wedge firmly into place, expanding the handle within the axe head.
- Check for gaps: Inspect for any visible gaps. If gaps are present, further carving may be necessary.
For added stability, apply a small amount of wood glue to the kerf slot before inserting the wedge. This will improve the longevity and fit of the handle.
After wedging, regularly inspect the area for any signs of wear or loosening to ensure the axe remains effective and safe to use.
Grind and Sharpen the Axe
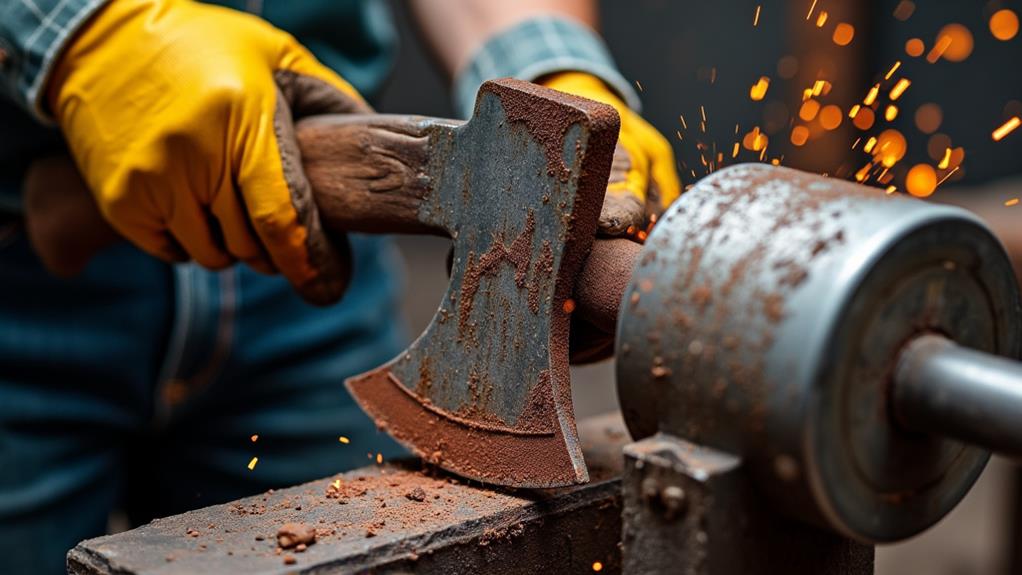
Grinding and sharpening your axe is essential for restoring its cutting efficiency and ensuring optimal performance across various tasks.
- Begin with a coarse abrasive to rapidly remove bulk material, maintaining a consistent angle for an even edge. Always wear gloves for protection during this process.
- After removing the bulk material, switch to finer abrasives, such as 240 grit, to refine the edge and eliminate any burrs from the initial grinding.
- Regularly check your progress to prevent excessive material removal and ensure you're achieving an ideal cutting edge.
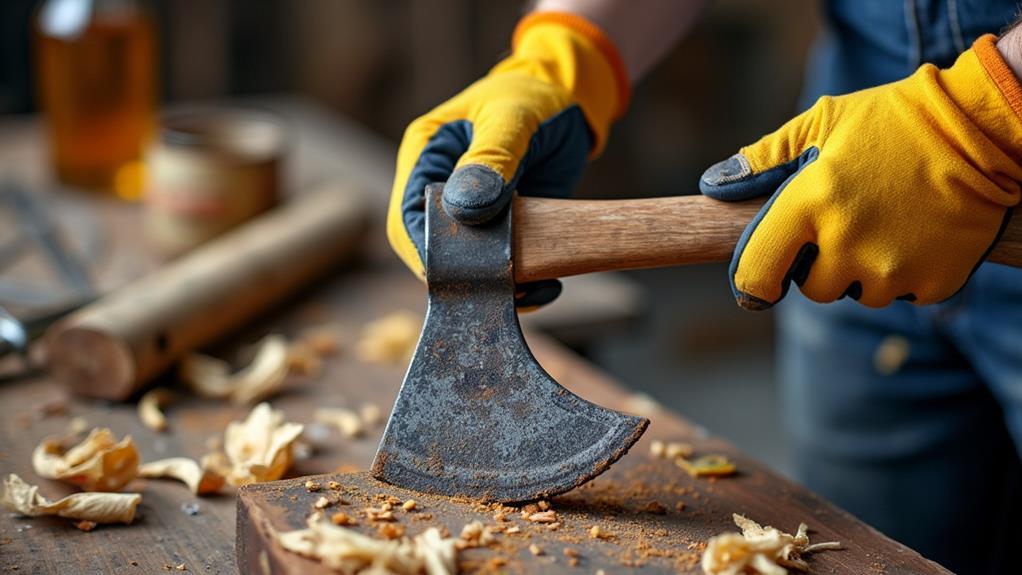
For best results, sharpen your axe on a flat surface. Direct your strokes into the blade rather than along its length to maintain the edge's integrity and prevent chipping, ensuring a sharp axe.
Hone the Axe Edge
Once you've ground and sharpened the axe, it's time to hone the edge to perfection. Shift to a sharpening stone to further refine the leading edge. Start with a coarse grit stone (around 240) and gradually move to finer grits (up to 600) to achieve a polished finish. Maintain a consistent angle, typically between 20 to 30 degrees, while honing to create a durable and effective edge.
To achieve the best results, follow these steps:
- Regularly check your progress and examine the edge for any burrs.
- Use a strop or a fine leather piece to remove burrs and refine the sharpness.
- After honing, apply a light coat of linseed oil to the blade to protect it from moisture and rust.
Pay special attention to maintaining the correct angle and pressure. Consistency is key to achieving a razor-sharp edge.
Axe Maintenance Tips
To maintain your axe in top condition, regularly inspect it for wear and clean it after each use to prevent rust. Store your axe in a dry place and apply a thin coat of oil to the handle to protect against moisture. Sharpen the blade as needed and use rust-resistant spray or wax if planning long-term storage.
Regular Rust Prevention
Maintaining your axe regularly is essential to prevent rust and ensure its longevity. Begin by inspecting your axe for signs of wear and damage, addressing any issues promptly to extend its lifespan.
Cleaning your axe after each use is crucial for rust prevention; remove any dirt and moisture to keep it in optimal condition. Wearing gloves during this process can protect your hands from potential cuts and provide a more secure grip on the axe.
A sharp blade is less prone to rust as it cuts more efficiently and exposes less steel to the elements. Regularly sharpening the blade helps maintain this edge.
Key tips for effective rust prevention include:
- Clean after use: Remove dirt and moisture to avoid rust formation.
- Oil application: Apply a thin layer of oil to the axe head and handle to protect against moisture.
- Periodic sharpening: Keep the blade sharp to improve cutting efficiency and reduce rust risk.
Additionally, periodically applying linseed oil to the handle will seal the wood, protecting it from moisture and enhancing the axe's durability.
Proper Storage Practices
Proper storage practices are essential for maintaining your axe's condition and performance. To prevent rust, always store your axe in a dry environment, as moisture is a primary cause of metal corrosion.
Using a protective cover or sheath for the axe head when it's not in use shields it from dust and physical damage. This simple step can significantly extend the life of your tool. Additionally, applying a light coat of oil, such as linseed oil, to both the handle and axe head before storage creates a moisture barrier, further preventing rust and degradation.
Hang your axe on a wall or place it in a vertical position to avoid contact with damp surfaces, ensuring it stays dry and free from harmful elements that could accelerate wear and tear. Regularly inspect your axe for signs of wear or rust, and clean it after each use to maintain its ideal condition.
Routine Sharpening Techniques
Begin by inspecting the blade for any nicks or signs of dullness. If either is present, it's time to sharpen the axe. Use a sharpening stone or file, applying consistent pressure with strokes directed into the blade, not along its length. Start with a coarse grit, around 120, to reshape the edge. Progress to finer grits, such as 240 and above, to smooth the edge and eliminate burrs.
This method ensures a sharp, polished edge, improving cutting efficiency and reducing drag during use. After sharpening, strop the blade with leather or a fine abrasive to polish the edge and ensure peak performance. Finally, apply a light coat of oil to the blade to protect against moisture and rust.
This routine maintenance will extend the lifespan of your axe and keep it ready for use.
Key steps to remember:
- Inspect the blade regularly for nicks and dullness.
- Use progressively finer grits for peak sharpness.
- Strop and oil the blade after sharpening.
Conclusion
By following these steps, you'll restore your rusty axe to its former glory. First, remove the axe head and clean it thoroughly. Next, tackle the rust using citric acid. Once the rust is removed, select a sturdy hardwood handle and fit it securely with a wedge to ensure durability. Finally, grind, sharpen, and hone the blade to achieve a razor-sharp edge. Remember to maintain your axe properly to prevent future rust. Now, your rejuvenated axe is ready for any task.