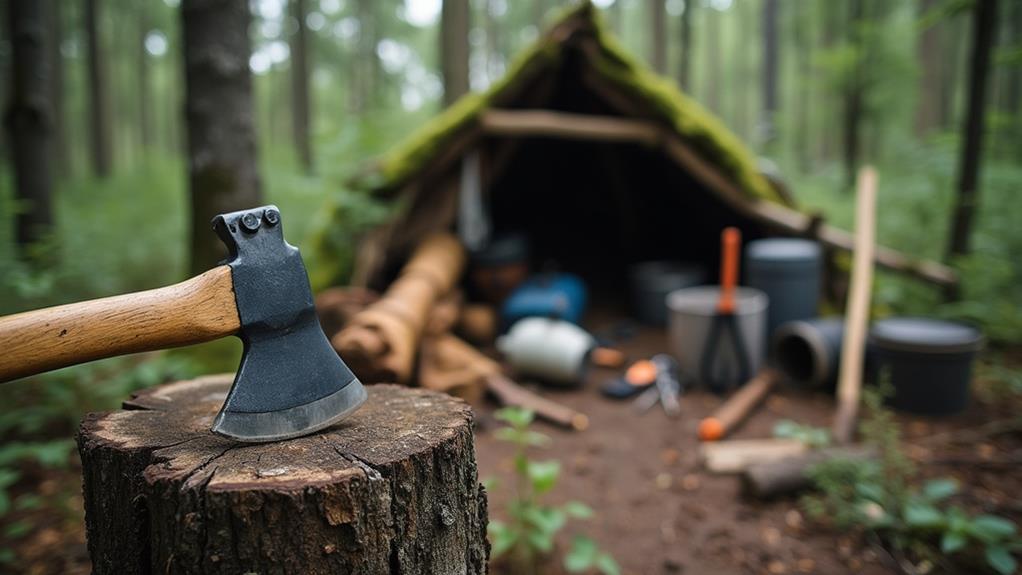
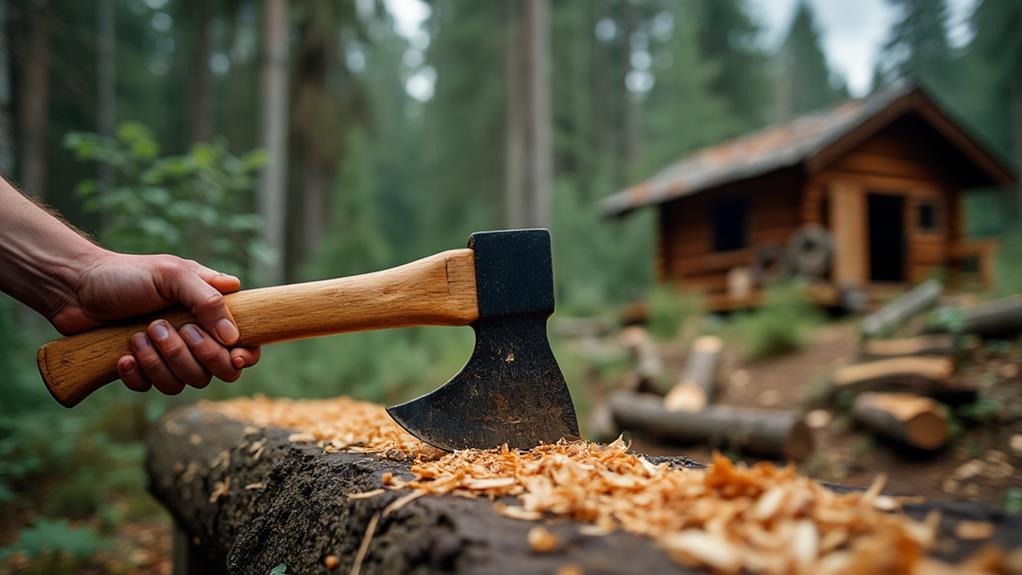
How to Modify an Axe for Specific Off-Grid Tasks
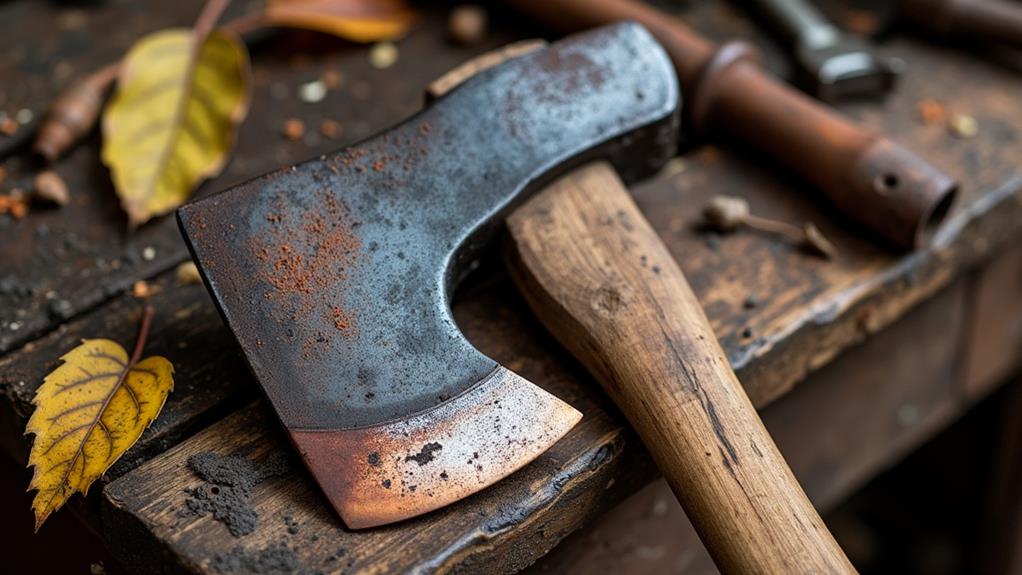
When preparing for off-grid living, modifying your axe can significantly enhance its utility and durability. Begin by assessing the specific tasks you will encounter and reshaping the axe head accordingly using a reliable file and a cordless drill.
Remove any existing coatings from the handle and secure the modified head with a paracord wrap for improved grip. Additionally, applying a black oxidation layer will protect against rust, while sharpening the edge at the correct angle ensures optimal performance.
Interested in detailed steps and essential tools? Let's delve deeper.
Essential Tools and Equipment
When you're ready to modify an axe, having the right tools and equipment is fundamental for a successful project. Your primary priority should be gathering the necessary tools to ensure smooth progress.
- Start with a reliable file for sharpening and shaping the axe head, as this will help you achieve the precise edge needed for your specific tasks.
- Next, a cordless drill is essential for creating holes in the axe head. To ensure accuracy, use a center punch to mark the exact spots before drilling. This step is crucial to prevent slipping and ensure precision.
- For drilling into hardened steel areas of the axe head, a hard metal drill bit is recommended, as it's designed to handle tough materials effectively.
- A gas burner is another important tool, especially for removing any coatings on the axe handle that might interfere with your modifications. By carefully applying heat, you can strip off the old coating, making it easier to work on.
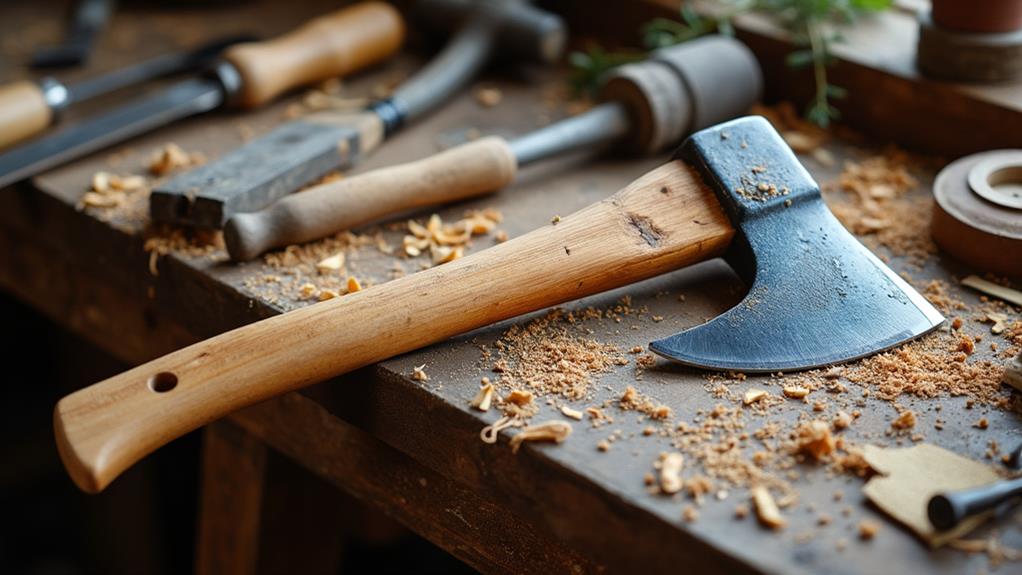
Step-by-Step Modification
Modifying an axe step-by-step involves careful planning and precise execution.
- Begin by transferring the desired axe head shape onto a piece of cardboard to create a template. This template will guide you throughout the modification process.
- Next, use a center punch to mark drill holes close to the outline on the axe head. These holes will facilitate shaping and removing excess material.
- With the holes marked, proceed to remove the excess material between them, achieving the desired contour of the axe head. Use a filing technique for precision, even on hardened steel, to ensure your axe head is shaped exactly as intended.
- For handle modifications, first, remove the existing handle by stripping off its coating, ensuring a clean surface for the new attachment.
Once the axe head is modified, securely attach it to the new handle. For added grip and protection, wrap paracord around the handle.
Oxidation Techniques
Now that you've shaped and assembled your axe, let's enhance its durability and aesthetics through oxidation techniques. One effective method involves creating a black oxidation layer using a 20% vinegar solution. This technique not only improves the axe's appearance but also increases its corrosion resistance.
Begin by heating the vinegar before applying it to the axe head, as warm vinegar accelerates the oxidation process. You'll notice bubbles forming on the metal surface, indicating a successful chemical reaction.
For a deeper, more pronounced finish, mix the vinegar with coffee grounds, which enhance the oxidation results and provide a richer color and more durable surface. Immerse the axe head in the vinegar (and coffee grounds, if used) and let it sit until you achieve the desired color. Monitor the process closely to ensure optimal results.
Once you're satisfied with the oxidation, remove the axe head and rinse it thoroughly.
Reassembly and Protection
Your newly modified axe deserves secure and durable reassembly to ensure optimal performance. Begin by carefully aligning the axe head with the handle. Use a wedge or epoxy to reinforce the attachment, ensuring it's stable and won't loosen during use, which is crucial for maintaining the tool's structural integrity.
Protecting the handle from wear and moisture is the next step. Wrapping it with paracord not only enhances durability but also provides a versatile tool for outdoor scenarios.
Paracord can be used for:
- Securing gear: Tie down equipment or make temporary repairs.
- Emergency situations: Unravel it for first aid or shelter construction.
- Improving grip: Offers a better grip, especially in wet conditions.
To further protect your axe, regularly inspect it for wear or loosening. This proactive approach ensures safety during use.
Applying a protective coating, such as oil or a rust inhibitor, to the axe head will prevent oxidation and extend its lifespan, particularly in harsh environments.
Final Touches for Sharpness
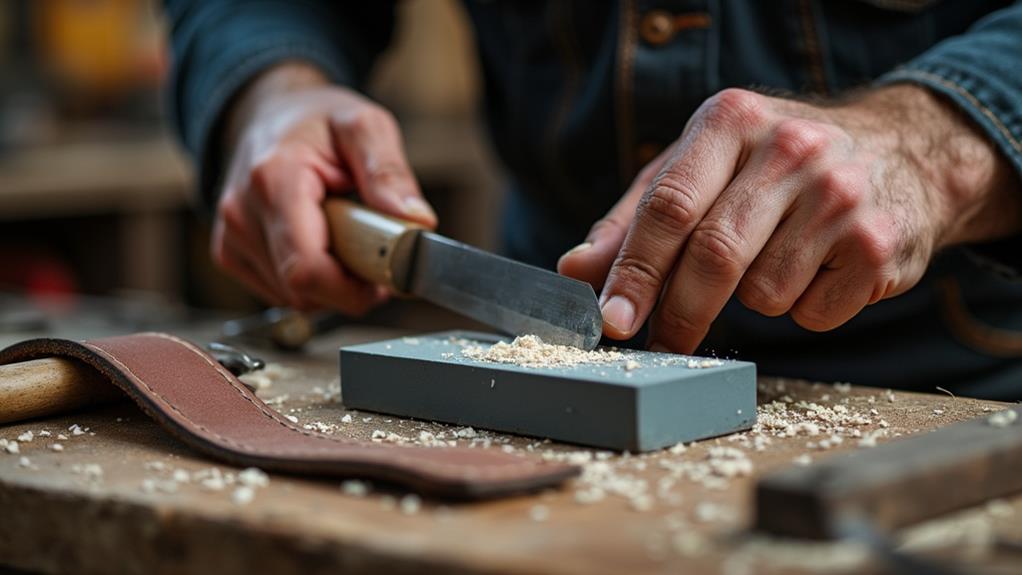
Final touches are crucial to confirm your modified axe performs at its best. After securely attaching the handle, focus on refining the axe edge. Use a whetstone or file, maintaining a consistent angle of 25-30 degrees. This angle ensures the cutting edge is both sharp and durable, making it efficient for tough, off-grid tasks.
Once the edge is sharp, polish it with a leather strop. This step maintains the keen edge and adds a fine finish to the blade. Regular polishing helps keep the blade in prime condition and ready for action.
To further protect your effort, apply a protective coating to the blade after polishing. This coating guards against rust and wear, prolonging the lifespan of your axe.
Conclusion
By following these steps, you can transform your axe into a versatile tool perfectly suited for off-grid tasks. Start by reshaping the head for maximum efficiency and securing the handle with a sturdy paracord wrap for added grip and durability. Apply a black oxidation layer to prevent rust and maintain a sharp edge for optimal performance. Regular upkeep will ensure your axe remains a reliable companion for any outdoor adventure. Now, get out there and put your modified axe to good use!