How to Craft an Axe From Scratch
Crafting an axe from scratch begins with selecting the right materials: a sturdy stone for the axe head and a freshly cut piece of wood for the handle. The process involves more than simply attaching parts; it requires careful shaping, polishing, and securing to guarantee durability and effectiveness.
You must know how to taper the stone correctly and choose the best type of wood for a strong handle. Understanding these initial steps is crucial before delving into the finer details of shaping and securing the axe head.
Materials Required
To craft a durable and effective axe, you'll need to gather specific materials. Start with a large, solid stone for the axe head. Select a hard, fine-grained river rock, avoiding porous or cracked varieties, as these can compromise the cutting edge's longevity. Ensure the rock has perpendicular edges to facilitate shaping.
Next, find a hammering rock with a flat surface. This will help you shape the axe head effectively. For the handle, harvest freshly cut wood from a young tree, preferably a privet stem. The wood should be at least 2-3 feet long, and fresh to make it easier to carve and attach.
Attach the axe head to the handle using strong cord made from bark or wet rawhide. This ensures a secure attachment, preventing the axe head from dislodging during use. Optionally, you can add an antler foreshaft for shock absorption, enhancing the tool's durability.
Selecting the Source Rock
Selecting the right source rock is crucial for crafting a functional axe. Opt for a large, solid rock with perpendicular edges to ensure the structural integrity of your axe head. Avoid rocks that are porous or cracked, as these flaws can lead to breakage during use. Hard, fine-grained river rock is particularly recommended due to its durability and effectiveness in shaping a robust axe head.
When choosing your source rock, look for a piece comparable to or slightly larger than the palm of your hand. This size offers ideal handling and control during the crafting process. Inspect the rock thoroughly for any hidden flaws or cracks that could compromise the structural integrity of your axe head.
Once you've selected your source rock, use short, swift strikes to detach thin, sharp flakes. These flakes are essential for creating a tapered cutting edge. The quality of your source rock directly impacts the durability and functionality of your final axe head, so take your time to select the best possible piece.
Shaping the Axe Head
Now that you've selected the perfect source rock, it's time to shape the axe head. Begin by striking the source rock with a hammering rock using short, swift strikes. Your goal is to detach a piece that's roughly the size of your palm. This initial step is crucial in axe making and will set the foundation for your stone axe.
Next, taper the axe head toward the cutting edge to enhance its sharpness. The general shape should be broad and flat to ensure effective cutting. Pay close attention to the flake patterns created during shaping, as proper flaking is essential for achieving a sturdy, functional edge.
Regularly inspect the axe head to ensure it maintains the desired thickness and sharpness. If you notice any irregularities, adjust your strikes accordingly. This vigilant inspection will help you achieve a well-balanced and effective tool.
Polishing the Axe Head
To polish the axe head, select a flat polishing stone and keep it wet for a smoother finish. Rub the axe head back and forth, focusing on the cutting edge. This technique ensures an even surface and enhances the axe's durability.
Choosing Polishing Stones
Polishing stones are crucial for achieving a smooth and sharp axe head, making the right choice fundamental. For carbon steel axe heads, a flat polishing stone with a smooth surface is ideal. This type of stone effectively eliminates rough edges and imperfections, ensuring a consistent and sharp cutting edge.
When selecting a polishing stone, choose one that requires being kept wet. Maintaining the stone's moisture during the polishing process enhances its effectiveness and prevents premature wear. This is essential for preserving both the stone and the carbon steel axe head.
Begin with a coarser stone for initial shaping, then transition to finer polishing stones for a polished finish. Finer stones are excellent for achieving high levels of shine and sharpness. Regular polishing not only enhances the cutting efficiency of your axe but also helps prevent rust and prolongs the tool's lifespan.
Using Water Effectively
Using water effectively is crucial when polishing an axe head. Water helps keep the polishing stone wet, which enhances the smoothing process and prevents dust and debris from accumulating. Start by rubbing the axe head back and forth against a flat stone, ensuring to wet the stone intermittently to maintain a consistently smooth and sharp cutting edge.
The wet polishing technique achieves a finer finish and reduces the risk of overheating the axe head, which could compromise its structural integrity. Regularly changing the water during polishing is also important. Fresh water ensures the surface remains lubricated, allowing for more efficient material removal and preventing scratches on the axe head.
Always use clean water, as contaminants can affect the quality of the polished surface. By ensuring your water source is free of impurities, you'll achieve a higher-quality finish. Keeping the polishing stone adequately wet and clean will make a significant difference in the outcome, resulting in a polished axe head that's both sharp and durable.
Achieving Smooth Finish
After effectively using water to keep your polishing stone wet, it's time to focus on achieving a smooth finish on the axe head. Begin by placing the axe head on a flat stone, ensuring it's well-supported. Use a back-and-forth rubbing motion with consistent pressure to create an even surface. Keep the polishing stone wet throughout this process, as the water reduces friction and aids in smoothing.
Pay close attention to the cutting edge, as maintaining its sharpness is crucial. Regularly check for any rough spots or imperfections on the axe head while polishing. If you encounter any, spend extra time on these areas to ensure a uniform finish.
This attention to detail is essential because a well-polished axe head not only looks better but also performs more efficiently. Aim for a polished surface that minimizes friction during use, enhancing the axe's performance in cutting tasks. The goal is a smooth, mirror-like finish that improves both the aesthetics and functionality of your axe. With patience and precision, you'll achieve a polished axe head ready for any cutting challenge.
Choosing the Handle Wood
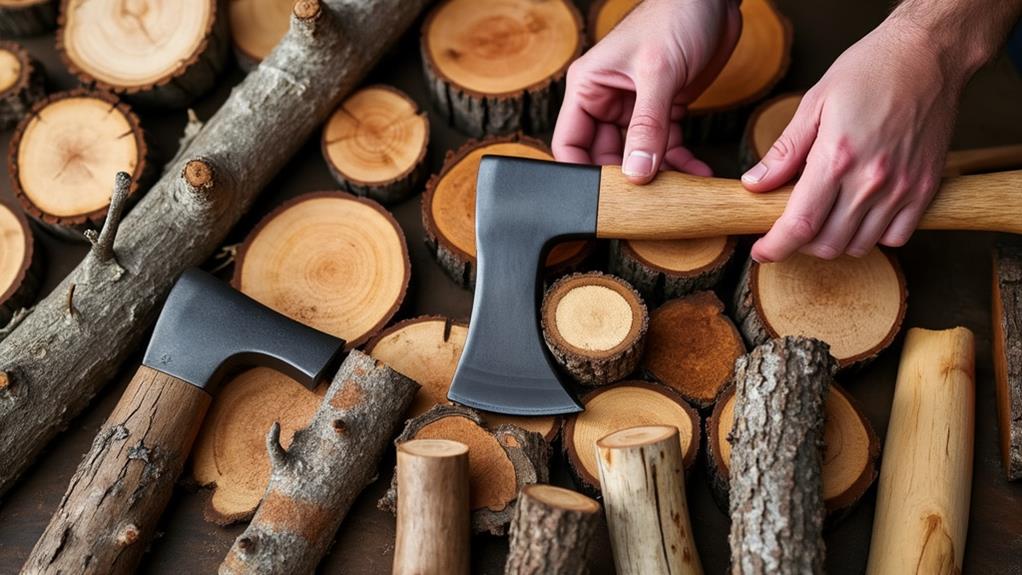
Selecting the appropriate wood for your axe handle is crucial. Historically, craftsmen understood that the quality of the handle directly impacts the tool's performance and longevity. You need a handle that's durable, easy to shape, and can withstand repeated use.
Freshly harvested wood from a young tree, like privet stem, is ideal because it's soft and green, making it easier to manipulate and shape to fit your axe. When selecting wood, ensure it's at least 2-3 feet long. This length provides sufficient grip and support, making your axe more effective and comfortable to use.
Choose wood that's knot-free to enhance durability. Knots create weak points that can fracture under pressure, compromising the handle's integrity. Look for wood with a straight grain alignment. A straight grain improves the handle's strength and resistance to splitting, ensuring your axe remains reliable for years. Avoid using wet or dirty wood, as moisture and dirt can lead to breakage during the shaping process and weaken the handle over time.
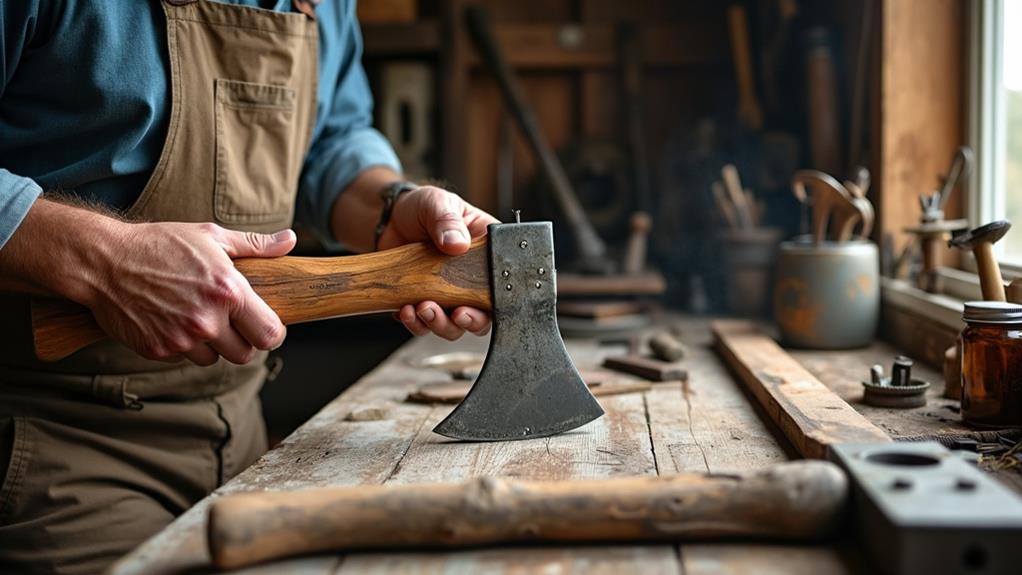
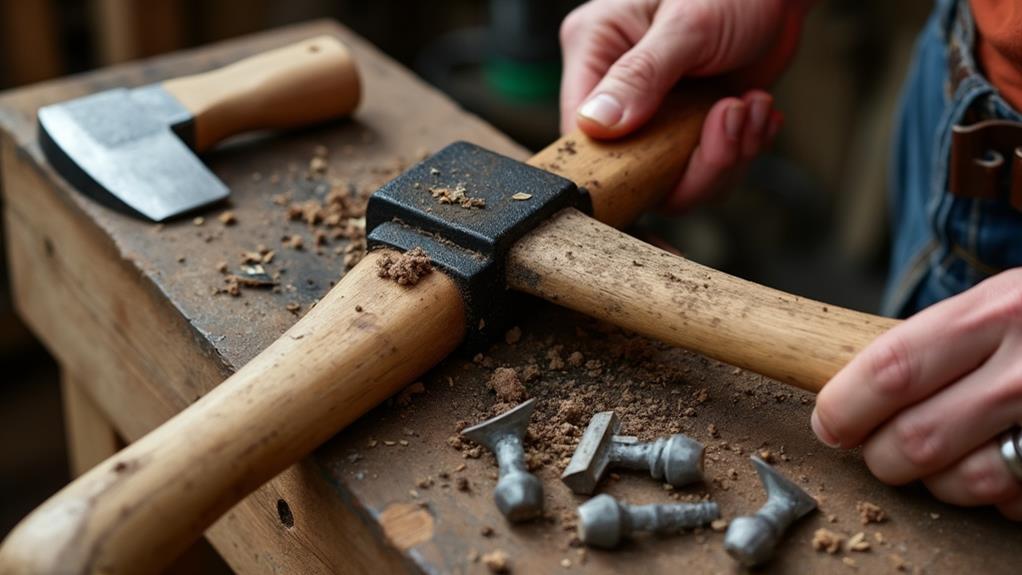
Attaching the Axe Head
To attach the axe head, first create a slit in the handle for a snug fit. Soak the top portion of the handle to increase flexibility, making it easier to insert the head. Secure the axe head tightly with a strong cord to ensure it remains in place during use.
Handle Preparation Steps
Before attaching the axe head, start by splitting the top of the handle symmetrically to create a secure slot. This split should be deep enough to firmly hold the axe head in place. Next, soak the top portion of the handle in water for several minutes. This step increases the wood's flexibility, making it easier to insert the axe head into the slot.
Once the handle is prepared, carefully insert the axe head into the slot. Ensure it fits snugly and aligns properly with the handle's grain. This alignment is crucial for maintaining the axe's strength and durability.
Push the axe head down until it sits securely in the split. After confirming the axe head is in place, bind it tightly to the handle using a strong cord, such as bark or wet rawhide. This binding prevents any slipping or loosening during use. Detailed binding techniques will be covered later.
Binding Techniques Explained
Securing the axe head to the handle is essential for both safety and performance. Follow these steps to ensure a reliable attachment:
- Split the Handle: Symmetrically split the top of the handle to create a slit for the axe head. This ensures a snug fit and stability.
- Soak the Handle: Immerse the top portion of the handle in water to increase its flexibility. This will make it easier to insert the axe head into the slit.
- Position the Axe Head: Place the axe head onto the handle with the cutting edge facing forward.
- Bind the Axe Head: Use strong cord made from bark or wet rawhide for binding. This material is durable and tightens as it dries, preventing slippage.
Wrap the cord tightly around the top of the handle and the axe head, ensuring a secure fit. Use a reliable knot to keep the binding tight.
Checklist for Effective Binding:
- Symmetrical Split: Ensure the slit is symmetrical for a snug fit.
- Increased Flexibility: Soak the handle to make it more flexible.
- Durable Binding: Use strong cord and secure knots to prevent loosening.
Regularly inspect the attachment point after use for any signs of loosening. Reinforce the binding as necessary to maintain safety and efficiency.
Securing the Axe Head
Securing the axe head to the handle is a crucial step in crafting a reliable tool.
Begin by symmetrically splitting the top of the axe handle to create a slit for the axe head. Soak the top of the handle in water to increase flexibility, making it easier to fit the axe head snugly. Once the handle is prepared, insert the axe head into the slit, ensuring it's secure and stable.
Next, tightly bind the axe head to the handle using strong cord made from bark or wet rawhide. Ensure the binding is firm, using a knot that prevents slipping or loosening during use. For added security and shock absorption, consider incorporating a foreshaft made of antler at the attachment point between the axe head and handle. This addition will help absorb impact and reduce wear.
Regular inspection is vital. After using the axe, especially on rocky surfaces, check the attachment point for signs of damage or loosening to maintain safety and functionality.
Proper Grip and Swing
Gripping the axe correctly is crucial for both safety and effectiveness. Hold the axe with both hands: place one hand near the bottom of the handle and the other closer to the axe head. This ensures optimal control and force during your swings. Maintain a firm grip to prevent the axe from slipping; wearing gloves can enhance traction and comfort.
A controlled swinging motion is essential. Start with the axe raised above your shoulder and bring it down in a smooth arc. This technique maximizes your power and efficiency. Aim to chop at an angle steeper than 90 degrees. This reduces the risk of the axe bouncing off the material and increases cutting effectiveness.
For safety, always ensure a clear area around you and maintain a safe distance from bystanders. Flying debris can be hazardous, so being aware of your surroundings is crucial.
Here's a quick recap:
- Proper Grip: One hand near the bottom, the other near the head.
- Controlled Swing: Smooth arc from above the shoulder.
- Safety First: Clear area and maintain a safe distance from others.
With these tips, you'll use your axe with confidence and precision.
Axe Maintenance Tips
To maintain your crafted axe in optimal condition, regularly clean it to remove dirt and prevent corrosion. Store it in a dry place and use a leather sheath to protect it from moisture and damage. Sharpen the axe head as needed, and treat the handle with fine oil to prevent drying and cracking.
Regular Cleaning Routine
Maintaining your axe's performance and longevity starts with a regular cleaning routine. After each use, make it a habit to clean the axe thoroughly with soap and water. This helps remove dirt and debris from both the axe head and handle, ensuring optimal performance.
Once cleaned, inspect the axe carefully, paying close attention to the attachment point between the axe head and handle. Any signs of damage here can lead to accidents, so it's essential to catch issues early.
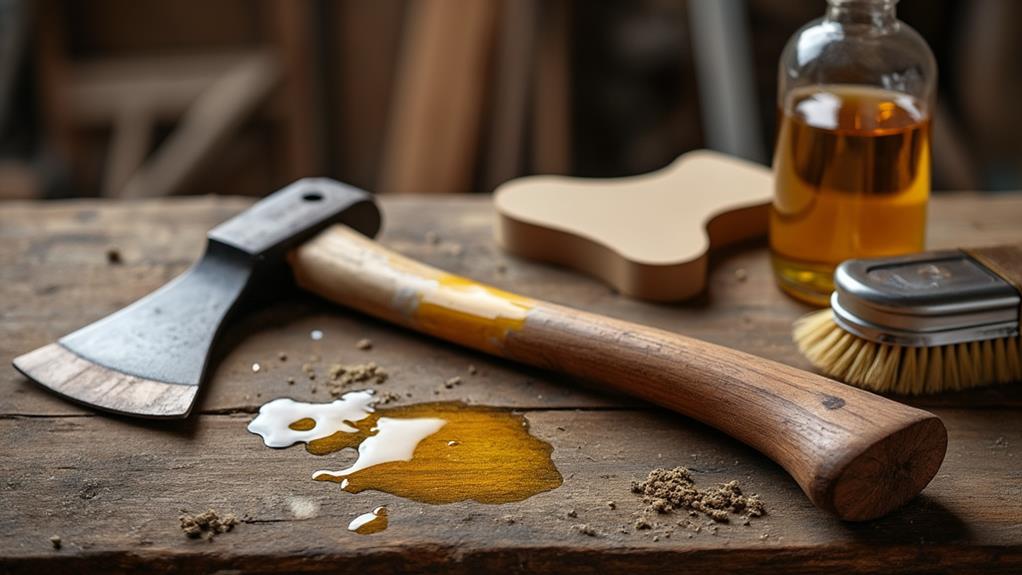
Next, condition the wooden handle with a fine oil, like extra virgin olive oil. This prevents the wood from drying out and cracking, which can compromise the integrity of your axe.
Finally, proper storage is key to maintaining the axe's functionality over time. Keep it in a dry place to avoid wood rot and metal corrosion.
Here's a quick checklist to help you remember:
- Clean: Wash with soap and water to remove dirt and debris.
- Inspect: Check for damage, especially where the head meets the handle.
- Condition: Apply fine oil to the wooden handle to prevent drying and cracking.
- Store: Keep in a dry place to prevent moisture damage.
Following these steps will keep your axe in prime shape, ready for any task.
Proper Storage Practices
Proper storage of your axe is essential for its longevity and effectiveness. Store your axe in a dry place to prevent moisture, which can cause wood rot in the handle and corrosion of the axe head. This ensures both components remain sturdy and reliable.
Use a leather sheath when transporting your axe to protect the cutting edge from damage and maintain the tool's integrity. Regularly clean your axe by removing dirt and debris from both the axe head and handle. This simple maintenance step is crucial for keeping the tool in optimal condition.
Periodically inspect your axe for signs of damage or loosening at the attachment point. Early identification of issues ensures safe and effective use. Additionally, apply a fine oil, such as extra virgin olive oil, to the handle to prevent the wood from drying out and cracking, thus maintaining its durability.
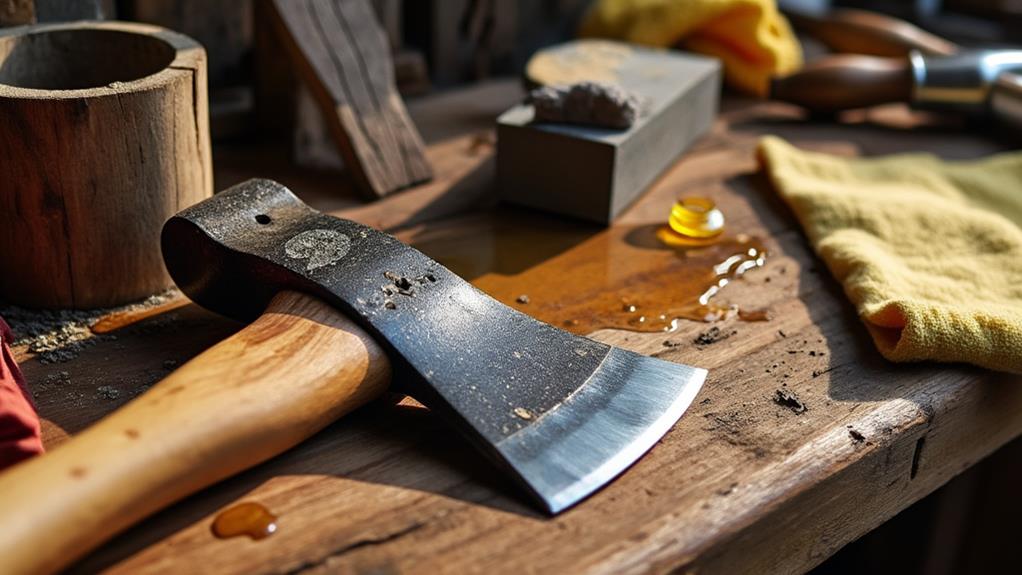
Sharpening and Polishing
Maintaining your axe in optimal condition involves crucial steps like sharpening and polishing. Regular sharpening with a whetstone is essential to ensure peak performance and prevent breakage. It's important to maintain the correct cutting angle during this process. After sharpening, protect the axe head from rust and maintain its sharpness with a mixture of beeswax, linseed oil, and turpentine.
Polishing the axe head is equally important. Use a wet flat stone to achieve an even surface and sharp cutting edge, enhancing efficiency and extending the axe's lifespan. Regularly inspect the axe head for any damage or dullness, sharpening it as needed to maintain its effectiveness.
Proper storage is also vital. Always keep your axe in a dry place and use a leather sheath to protect the cutting edge from nicks and environmental damage.
Quick Guide to Axe Maintenance:
- Sharpen the axe head with a whetstone, maintaining the correct angle.
- Polish using a wet flat stone for an even surface.
- Protect with a mixture of beeswax, linseed oil, and turpentine.
Safety Precautions
Crafting an axe requires a strong commitment to safety, ensuring each step is performed responsibly. When shaping the axe head, always wear safety gloves and goggles to protect against flying rock shards and potential injuries. Regularly inspect the axe head and attachment points for any signs of damage or loosening to ensure it remains safe for use and to prevent accidents.
Clear your working area of bystanders and maintain a safe distance of at least 10 feet when swinging the axe to prevent injuries from flying debris. Treat the axe as a tool, not a toy, and handle it responsibly to avoid accidents. If you're inexperienced or using potentially dangerous tools, seek guidance and assistance from an experienced adult to help navigate the process safely.
Following these safety precautions is crucial for protecting yourself and those around you. By adhering to these guidelines, you can enjoy the rewarding experience of crafting your own axe while minimizing risks.
Conclusion
Crafting an axe from scratch can be a rewarding project. By carefully selecting high-quality materials, shaping and polishing the axe head, and securely attaching it to a sturdy handle, you'll create a reliable tool. Remember to maintain your axe regularly and follow safety precautions to ensure its longevity. With practice, you'll refine your skills and take pride in using an axe you crafted yourself. So gather your materials and embark on your axe-making journey today!