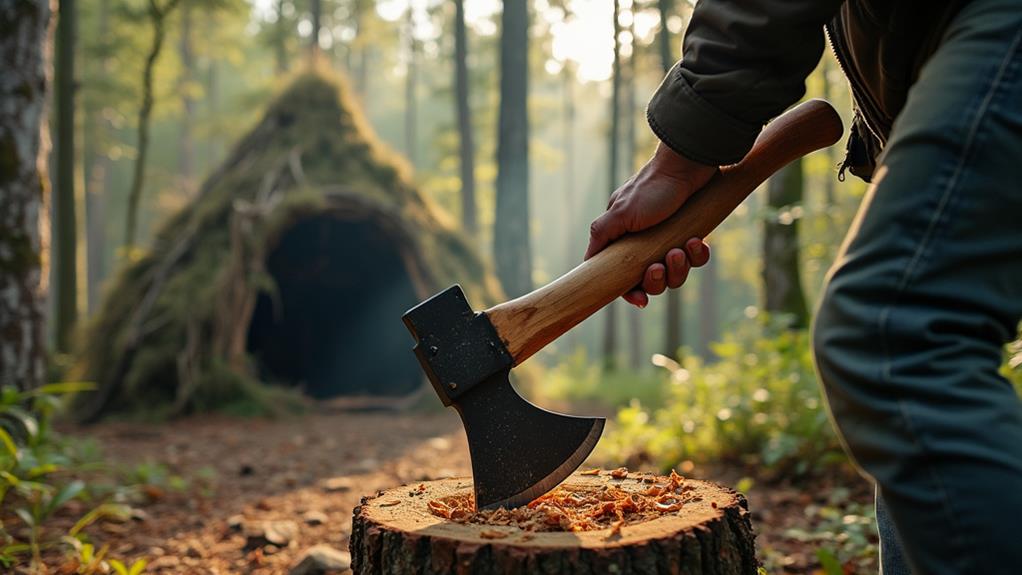
How to Build an Axe From Salvaged Materials
Building an axe from salvaged materials begins with sourcing high-carbon steel for the axe head, which can often be found in old lawnmower blades or industrial springs. Equally important is selecting a durable hardwood like hickory for the handle. Once you have gathered these materials, inspect them carefully for any flaws.
To transform these raw items into a functioning tool, follow these steps:
- Remove the Old Handle: If you're reusing an old axe head, start by removing the existing handle, if any. This may require cutting or drilling it out.
- Clean the Axe Head: Remove any rust or debris from the axe head using a wire brush or sandpaper. Ensure the cutting edge is sharp and free of nicks.
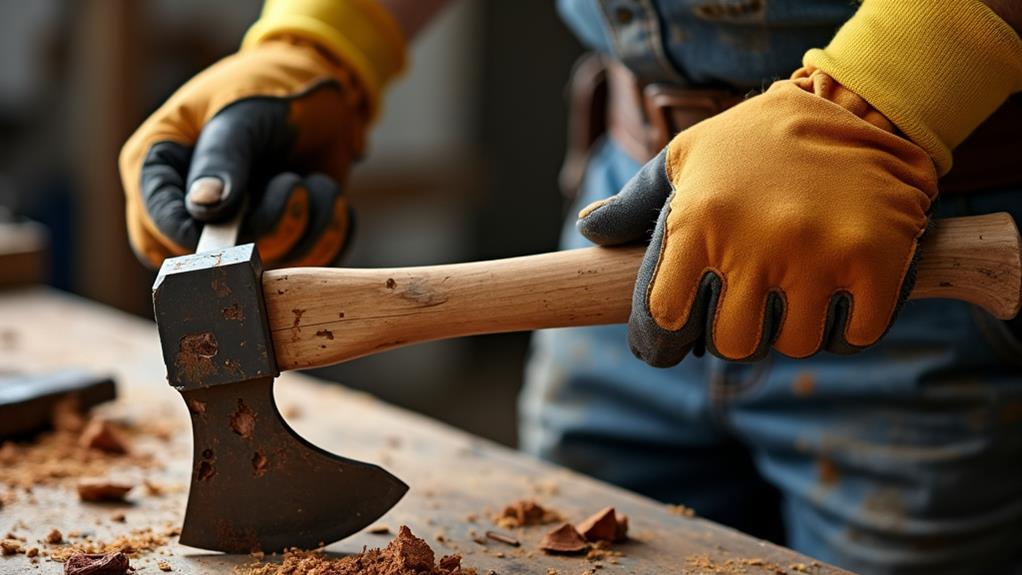
- Shape the Handle: Carve the hickory wood into the desired shape for the handle, ensuring it fits snugly into the eye (the hole) of the axe head.
- Assemble the Axe: Insert the handle into the eye of the axe head. Secure it by wedging and possibly using epoxy for added stability.
- Finish: Sand down any rough edges and apply a protective oil or finish to the handle to enhance longevity.
By following these detailed steps, you can successfully build a functional axe from salvaged materials.
Sourcing Salvaged Materials
When sourcing salvaged materials for building an axe, prioritize finding high-carbon steels for durability.
Start by visiting local salvage yards, flea markets, and online marketplaces where old tools, machinery parts, or scrap metal can be repurposed for an axe head. Look specifically for tool steel, such as old lawnmower blades or industrial springs, known for their hardness and excellent edge retention.
Carefully inspect the materials for visible flaws like cracks or rust, as these can compromise the integrity of the axe. Choose items that can be restored or forged into the desired shape, keeping in mind that the quality of your axe head depends on the material's initial condition.
For the handle, seek out hardwoods from discarded furniture or building materials. Ensure the wood is knot-free and well-seasoned for added strength. Hardwood types like hickory or ash are ideal due to their shock-absorbing properties.
Initial Assessment
After gathering the necessary salvaged materials, perform an initial assessment of your potential axe head. Start with a close inspection to evaluate its condition. Look for surface rust, pitting, bends, and nicks that could affect its functionality and aesthetics. Identifying these issues early will help you plan your restoration steps more effectively.
Document the condition of the axe head, noting any significant deformities or wear patterns. This detailed record will guide you throughout your project. Pay particular attention if the axe head requires major stock removal to achieve your desired shape, especially if it is asymmetrical.
| Assessment Task | Potential Issues |
|---|---|
| Surface Inspection | Rust, pitting, nicks |
| Shape and Symmetry Check | Bends, asymmetry |
| Handle Condition | Cracks, looseness, fit |
This thorough assessment ensures semantic accuracy, completeness, and consistency, providing a reliable guide for the restoration process.
Removing Old Handle
Begin by inspecting the axe head for any screws or rivets that need to be removed. Use a chisel to carefully cut away the wood around the axe eye, making it easier to loosen the handle. If the handle remains stubborn, drill holes along its length to relieve pressure, allowing for easier prying.
Initial Handle Assessment
The first step in handle evaluation is a thorough inspection of the axe head to identify any structural issues, such as bends or nicks, that could complicate the removal process. Ensuring the axe head is in good condition will make handle removal smoother and safer.
Here's what to check:
- Bends or Nicks: Look for any deformities that might obstruct handle removal.
- Handle Fit: Assess how the handle fits within the axe head.
- Old Handle Condition: Evaluate if the old handle is splintered or rotten.
- Tools Needed: Gather chisels, rotary tools, and a hammer for the removal process.
Be patient, as removing an old axe handle can take two hours or more, depending on the condition. If the handle is stuck, drilling a hole through it can relieve tension, making removal easier. Careful inspection and preparation set the foundation for successfully replacing your axe handle.
Handle Removal Techniques
Removing an old axe handle can be a detailed process, but with the right techniques and tools, it's entirely manageable. Start by using chisels and a hammer to carefully pry and loosen the old handle from the axe head, ensuring you avoid damaging the axe eye during this initial phase.
Drilling holes through the old handle can facilitate easier removal. These holes weaken the handle, making it easier to break apart when chiseling. For stubborn sections, particularly if the handle is splintered or tightly wedged, using a saw can help cut through these areas for smoother extraction.
A pry bar is also useful. Apply gradual pressure with the pry bar to ease the handle out without splitting the axe eye. Patience is crucial, as the handle removal process can be labor-intensive and may take several hours, depending on the condition of the axe and the tightness of the fit.
Following these steps will help you successfully remove the old handle and prepare your axe for a new handle.
Challenges and Solutions
Removing an old axe handle can be a labor-intensive and time-consuming task, often requiring multiple techniques such as sawing, chiseling, hammering, drilling, and prying.
Here are some common challenges and effective solutions:
- Stubborn Handle Remnants: Use a rotary tool with a cutting disc to efficiently cut through any persistent remnants.
- Risk of Damaging the Axe Head: Apply controlled force to avoid bends or nicks. Inspect the axe head closely beforehand to identify any pre-existing damage or asymmetry.
- Time-Consuming Process: Break down the task into manageable chunks and tackle it in stages to avoid fatigue and maintain precision.
- Clean Extraction: Ensure all remnants are thoroughly removed. Once the handle is extracted, you can reshape the axe head as needed.
These solutions will help streamline the process and ensure a successful handle replacement.
Rust and Dirt Removal
Submerge the axe head in a 25% white vinegar bath for several hours to loosen rust and dirt. After soaking, scrub with a toothbrush or wire brush, focusing on crevices, to ensure thorough removal.
Vinegar Bath Process
When restoring a rusty axe, a vinegar bath is an effective method for removing surface rust and dirt. This simple yet powerful technique can significantly rejuvenate your tool, especially when using salvaged materials.
Here's how to use a vinegar bath:
- Prepare the Solution: Mix a solution with 25% white vinegar. This concentration effectively loosens surface rust and dirt on the metal surface of the axe head.
- Submerge the Axe Head: Fully submerge the rusty axe head in the vinegar bath. Let it soak for several hours to allow the acetic acid to penetrate and break down the rust particles.
- Initial Rust Removal: After soaking, the rust will have loosened. Scrub away the loosened rust and dirt.
- Rinse Thoroughly: Rinse the axe head thoroughly with water to eliminate any remaining vinegar and rust residue.
Toothbrush Cleaning Technique
After soaking the axe head in the vinegar bath, it's time to address the rust and dirt with a more hands-on approach. Use a toothbrush; its bristles are ideal for reaching into crevices and scrubbing away loosened rust and dirt without harming the metal.
Begin by scrubbing the entire axe head thoroughly, focusing on any nooks and crannies where rust tends to accumulate. Once you've scrubbed the axe head, rinse it thoroughly with water to remove any residual vinegar. This step is crucial because leftover vinegar can cause further corrosion if not properly washed off.
If you notice stubborn rust spots that didn't come off with the initial scrub, consider soaking the axe head in the vinegar bath again and repeating the cleaning process with your toothbrush until the surface is rust-free.
After cleaning, ensure the axe head is completely dry. Use a clean cloth to wipe it down and let it air dry if necessary. This will prevent flash rust from forming and prepare your axe for any additional restoration steps you have planned.
Designing the Axe Head
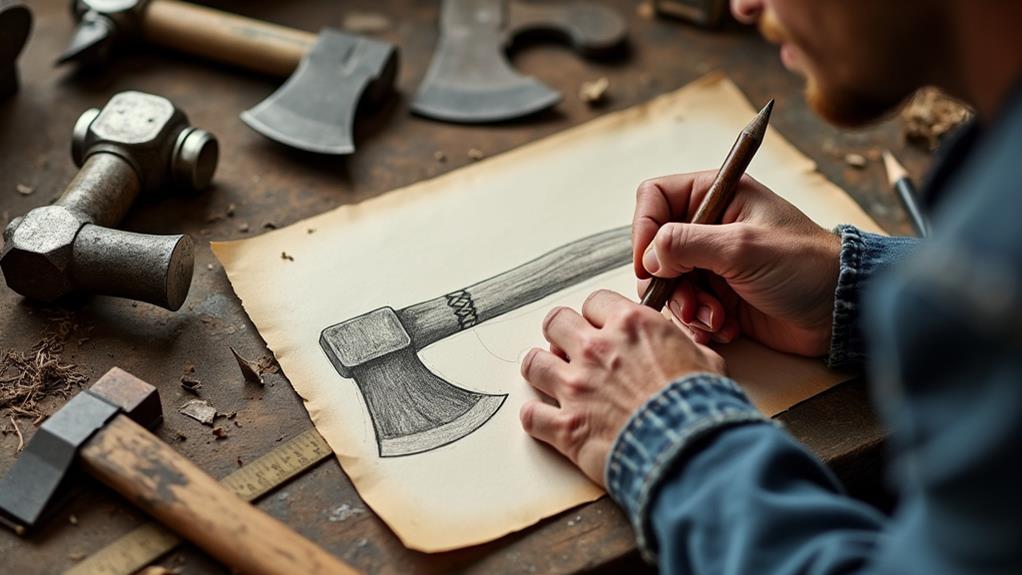
Crafting the perfect axe head begins with understanding its intended use, as different styles like bearded or broadheads are designed for specific tasks such as chopping or splitting. When designing the axe head, consider both the rough shape and how it will serve your needs.
Start by giving your salvaged materials a 25% vinegar bath to loosen any surface rust, making it easier to evaluate the axe head for damage or asymmetry. Next, sketch your rough ideas on paper before finalizing the design. Use a silver paint marker to outline your intended shape directly onto the axe head for better visibility.
This step ensures your design allows for sufficient material removal to achieve the desired profile. Extensive reshaping may be necessary if the salvaged axe head shows significant wear.
Here are four key steps to guide you through designing the axe head:
- Determine the Intended Use: Identify whether you'll be chopping or splitting and choose an appropriate style.
- Remove Rust: Use a vinegar bath to clear surface rust.
- Sketch and Outline: Draw your rough shape on paper, then mark it on the axe head.
- Plan for Material Removal: Confirm your design accommodates enough material removal for reshaping.
Shaping the Axe Head
Shaping the axe head starts with selecting a suitable piece of salvaged steel, ensuring it's free from significant rust and pitting that could compromise its strength. Begin by using an angle grinder for rough shaping. Make relief cuts and remove excess material, carefully adhering to your design lines.
Next, refine the shape using a belt grinder. Progress through various grit belts to achieve the desired contours, gradually moving to finer grits for a smoother finish. Aim for a balance between aesthetics and functionality.
For the final finish, use a surface conditioning belt to polish the axe head, giving it a satin-like appearance that enhances both look and usability.
Creating the Handle
When creating the handle, selecting the appropriate wood is crucial for both durability and performance. Choose knot-free, kiln-dried wood such as Red Elm or Beech to ensure strength and resilience. Ensure the wood grain aligns parallel with the axe eye for optimal shock absorption and structural integrity.
Follow these steps:
- Rough Shape: Use a bandsaw to cut the handle into a rough shape, providing a basic form to work with.
- Refine the Shape: Use a drawknife to refine the handle's shape, focusing on creating a comfortable grip that fits your hand well.
- Drill a Hole: Drill a hole through the handle at the axe eye location to prevent splitting and ensure a snug fit.
- Install Wooden Wedges: Secure the handle by driving wooden wedges into the slot, creating a tight and stable connection.
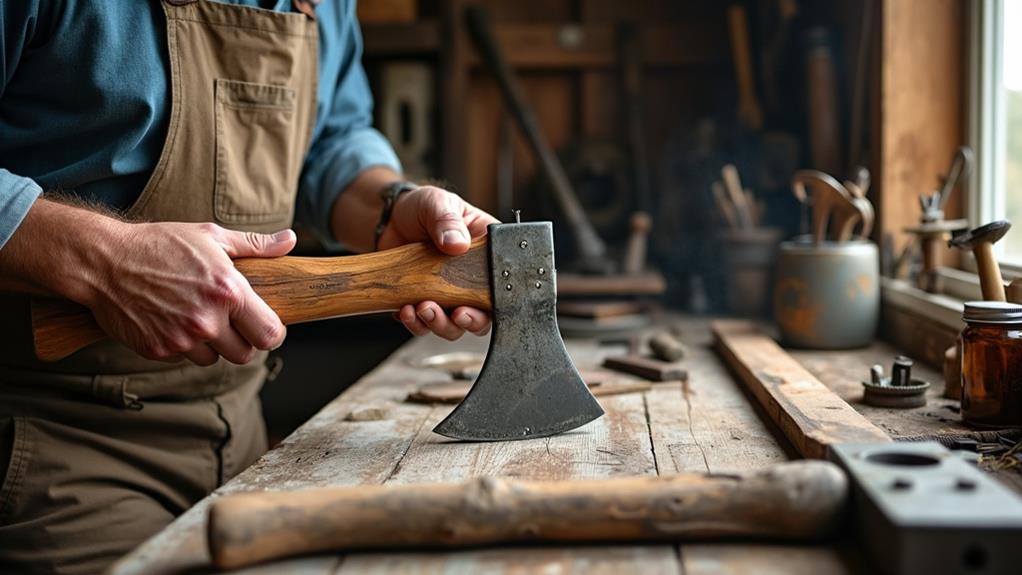
Attaching the Blade
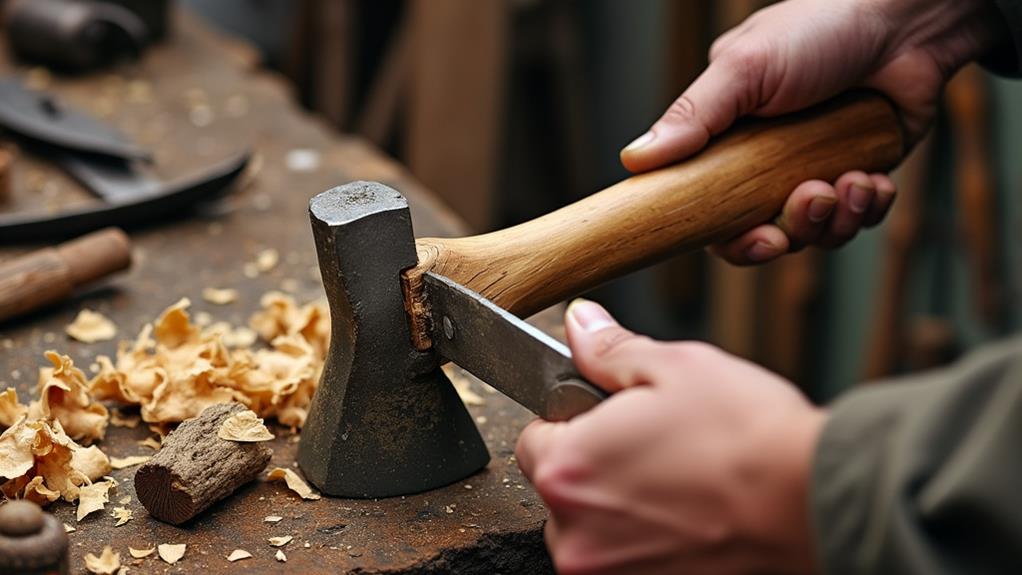
Attaching the blade securely to the handle is vital for both safety and performance. Start by ensuring the carbon steel axe head fits snugly onto the handle. This tight fit is crucial for stability. To achieve this, drill a hole through the handle to prevent wood splitting during the wedge installation process.
Next, choose durable wooden wedges, such as walnut, which not only secure the axe head firmly but also add an aesthetic contrast. Position the axe head on the handle and use a mallet to pound the wedges into the slot created for them. This ensures a tight fit between the axe head and the handle, maximizing stability.
For added structural integrity, place a relief hole during wedge installation. This step helps prevent any potential damage during use, enhancing the overall robustness of the axe. Once the blade is securely attached, you've completed a significant step in your axe-building process. The tight fit and secure attachment ensure your axe is both safe and effective for use.
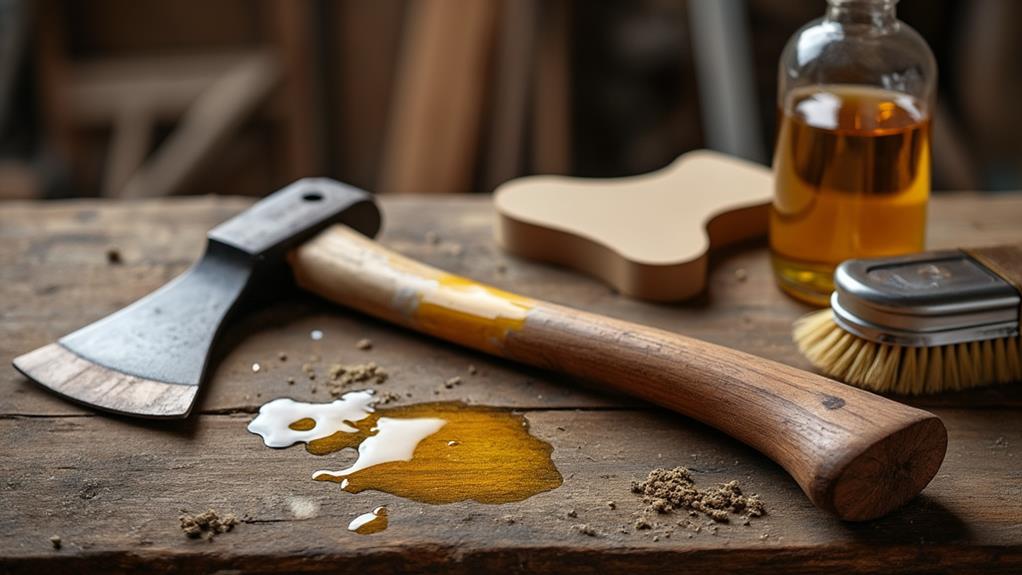
Finishing Touches
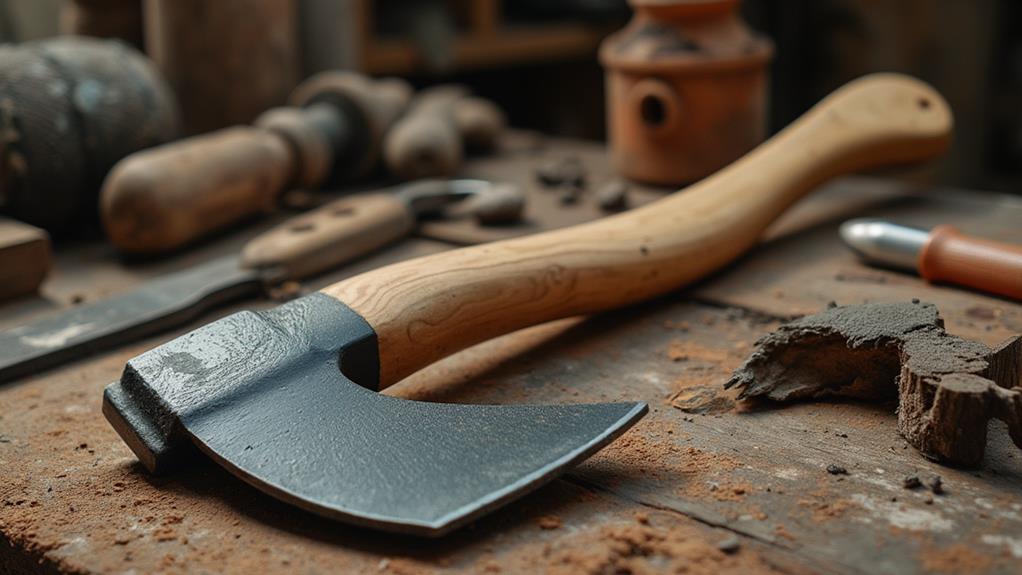
With the blade securely attached, it's time to focus on the finishing touches that will enhance both the durability and aesthetic appeal of your axe. Start by applying a protective finish to the axe head. A mixture of beeswax, linseed oil, and turpentine will increase durability and resist moisture, essential for maintaining your axe in various weather conditions and during heavy use.
Next, treat the wooden handle with Tung oil. This oil provides a water-resistant finish and enhances the natural beauty of the wood. For a unique touch, consider using the Shou Sugi Ban technique. Charring the handle surface not only creates a striking black finish but also protects it from decay and insects.
To ensure optimal performance, sharpen the edge using a honing stone or a belt grinder with high-grit belts. This will give you the keen cutting edge necessary for peak performance.
Finally, secure the handle with wooden and steel wedges. This ensures a tight fit, preventing the head from loosening during use.
Quick Recap:
- Apply a protective finish to the axe head.
- Treat the handle with Tung oil.
- Use the Shou Sugi Ban technique for added protection.
- Sharpen the axe edge for peak performance.
Conclusion
You've transformed salvaged materials into a functional axe. By carefully sourcing high-carbon steel and durable hardwood, inspecting for flaws, and removing the old handle, you've laid a strong foundation. Shaping the axe head and crafting a snug-fitting handle were key steps, and securing it with wooden wedges guaranteed stability. With protective finishes applied, your custom-built axe is now ready for use. You've not only created a tool but also honed a valuable skill.